Beginnerbakes

Quick Breads

Classic Herb and Cheese Biscuit Bites Recipe with Savory Butter Spread

By Beginnerbakes Test KitchenReviewed by Beginnerbakes Editorial TeamPublished Apr 2, 2026 · Updated Jun 27, 2026
Southern American 27 mins beginner-friendlyeasyquick breadssavory snacksparty foodstep-by-stepminimal-ingredientscomfort foodbiscuit bitessouthern baking

These beginner-friendly herb and cheese biscuit bites bake up tender, flaky, and full of cheddar, parsley, and chives. A quick savory butter spread adds the glossy finish, making them easy for snacks, brunch boards, or party appetizers.

Classic Herb and Cheese Biscuit Bites Recipe with Savory Butter Spread
Prep 15 min
Cook 12 min
Total 27 min
Servings 12
Difficulty easy
Cuisine Southern American

Recipe Details

Prep15 min
Cook12 min
Total27 min
Servings12
Difficultyeasy
CuisineSouthern American
Add To Favorites

Ingredients

Servings 12
  • 2 cups all-purpose flour
  • 1 tablespoon baking powder
  • 1 teaspoon salt
  • 1/2 teaspoon garlic powder
  • 1/4 teaspoon black pepper
  • 6 tablespoons cold unsalted butter, cubed
  • 1 cup shredded sharp cheddar cheese
  • 2 tablespoons fresh chopped parsley
  • 2 tablespoons fresh chopped chives
  • 3/4 cup cold whole milk
  • For the savory butter spread
  • 4 tablespoons unsalted butter, softened
  • 1 teaspoon fresh chopped chives
  • 1/2 teaspoon garlic powder
  • 1/4 teaspoon salt
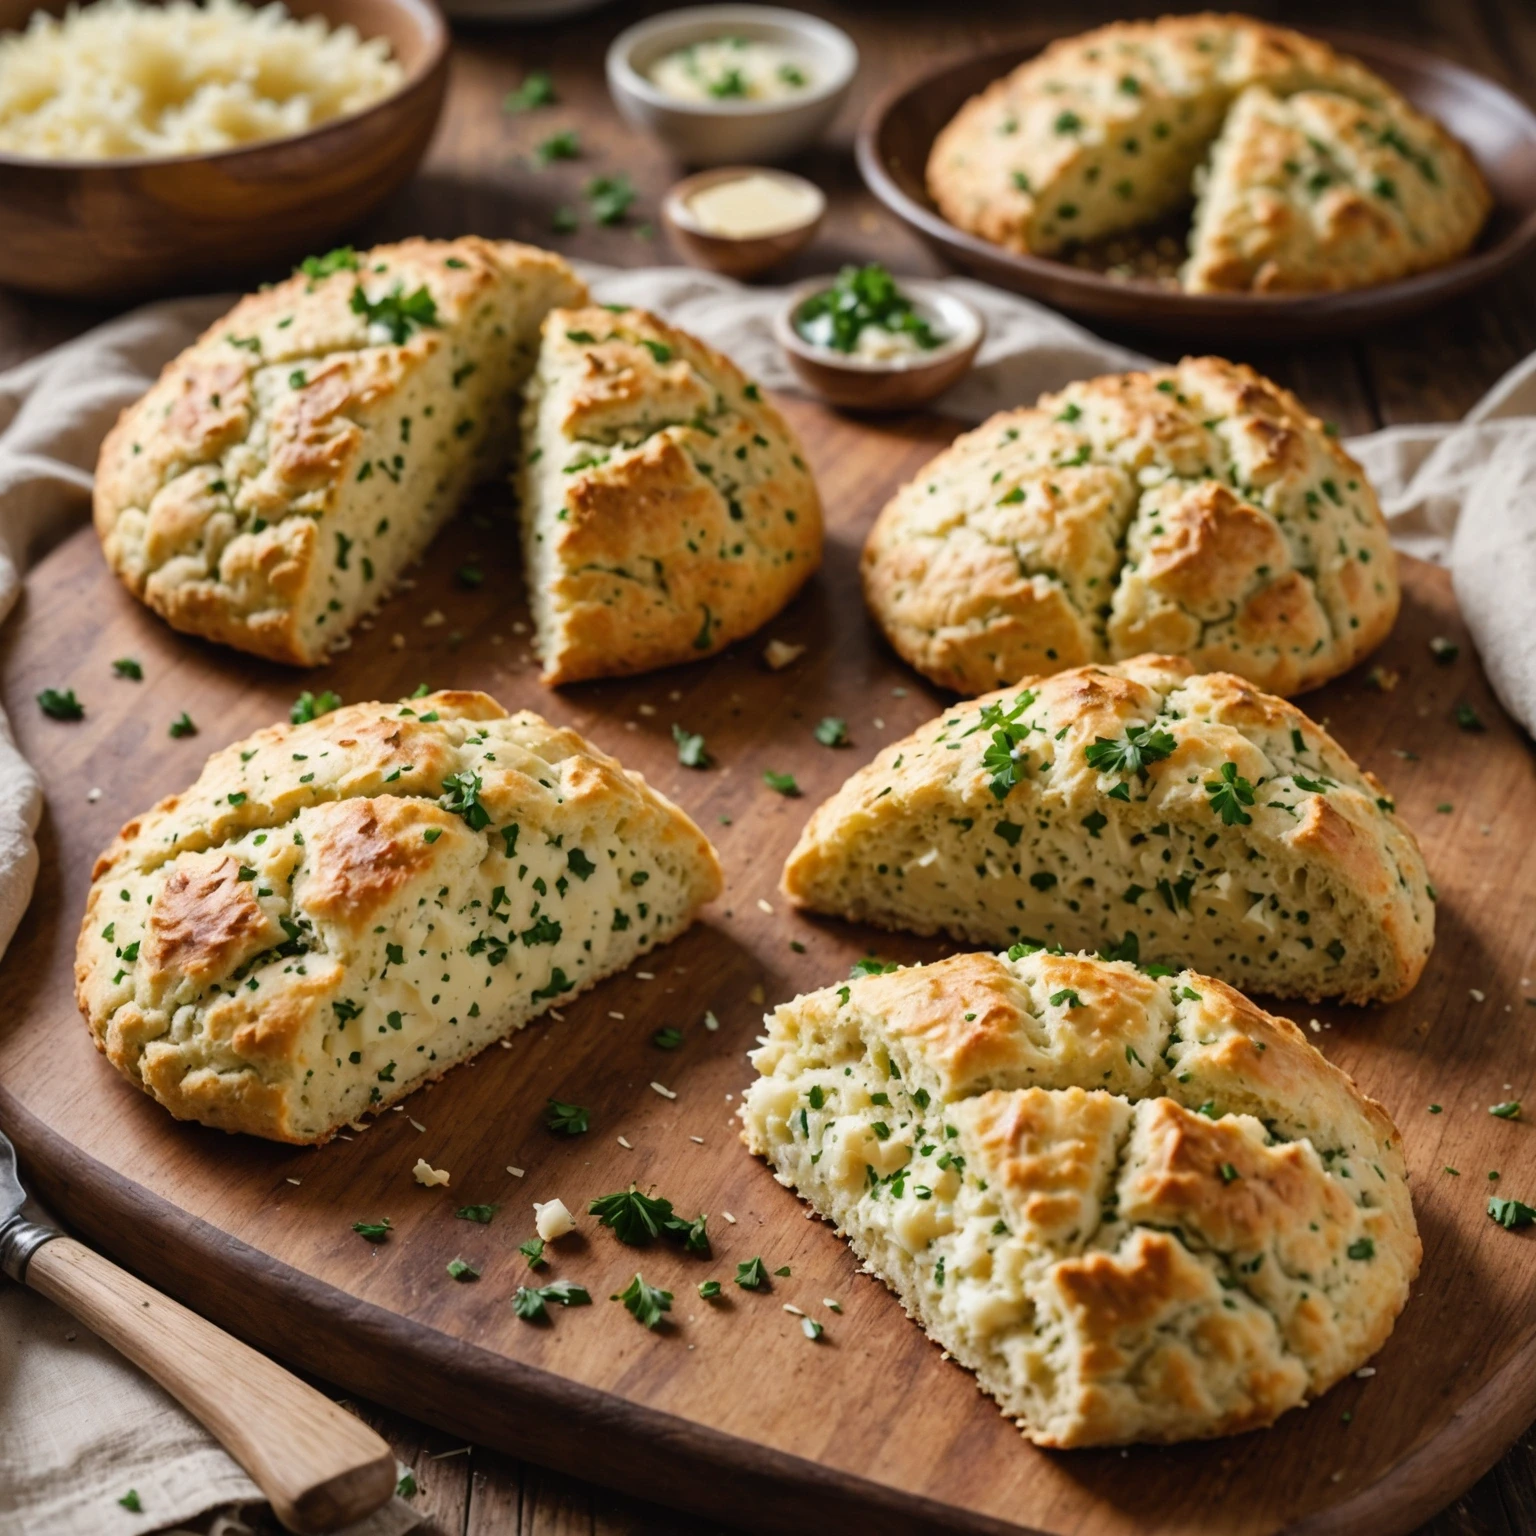
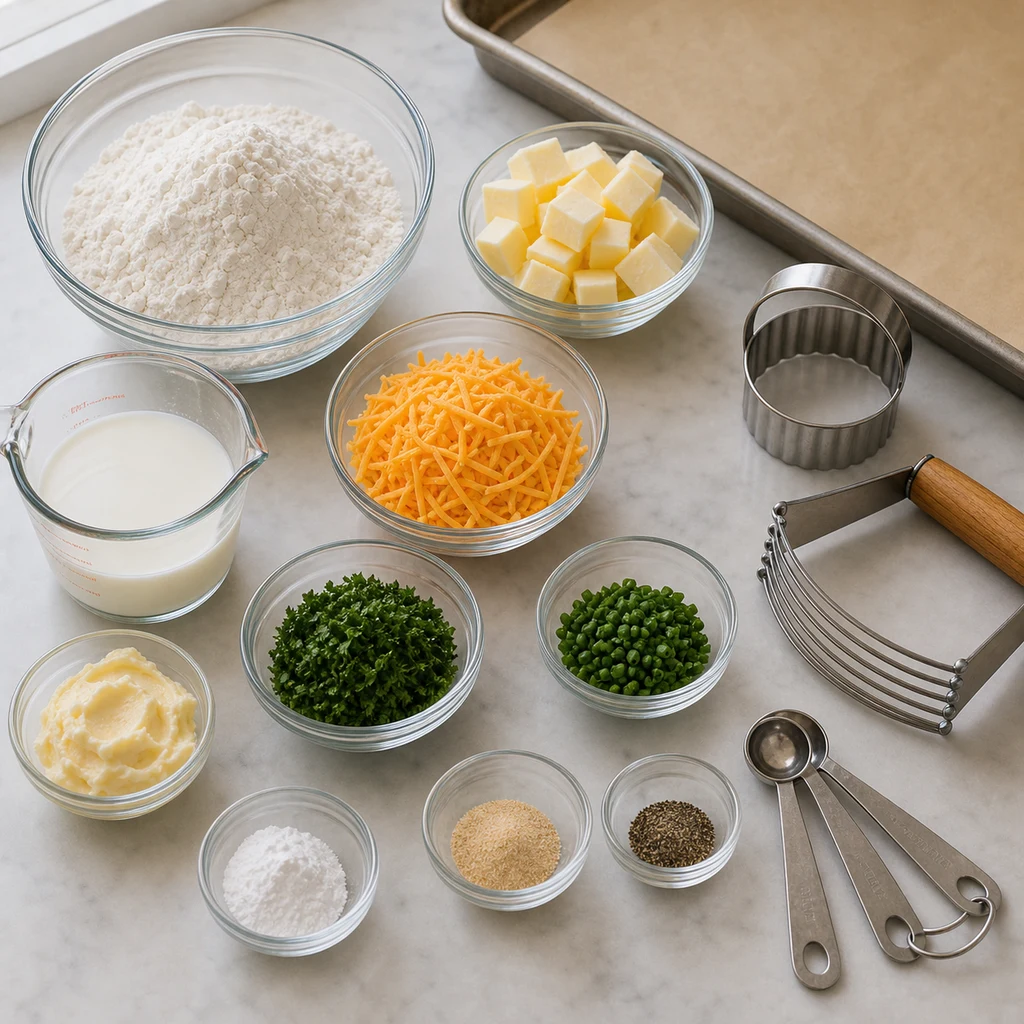
ingredients image for BeginnerBakes Classic Herb and Cheese Biscuit Bites Recipe with Savory Butter Spread

Instructions

  1. Preheat oven to 425 degrees F (220 degrees C) and line a baking sheet with parchment paper.
  2. In a large bowl, whisk together flour, baking powder, salt, garlic powder, and black pepper until combined.
  3. Add cold cubed butter and cut into flour mixture using a pastry cutter or fingers until texture resembles coarse crumbs with pea-sized butter pieces.
  4. Fold in shredded cheddar cheese, chopped parsley, and chives evenly.
  5. Pour cold milk into the mixture and gently fold with a spatula until dough just holds together; avoid overmixing.
  6. Transfer dough to a lightly floured surface and pat into a 1-inch thick rectangle.
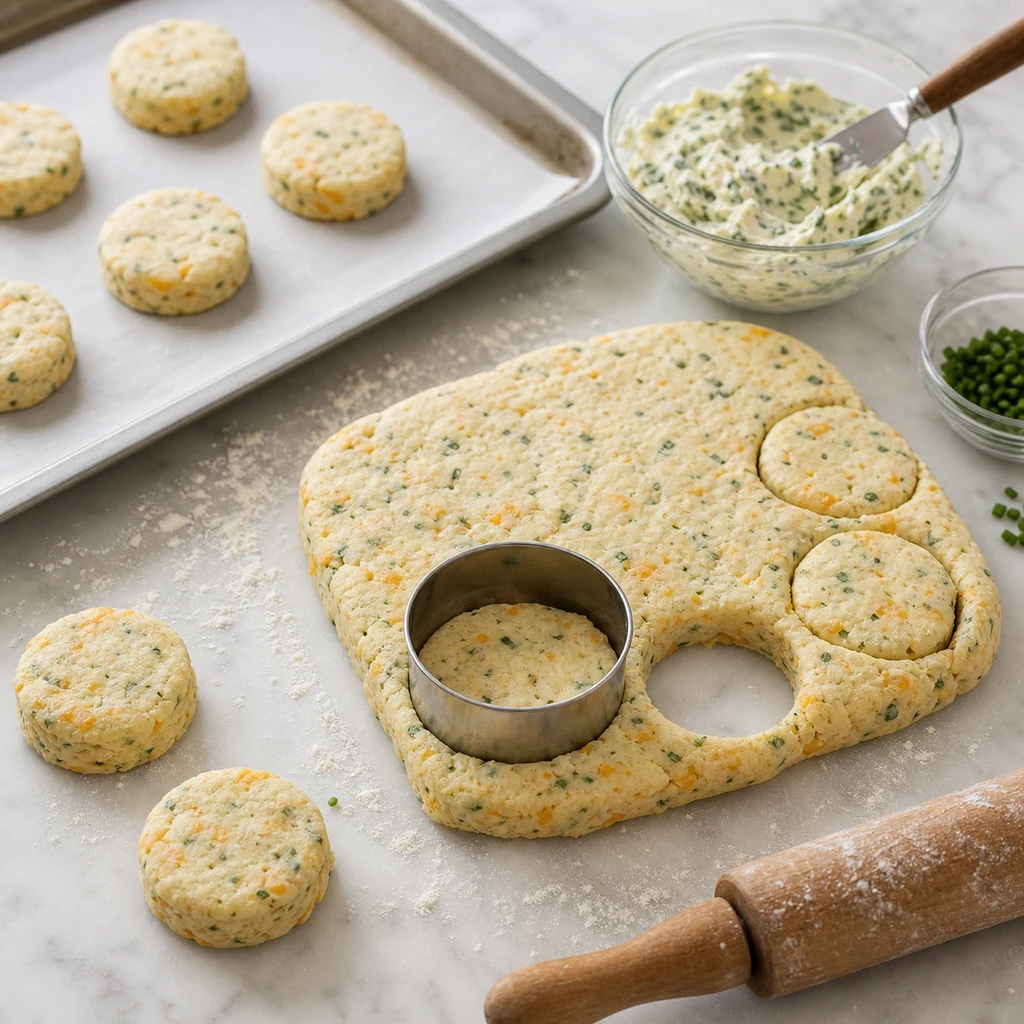
  7. Cut dough into approximately 2-inch biscuit bites using a biscuit cutter or round cookie cutter, re-patting scraps as needed to form 12 bites.
  8. Place biscuit bites 1 inch apart on the prepared baking sheet.
  9. Bake for 10-12 minutes until tops are golden and a toothpick inserted comes out clean.
  10. While baking, mix softened butter, chopped chives, garlic powder, and salt to prepare the savory butter spread.
  11. Cool biscuits on a wire rack for 5 minutes.
  12. Serve warm biscuit bites brushed generously with savory butter spread. Enjoy as a flavorful snack or appetizer!
shaping process image for BeginnerBakes Classic Herb and Cheese Biscuit Bites Recipe with Savory Butter Spread

Tips

Equipment Needed

Use a large mixing bowl, measuring cups, a pastry cutter or fork, a spatula, a 2-inch biscuit cutter, and a parchment-lined baking sheet. A wire rack keeps the hot biscuit bites from steaming underneath while you mix the savory butter spread.

Ingredient Prep Notes

Keep the butter and milk cold until the moment you mix them into the flour so the biscuit bites bake up flaky. Chop the parsley and chives finely and toss them with the cheddar before adding milk so the herbs and cheese spread evenly through the dough.

Oven Note

Preheat to 425 degrees F (220 degrees C) and bake on the middle rack so the biscuit bites rise quickly and brown on top. Check at 10 minutes; they are ready when the tops are golden and the centers no longer look doughy.

Easy Upgrade Ideas

Add a spoonful of grated Parmesan or a pinch of smoked paprika to the dough for deeper savory flavor. For a party version, brush the hot biscuit bites with extra chive butter and serve them with honey mustard, marinara, or whipped herb cream cheese.

Frequently Asked Questions

Can I make the biscuit dough ahead?
Yes. Cut the biscuit bites, place them on a parchment-lined baking sheet, cover, and refrigerate for a few hours before baking. Bake them cold from the refrigerator so the butter stays firm and the biscuits rise well.
Why did my biscuit bites turn tough?
The dough was probably mixed or re-patted too much. Stir only until the dough holds together, then press and cut it gently instead of kneading it smooth.
Can I use a glass instead of a biscuit cutter?
Yes, a small drinking glass works if you dip the rim in flour first. Press straight down without twisting so the edges can rise evenly in the oven.
Should I brush the butter spread on before or after baking?
Brush most of the savory butter on after baking while the biscuit bites are still warm. This keeps the tops glossy and lets the garlic-chive flavor soak in without burning.

Ingredient Replacements

Use Monterey Jack, Colby, or a mild cheddar if sharp cheddar tastes too strong for your table. For dairy-free biscuit bites, use firm plant-based butter, unsweetened oat milk, and a meltable dairy-free shredded cheese.

A cup-for-cup gluten-free flour blend can replace the all-purpose flour, but handle the dough gently because it may feel more fragile. If you only have dried herbs, use about 1 teaspoon dried parsley and 1 teaspoon dried chives so the biscuit dough is flavorful without tasting dusty.

Storage and Reheating

Store cooled biscuit bites in an airtight container at room temperature for 1 day or in the refrigerator for up to 4 days. Keep extra savory butter covered in the refrigerator and soften it briefly before serving.

Freeze baked biscuit bites for up to 2 months, then reheat from frozen in a 325 degrees F oven until warmed through. Avoid microwaving for too long because it can make the biscuits rubbery instead of flaky.

Related Articles

Read related air fryer guides and cooking tips.

More Recipes

Explore more recipes you may like.

Reviews

Rate this recipe and share a photo of your result.

No reviews yet.

Newsletter

Stay In The Loop

Get fresh recipes, articles, and updates from Beginnerbakes.