Flavor & Ingredient Tips
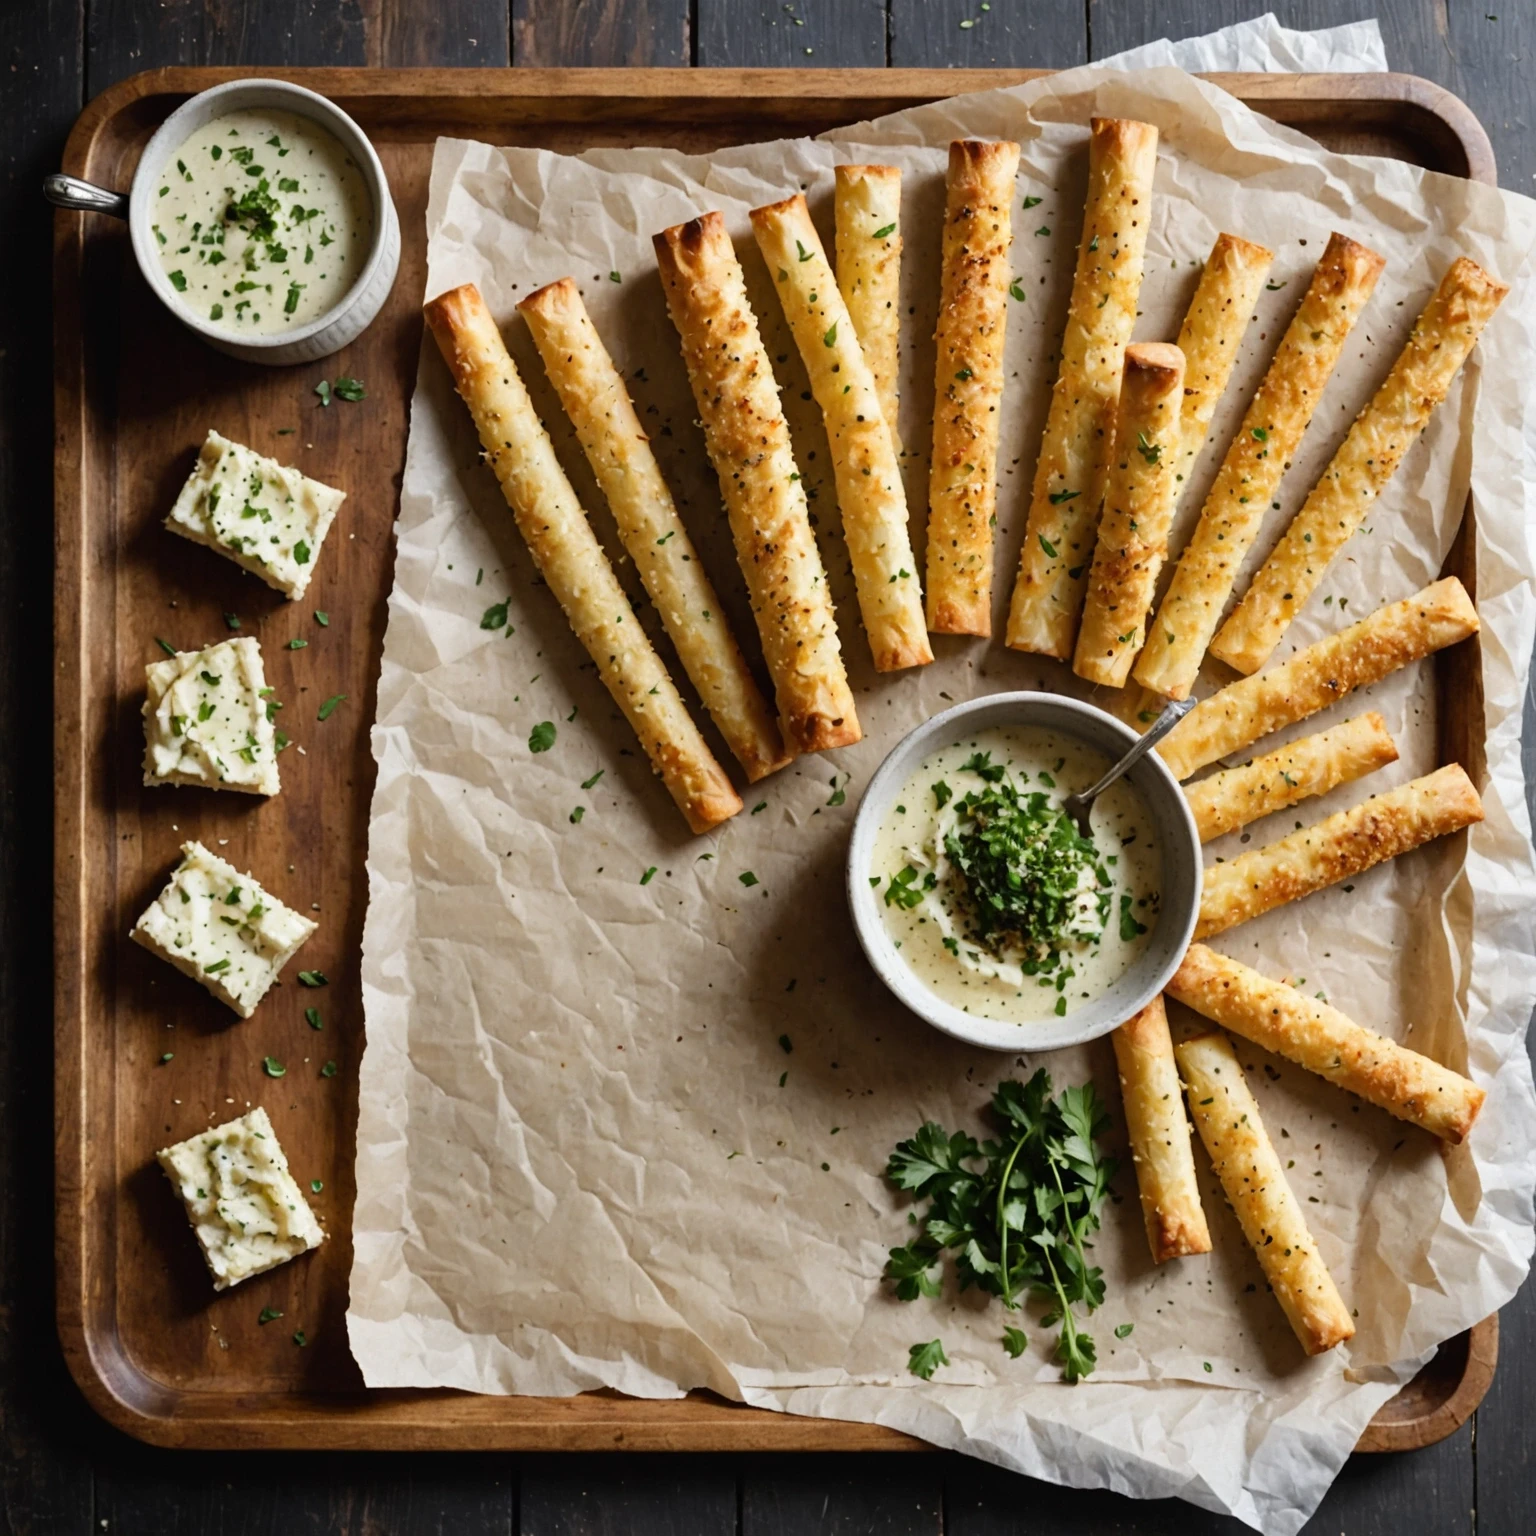
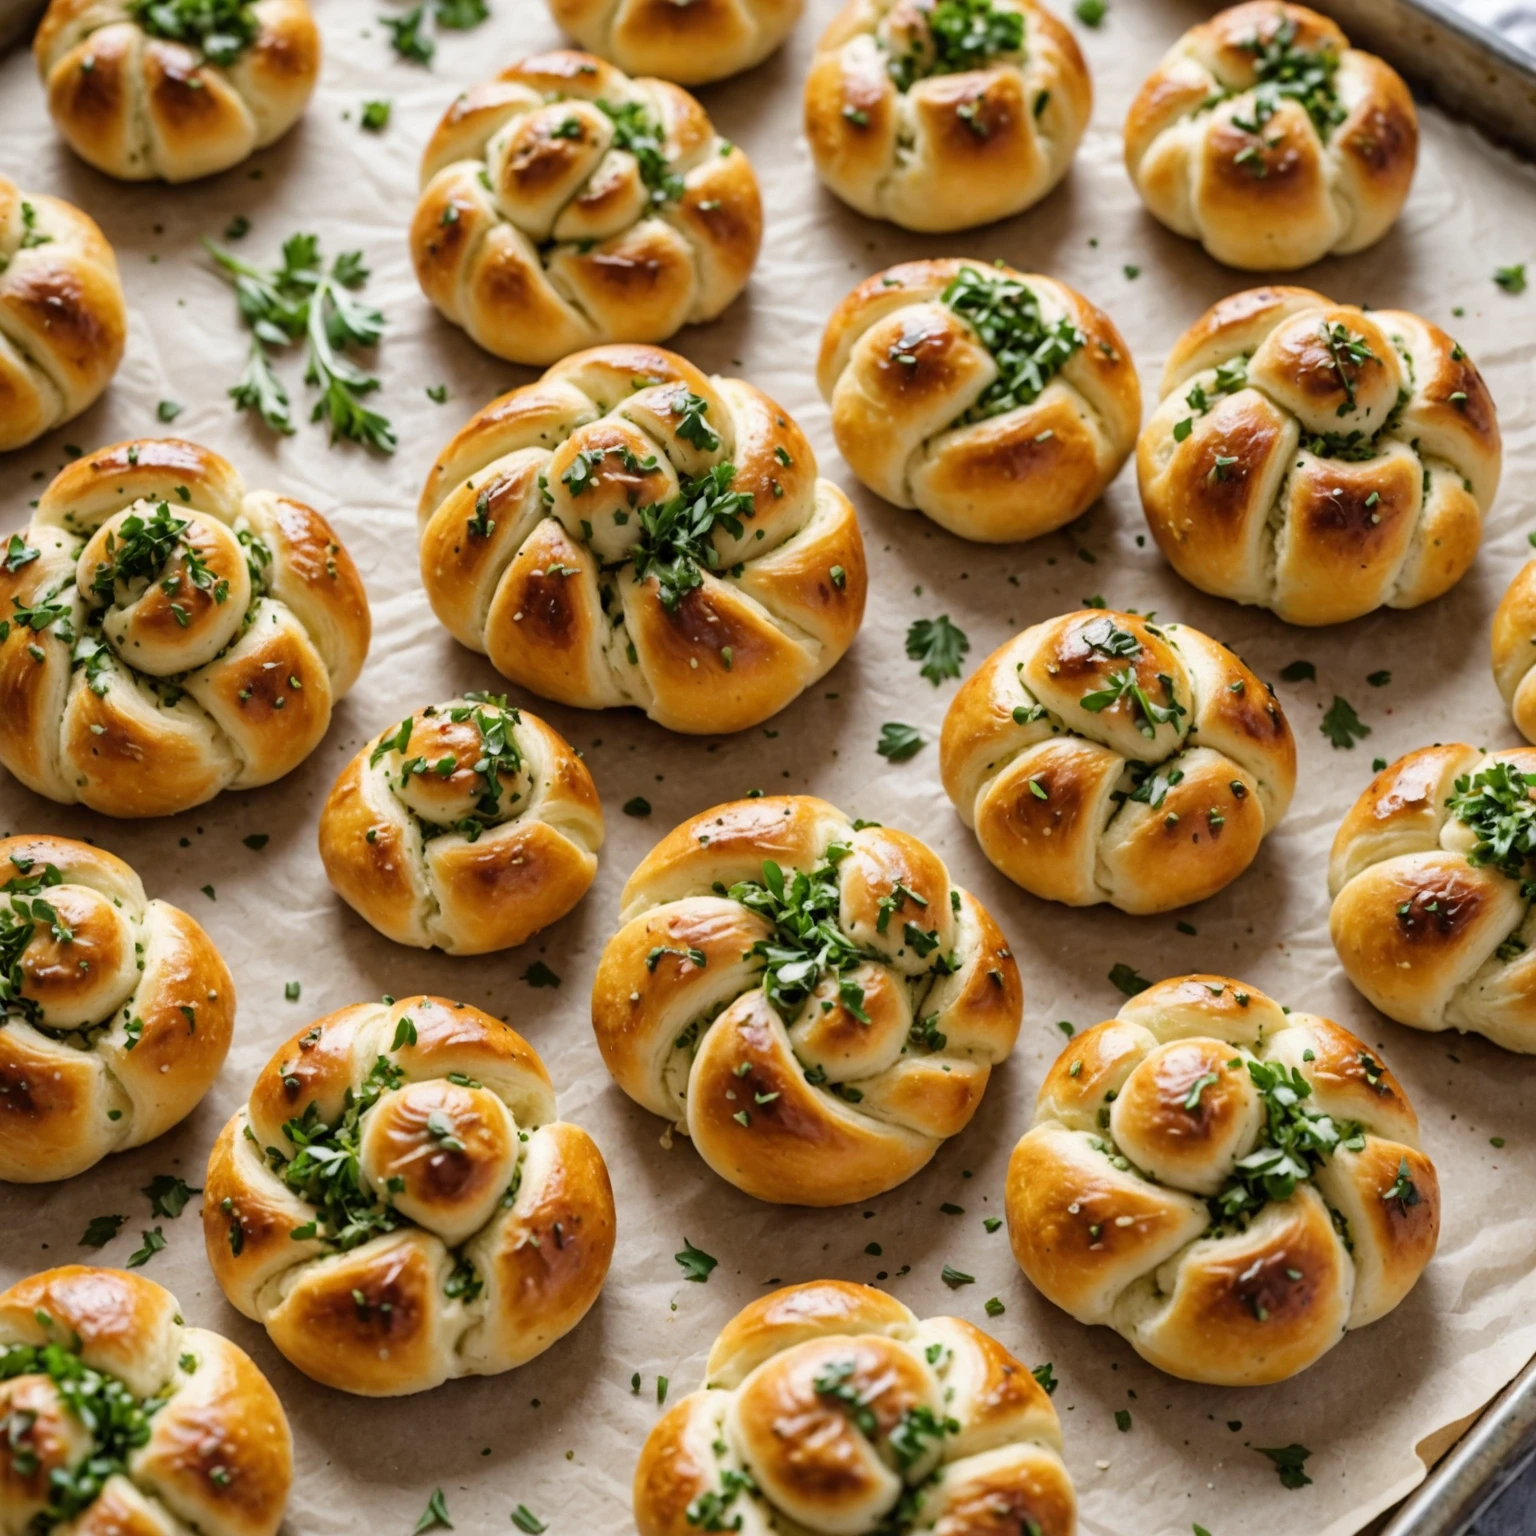
Discover this simple and delicious recipe for gluten-free savory herb and garlic knots. Soft, fragrant, and brushed with olive oil and fresh herbs, these knots are an ideal beginner-friendly gluten-free bread snack, perfect for parties and family treats.
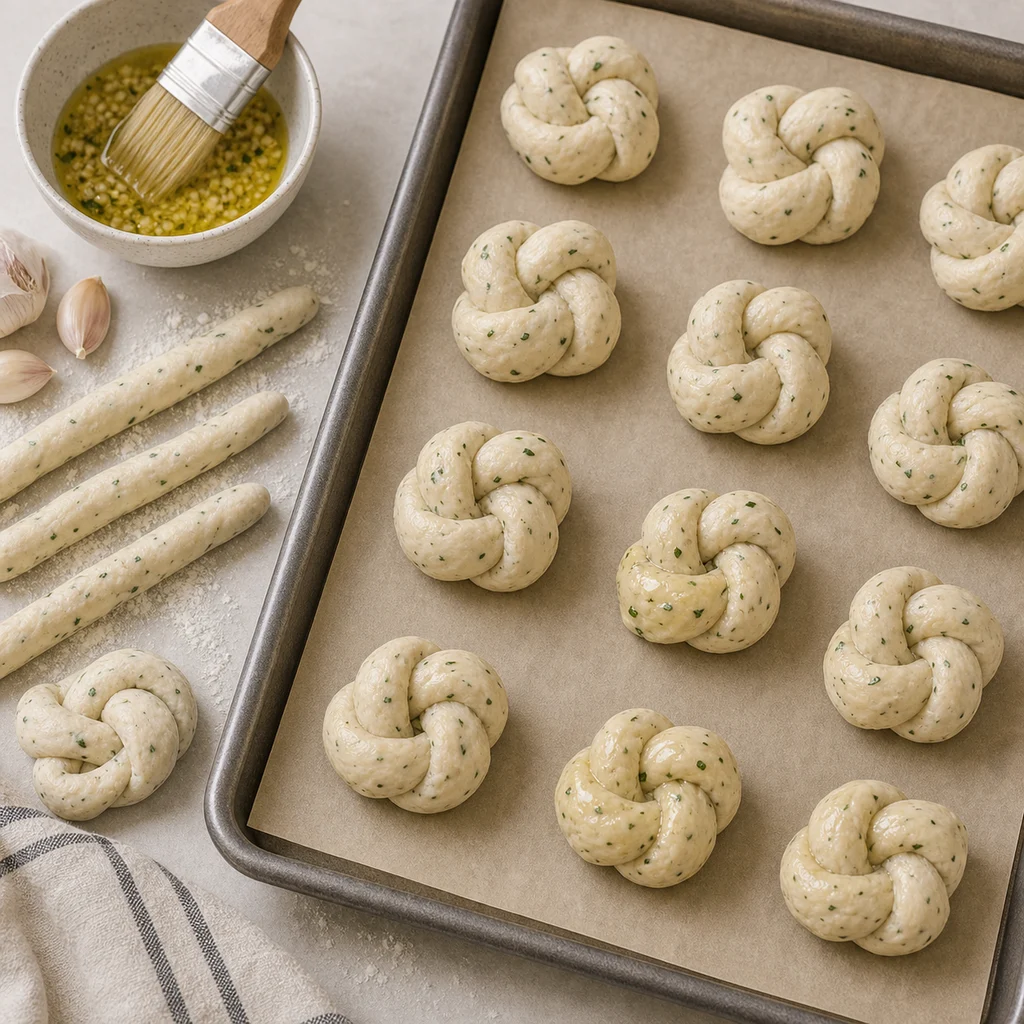
Use a parchment-lined rimmed baking sheet so the knots bake evenly and release without tearing. A bench scraper or knife helps divide the sticky gluten-free dough into 12 pieces, and a pastry brush spreads the garlic oil over every curve.
Keep the work surface lightly dusted with gluten-free flour, but avoid adding so much that the knots turn dry. Mince the garlic finely before stirring it into olive oil so it clings to the dough instead of falling off in large pieces.
Preheat fully to 375 degrees F (190 degrees C) and bake on the middle rack until the knots are golden and cooked through underneath. If the tops brown too quickly, loosely tent the baking sheet with foil for the last few minutes.
Sprinkle flaky salt, extra parsley, or a pinch of chili flakes over the knots right after baking. For a cheesy version, add a small amount of grated parmesan or dairy-free parmesan-style topping after brushing with garlic oil.
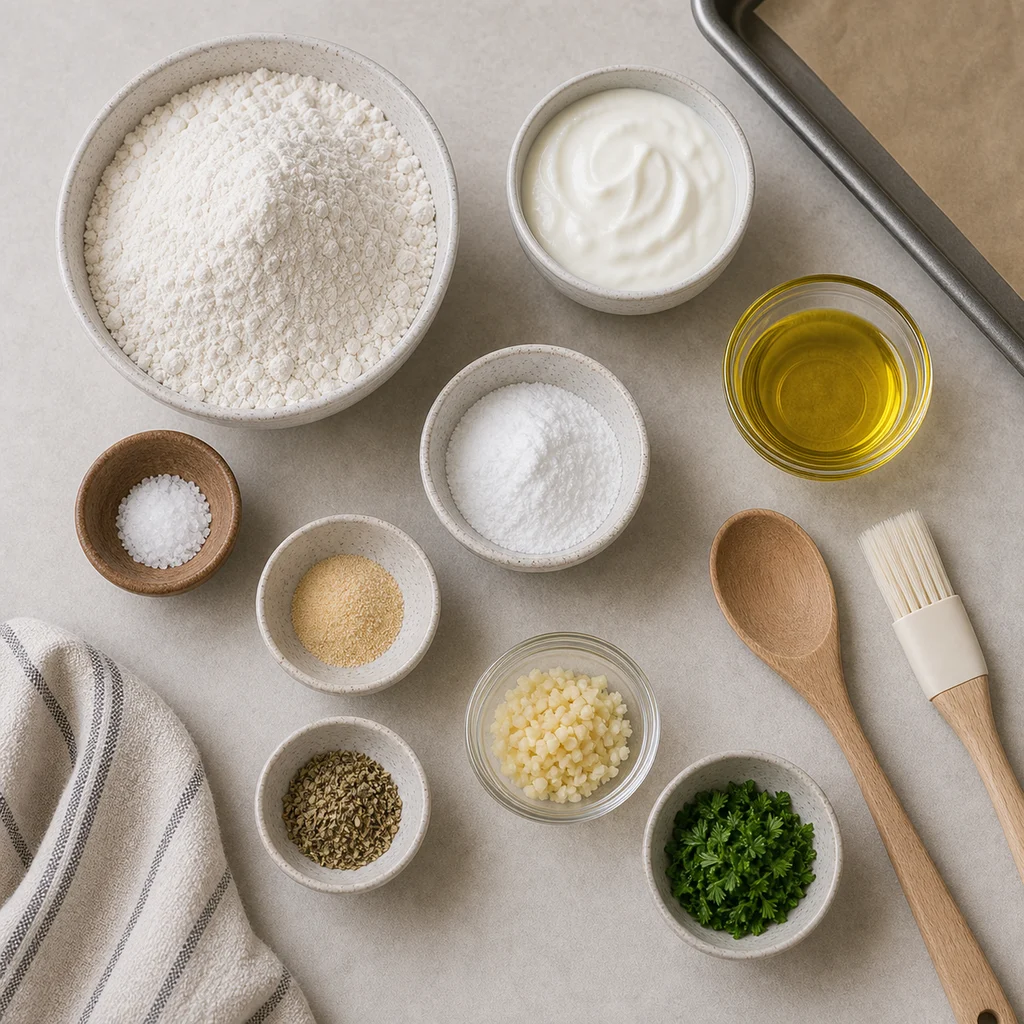
Use a gluten-free flour blend with xanthan gum for the easiest shaping; if yours does not include it, add about 1/2 teaspoon xanthan gum per cup of flour. Plain regular yogurt, coconut yogurt, soy yogurt, or almond yogurt all work as long as they are unsweetened.
Avocado oil or sunflower oil can replace olive oil, though olive oil gives the best savory flavor. Fresh rosemary, thyme, basil, or oregano can replace dried Italian herbs; use a bit more fresh herb because it is milder.
Store cooled garlic knots in an airtight container at room temperature for up to 2 days or refrigerate for up to 4 days. Brush lightly with olive oil before reheating if they look dry.
Freeze baked knots for up to 1 month. Reheat thawed knots in a 300 degrees F oven for 6-8 minutes until warm and soft.
Read related air fryer guides and cooking tips.
Flavor & Ingredient Tips
Flavor & Ingredient Tips
Explore more recipes you may like.
Rate this recipe and share a photo of your result.
No reviews yet.
Log in to keep this recipe in your favorites.
Reset password Register