Flavor & Ingredient Tips
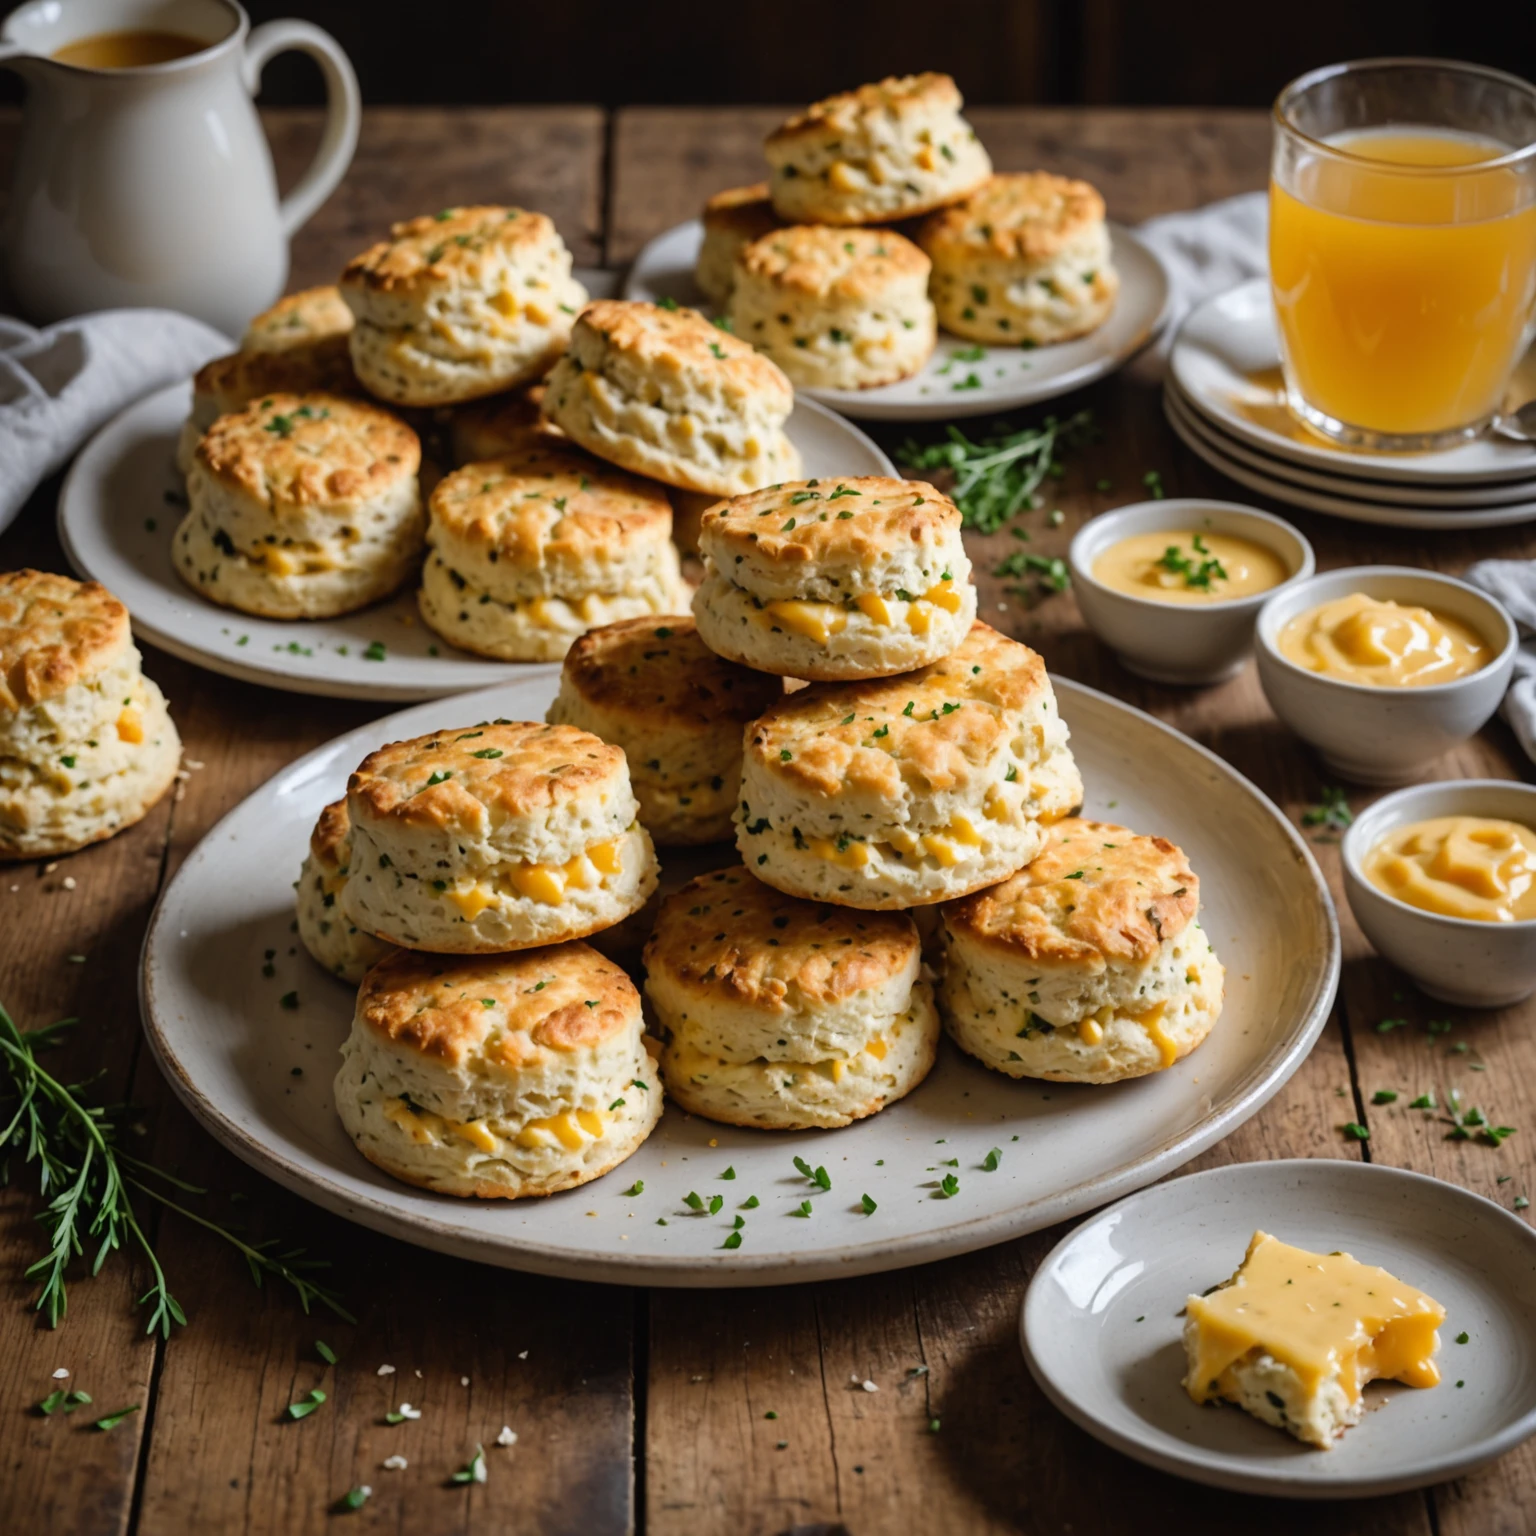
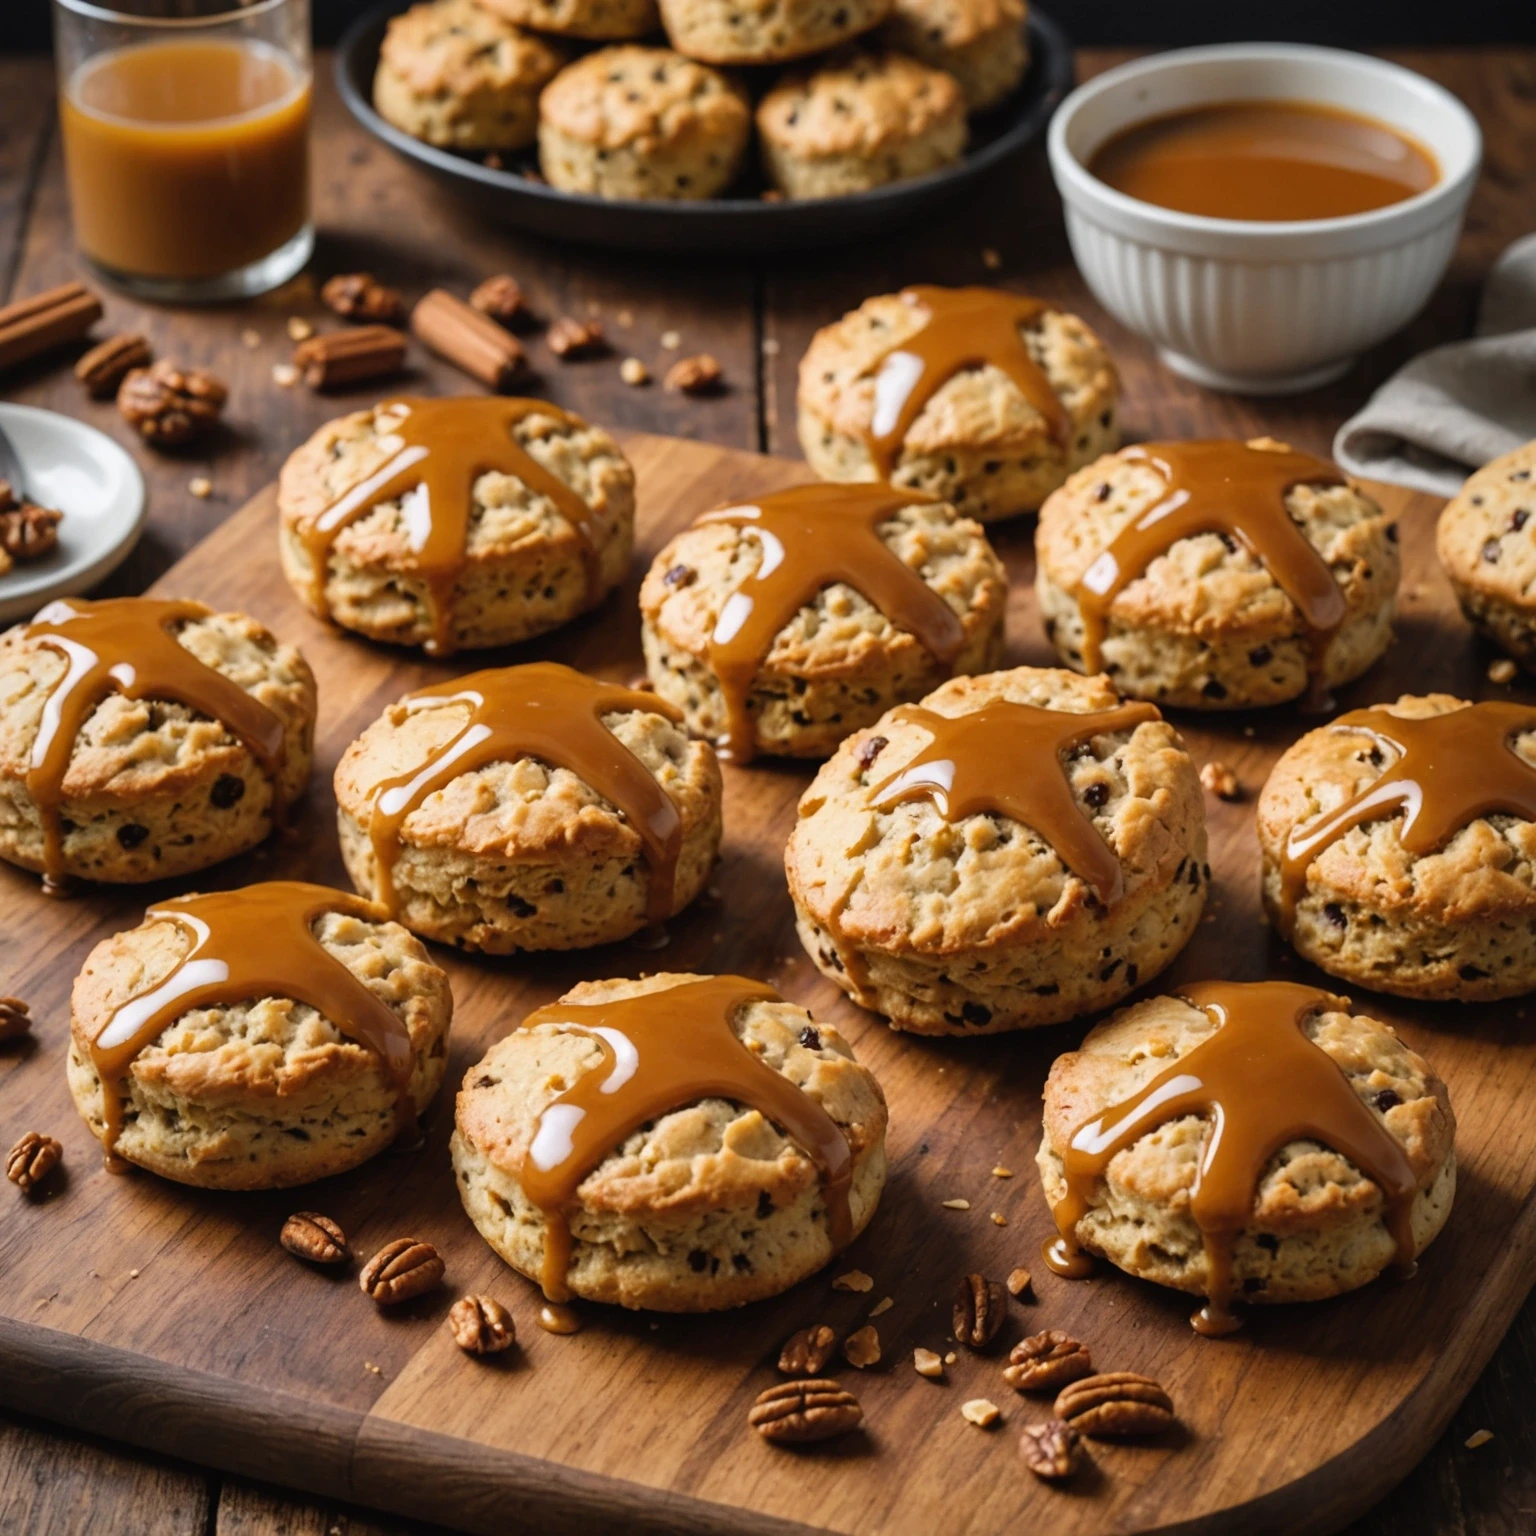
Discover how to make classic British sticky toffee scones with dates and a smooth butterscotch glaze. This quick and easy recipe is perfect for beginner bakers and delivers moist, sweet scones ideal for holiday mornings, parties, or afternoon tea.

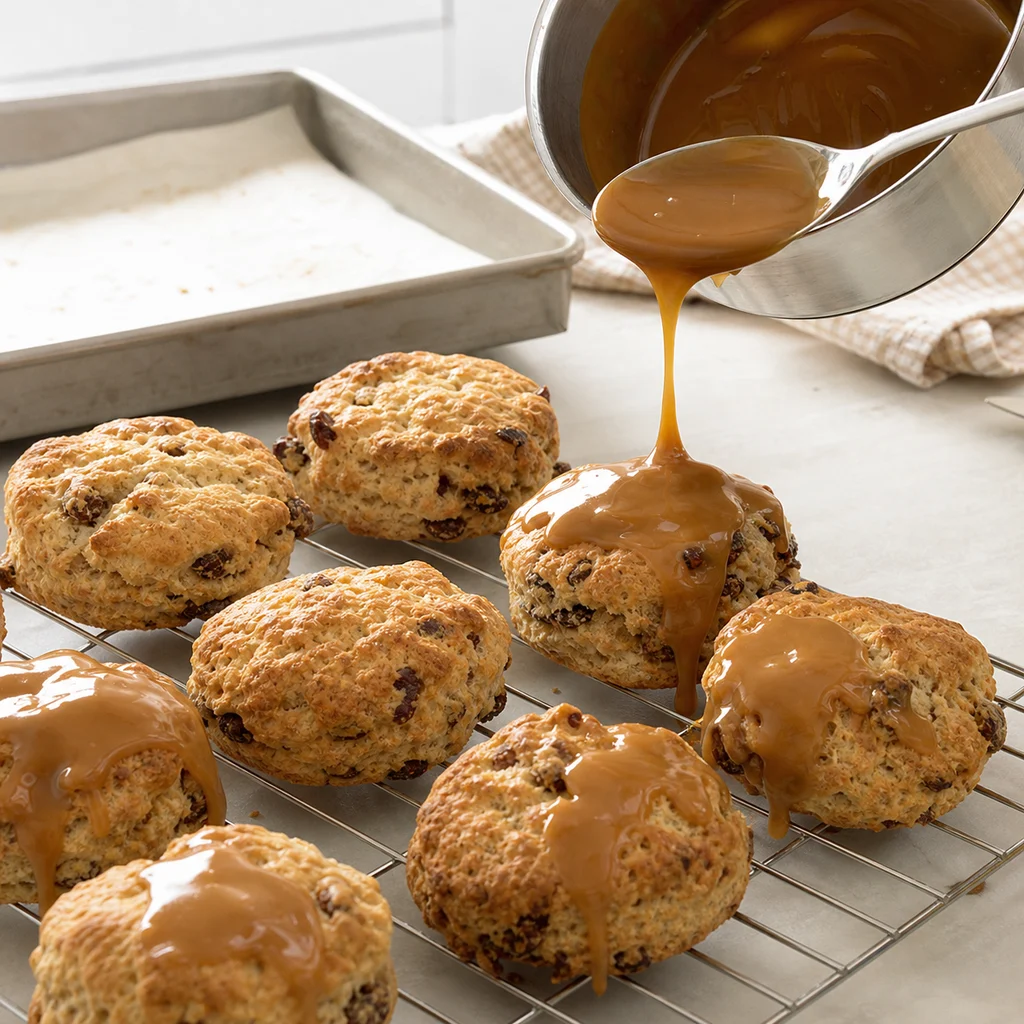
Use a large mixing bowl, a small bowl for the wet ingredients, a lined baking sheet, and a 6 cm round cutter. A small saucepan is needed for the butterscotch glaze, and a wire rack helps the warm glaze settle without making the bottoms soggy.
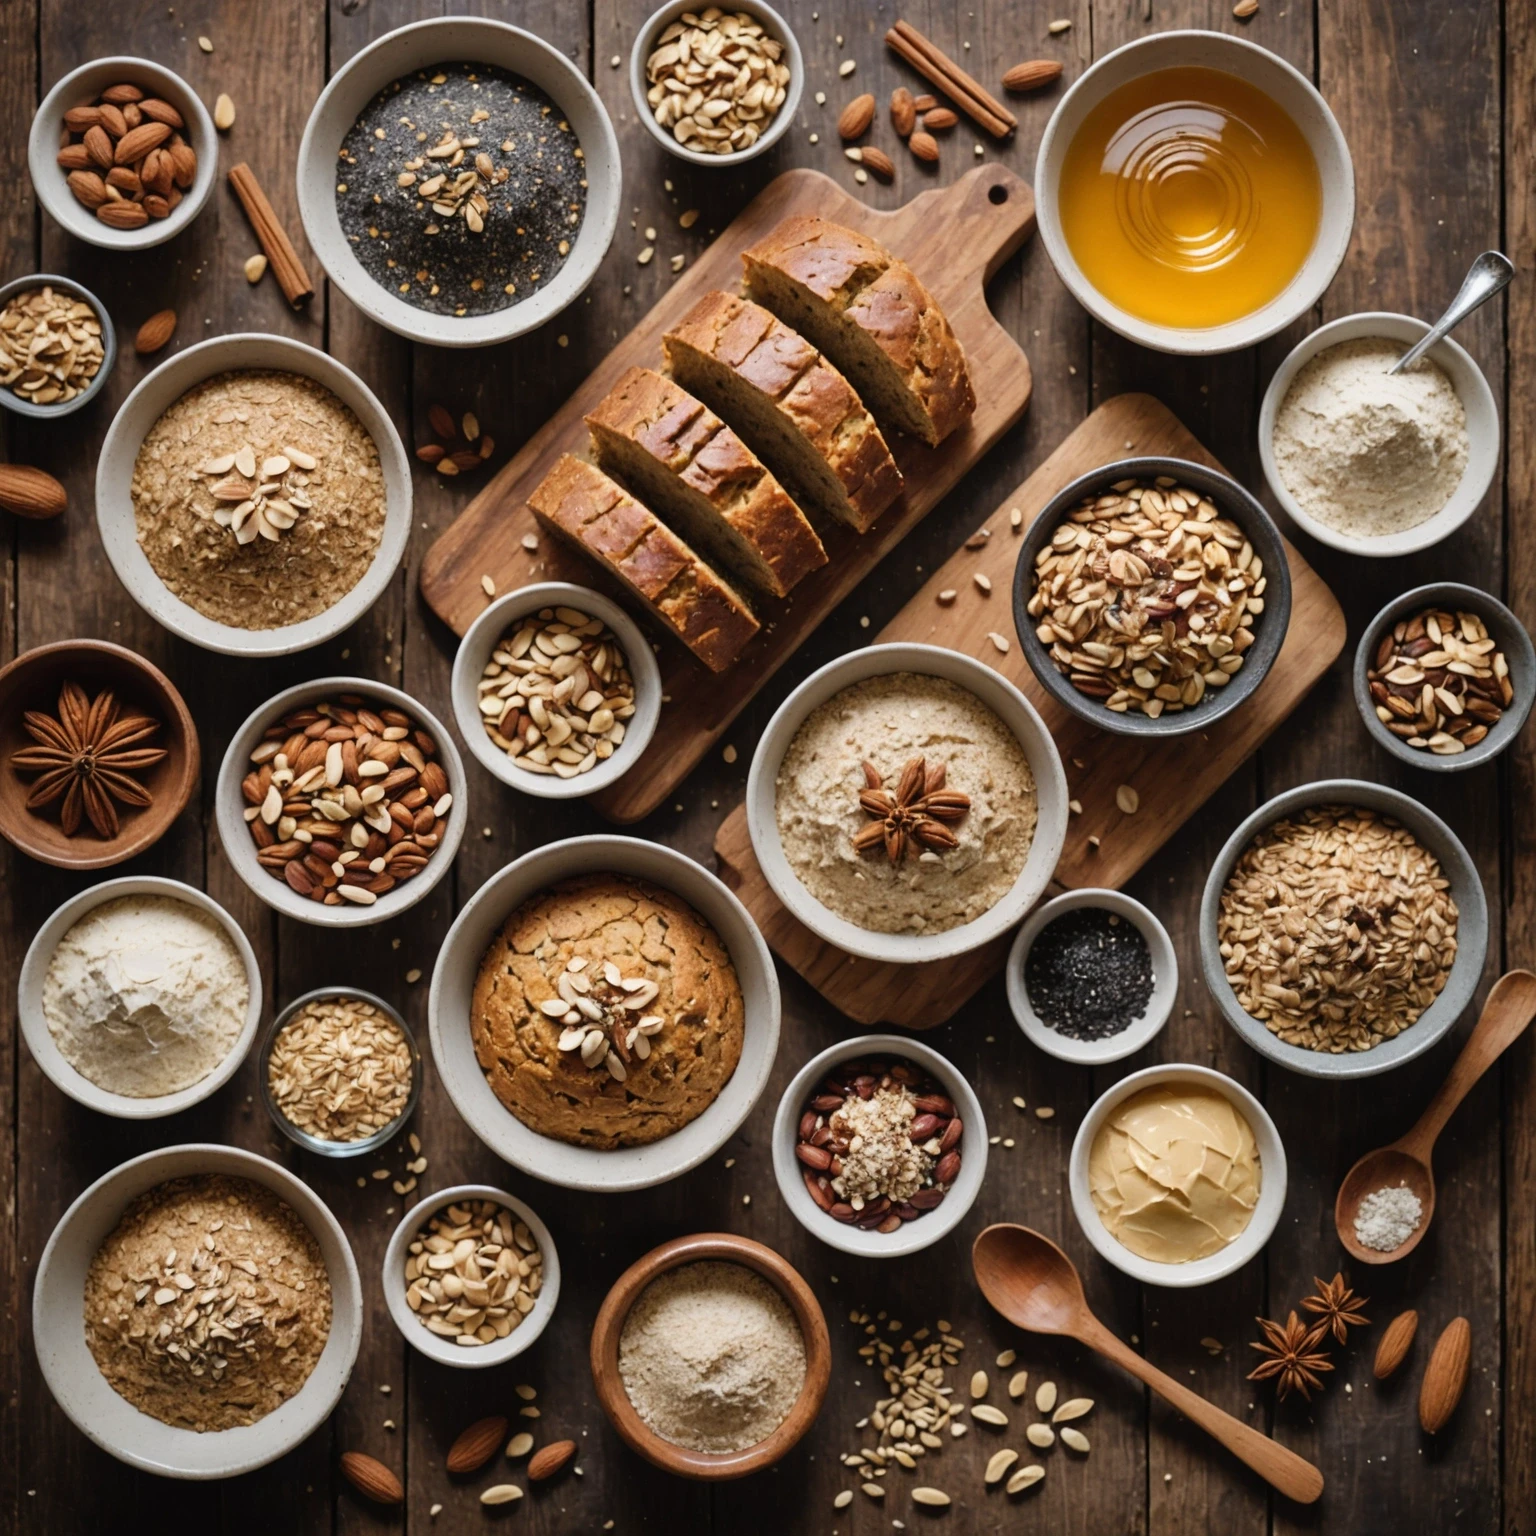
Keep the butter cold and dice it before rubbing it into the flour so the scones rise with a tender crumb. Chop the dates finely and toss them through the dry ingredients before adding liquid so they spread evenly instead of clumping.
Preheat fully to 220 degrees C (425 degrees F) and bake on the middle rack so the scones rise quickly. Start checking at 12 minutes; they are ready when the tops are golden and the sides feel set rather than doughy.
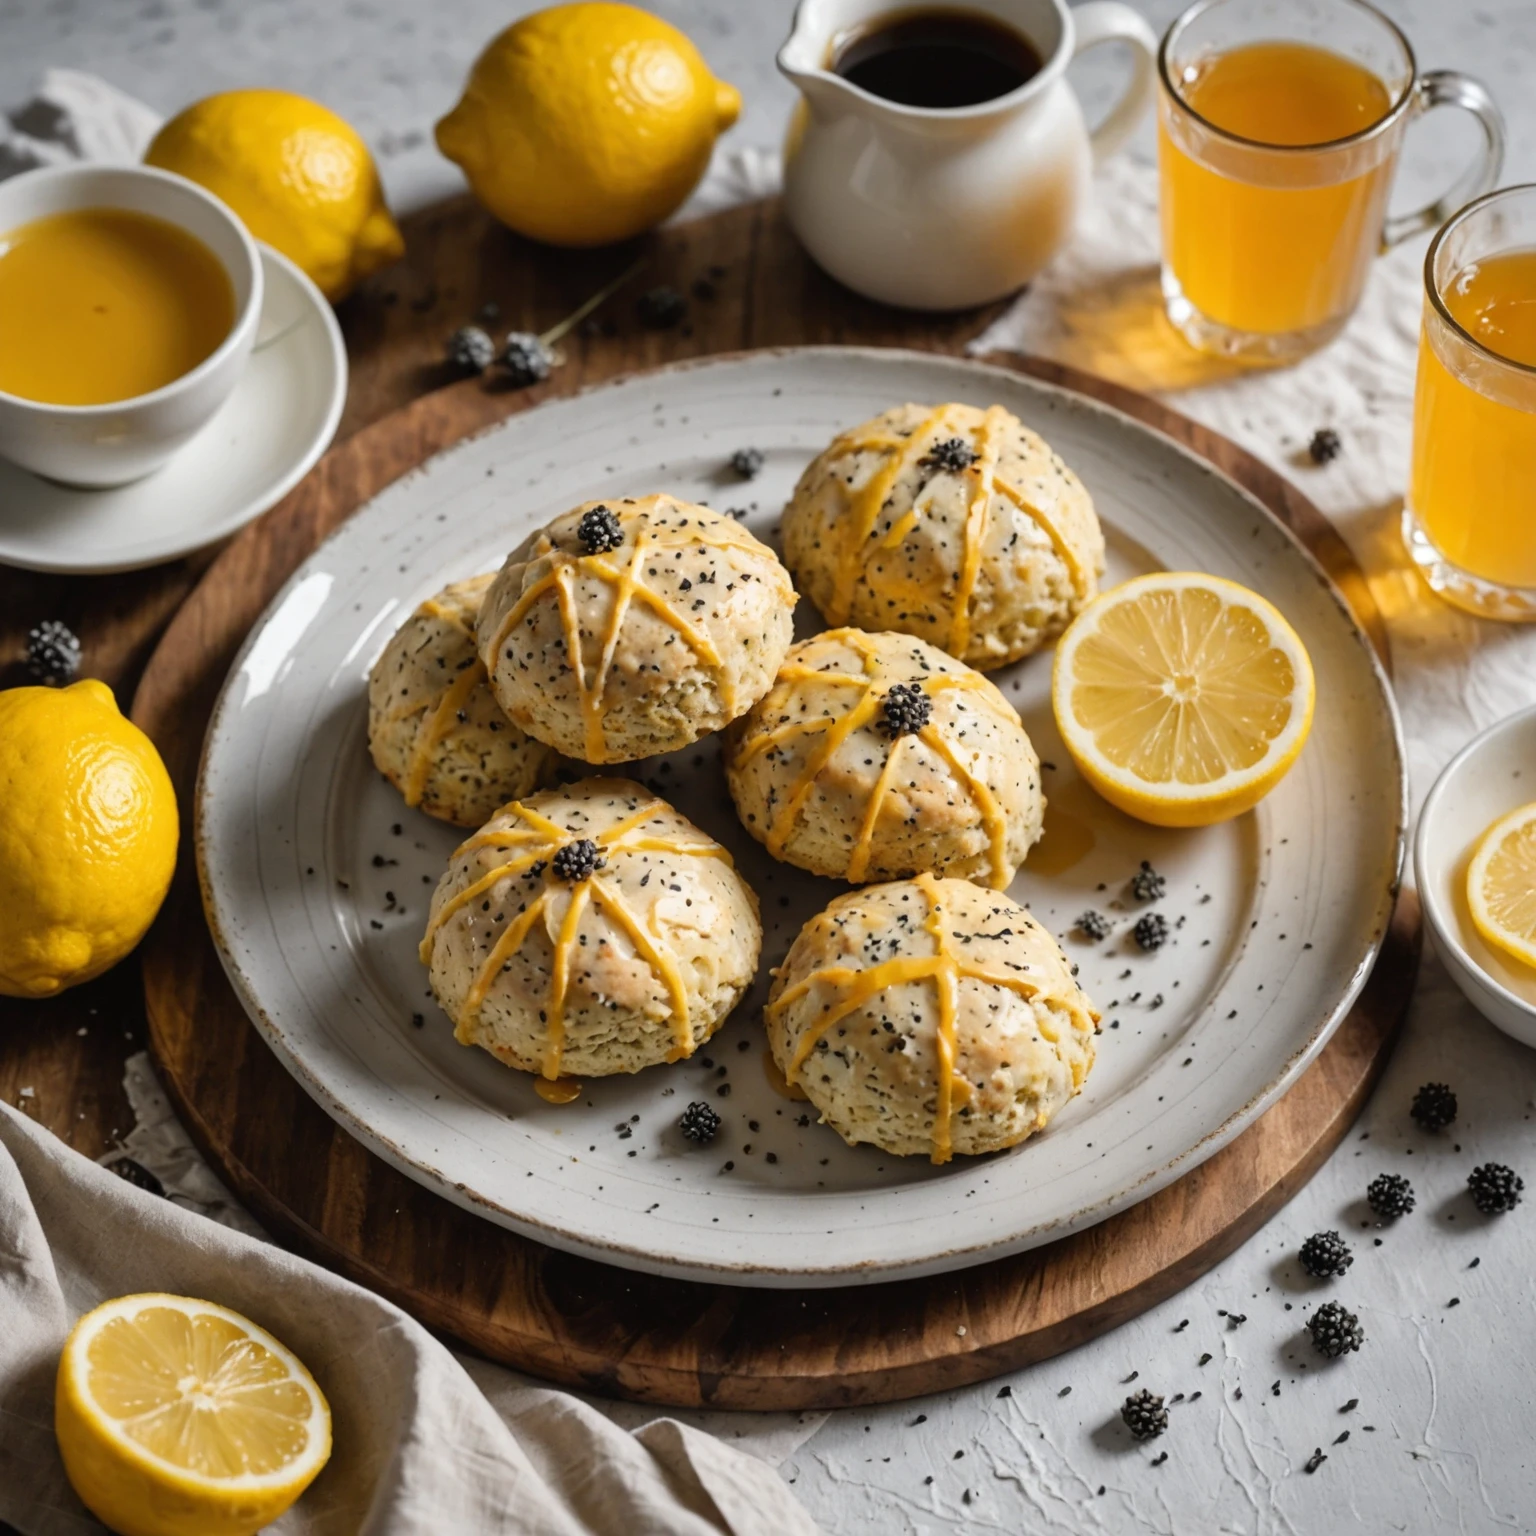
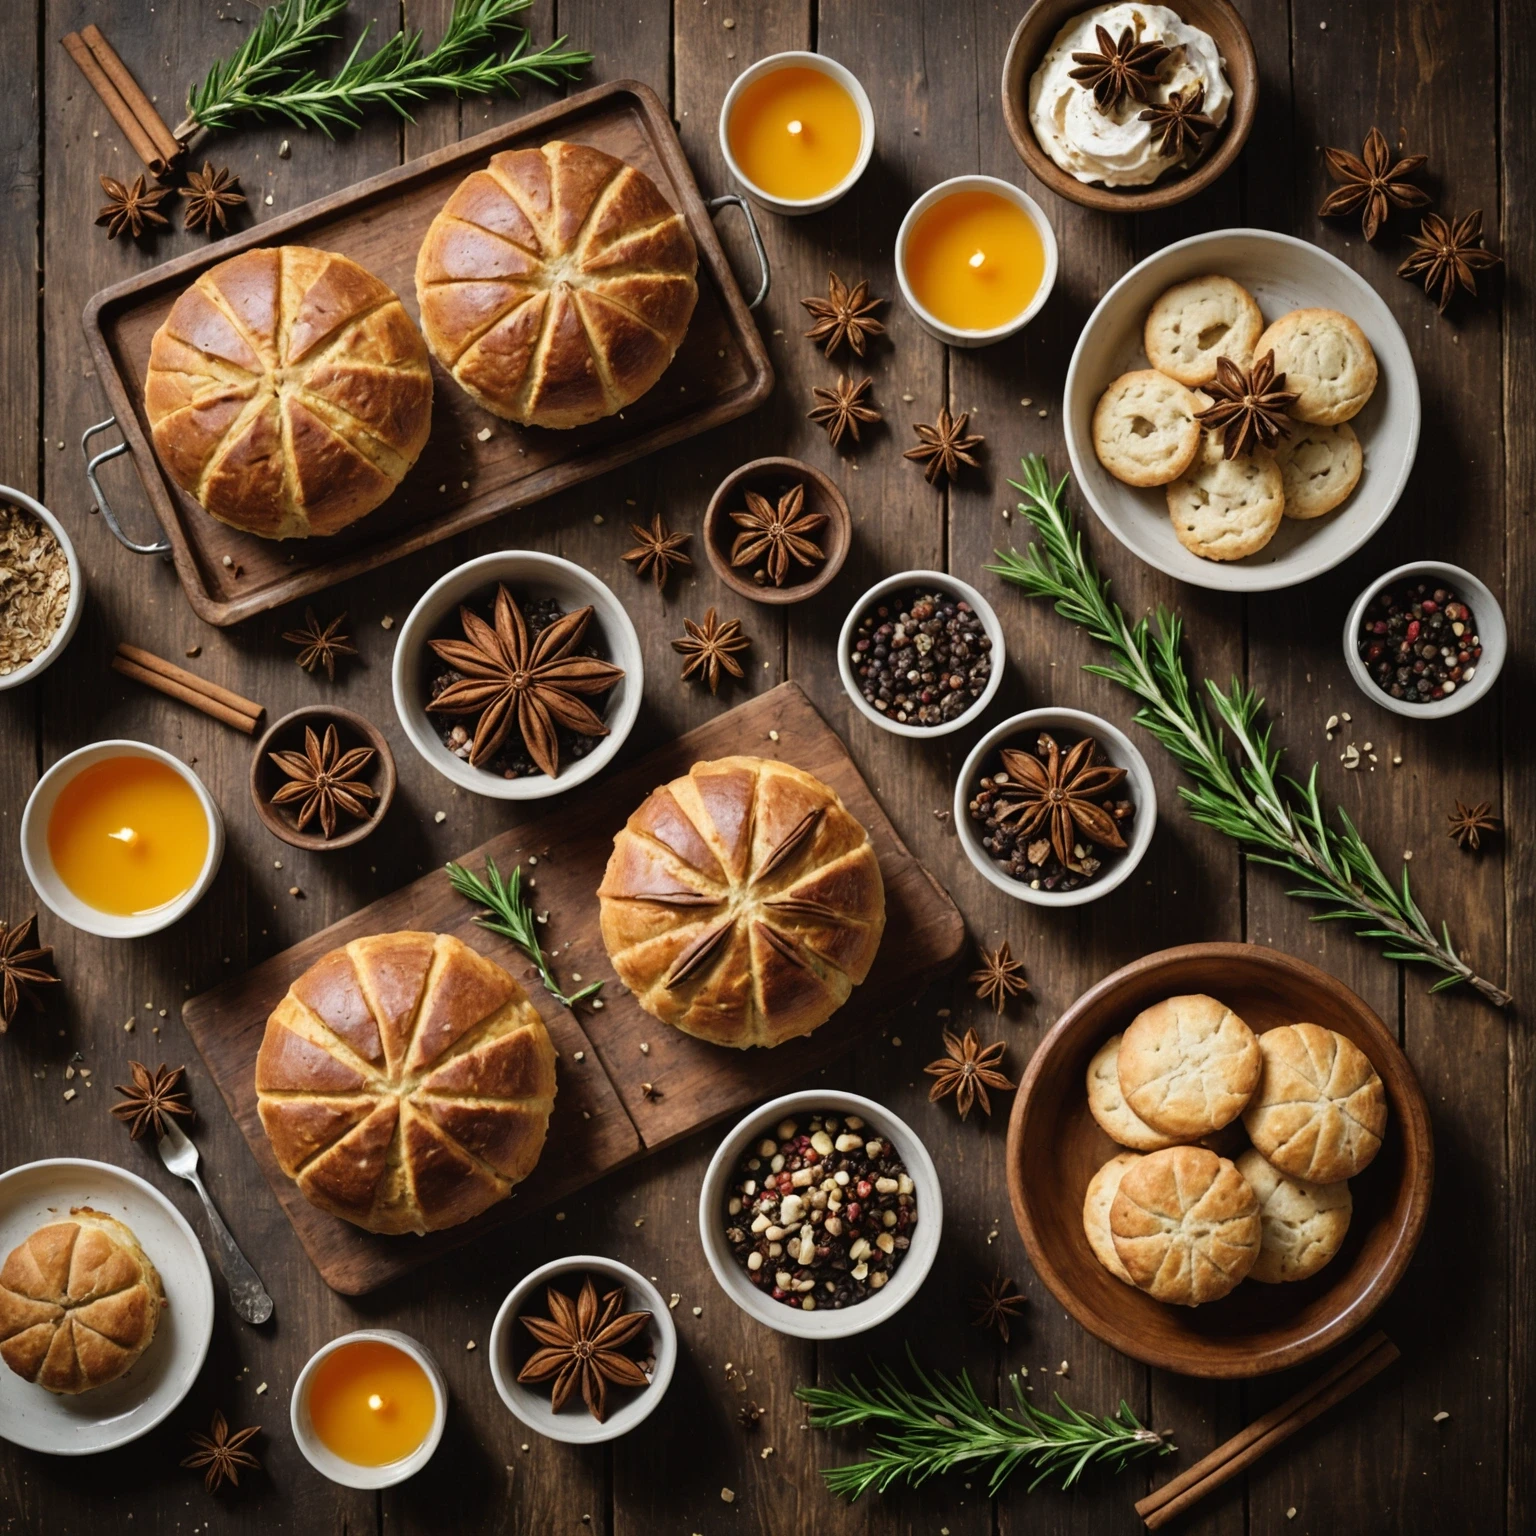
Add 1/2 teaspoon cinnamon or mixed spice to the dry ingredients for a warmer sticky-toffee flavor. Finish the warm glaze with a tiny pinch of flaky sea salt or a little orange zest for a simple bakery-style upgrade.
If you do not have self-raising flour, use 225g all-purpose flour plus 2 teaspoons baking powder and a small pinch of salt. Whole milk gives the softest crumb, but oat milk or another unsweetened milk can work if the dough still feels soft and lightly sticky.
Chopped figs or raisins can replace the dates, though dates give the most classic sticky toffee flavor. For the glaze, swap double cream with heavy cream or full-fat coconut cream, and use plant-based butter if you need a dairy-free version.
Store cooled sticky toffee scones in an airtight container at room temperature for 1 day or refrigerate for up to 3 days. Keep extra butterscotch glaze in a separate covered container in the refrigerator.
Reheat scones in a 160 degrees C (320 degrees F) oven for 5-7 minutes, then spoon over warmed glaze. Freeze unglazed scones for up to 2 months and thaw before reheating.
Read related air fryer guides and cooking tips.
Flavor & Ingredient Tips
Flavor & Ingredient Tips
Explore more recipes you may like.
Rate this recipe and share a photo of your result.
No reviews yet.
Log in to keep this recipe in your favorites.
Reset password Register