Flavor & Ingredient Tips
Beginnerbakes
One-Bowl Lemon Poppy Seed Scones with Honey Butter Glaze Recipe
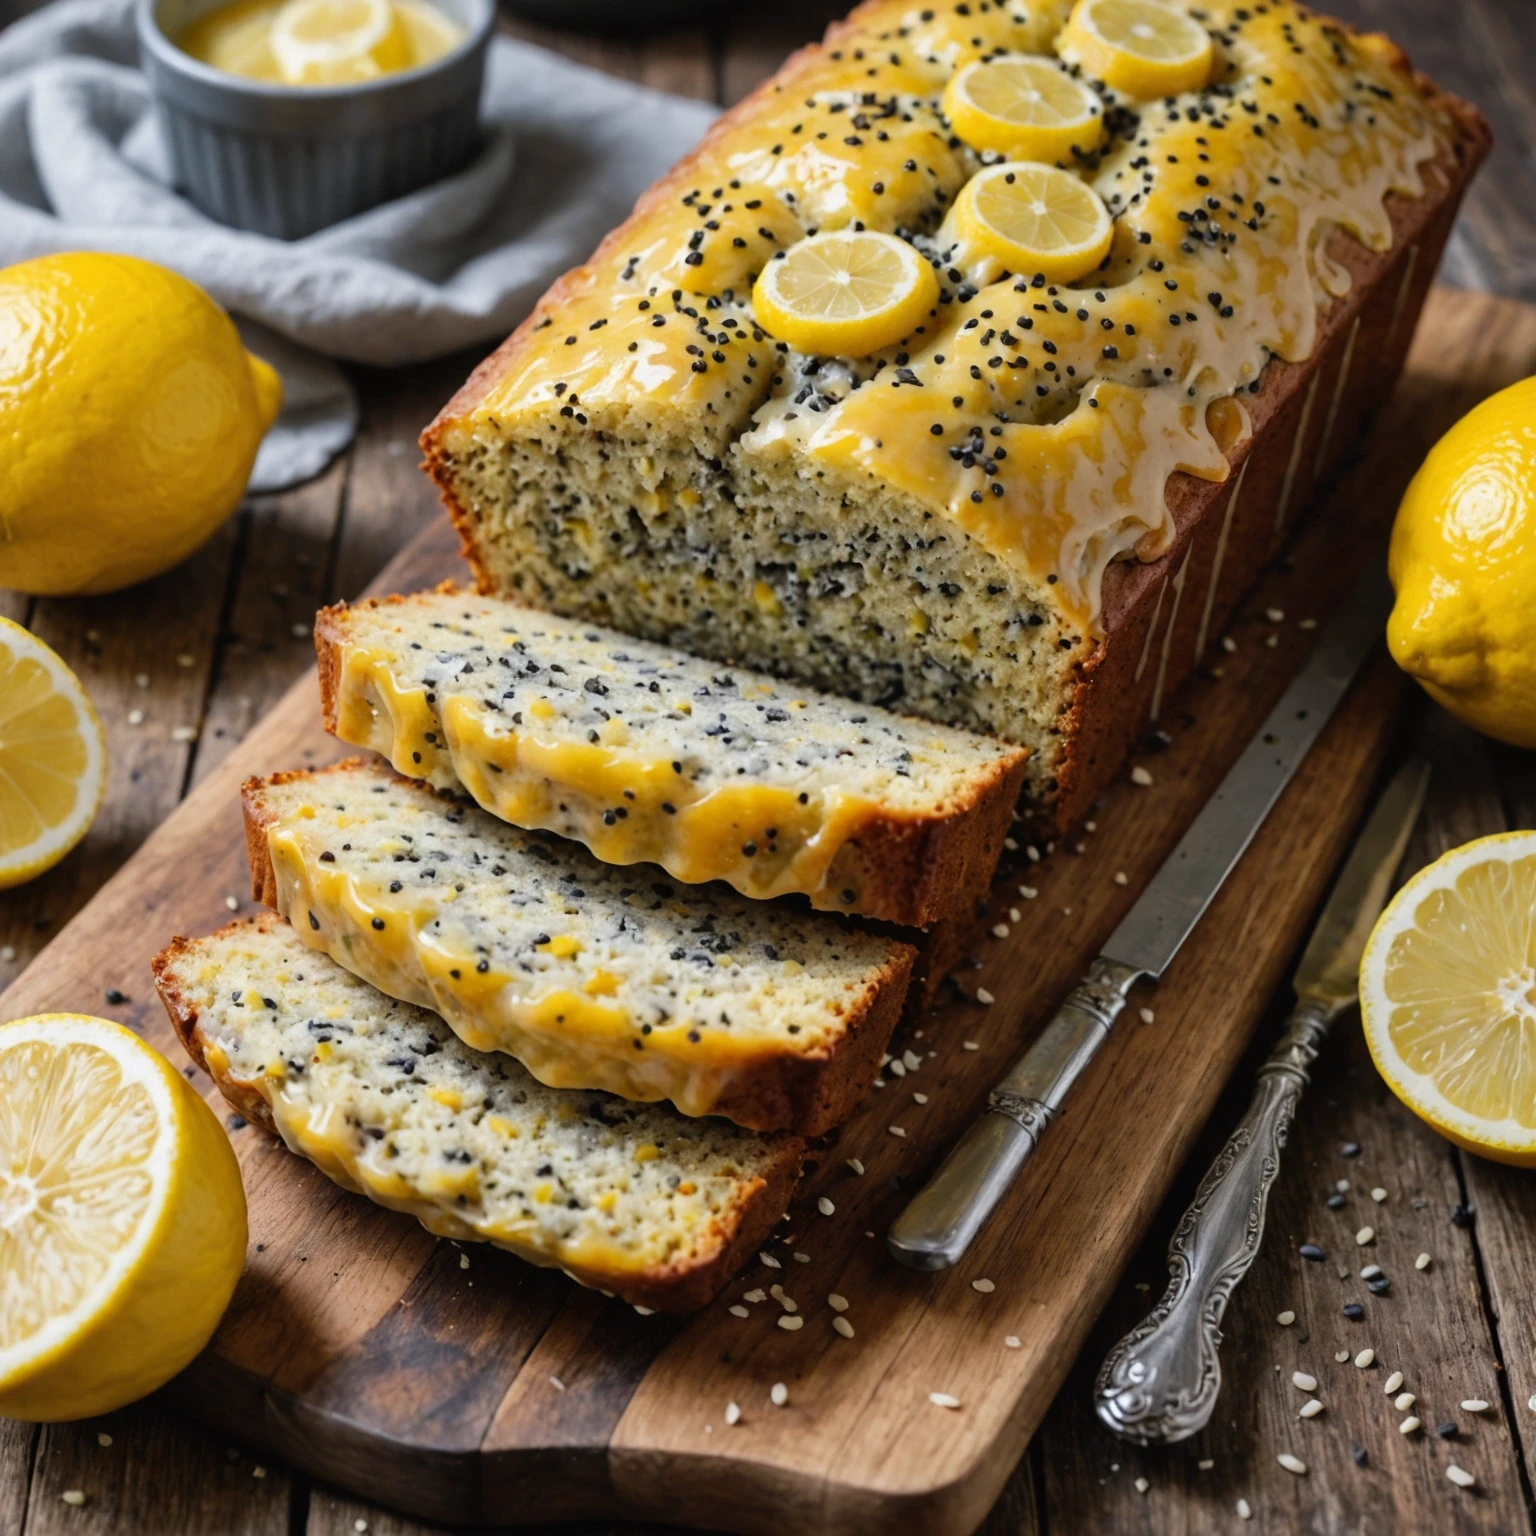
An easy, beginner-friendly one-bowl recipe for lemon poppy seed scones bursting with fresh lemon zest and crunchy poppy seeds. Topped with a sweet honey butter glaze, these scones make a perfect quick morning bake or cozy snack.
Ingredients
- 2 cups all-purpose flour
- 1/4 cup granulated sugar
- 1 tablespoon baking powder
- 1/2 teaspoon salt
- Zest of 1 large lemon (about 1 tablespoon)
- 2 tablespoons poppy seeds
- 1/2 cup cold unsalted butter, cut into small pieces
- 3/4 cup cold whole milk
- 1 large egg
- 1 teaspoon vanilla extract
- 2 tablespoons unsalted butter, melted
- 2 tablespoons honey
- 1 teaspoon lemon juice
Instructions
-
Preheat your oven to 400°F (200°C). Line a baking sheet with parchment paper or a silicone baking mat.
-
In a large mixing bowl, whisk together the flour, granulated sugar, baking powder, salt, lemon zest, and poppy seeds until evenly combined.
-
Add the cold cubed butter to the dry mixture. Using a pastry cutter, forks, or your fingertips, quickly cut the butter into the flour mixture until it resembles coarse crumbs. Leave some pea-sized butter pieces visible to ensure flaky scones.
-
In a separate small bowl, whisk together the cold milk, egg, and vanilla extract until smooth.
-
Pour the wet ingredients into the dry ingredients all at once. Gently stir with a wooden spoon or rubber spatula just until the dough comes together. Avoid overmixing to keep scones tender and flaky.
-
Turn dough onto a lightly floured surface. Pat it gently into an 8-inch circle about 3/4 inch thick. Cut the dough into 8 equal wedges with a sharp knife or bench scraper.
-
Transfer wedges onto the prepared baking sheet, spacing them about 2 inches apart. Optionally, brush the scone tops lightly with milk for a golden finish.
-
Bake for 14-16 minutes, or until scones are golden brown on top and a toothpick inserted into the center comes out clean.
-
While scones bake, whisk together melted butter, honey, and lemon juice in a small bowl to prepare the honey butter glaze.
-
Remove scones from oven and let cool on the baking sheet for 5 minutes. While warm, brush generously with the honey butter glaze for a shiny, sweet finish.
-
Serve the scones warm or at room temperature. Store leftovers in an airtight container for up to 2 days.
Frequently Asked Questions
Reader questions and answers for this recipe will appear here.
Customize your One-Bowl Lemon Poppy Seed Scones easily with these ingredient swaps to accommodate dietary restrictions or preferences:
- Gluten-Free: Use a gluten-free baking blend suitable for quick breads to maintain desired texture.
- Dairy-Free: Substitute whole milk with almond, oat, or coconut milk, and use vegan butter or dairy-free margarine instead of butter.
- Vegan: Use plant-based milk and vegan butter; replace egg with a flax egg or chia egg (1 tbsp seeds + 3 tbsp water, rested 5 minutes).
- Lower Sugar: Reduce sugar in the dough or replace honey in the glaze with maple syrup or agave nectar.
- Nut-Free: The recipe is naturally nut-free; always check labels to ensure safety for allergy sufferers.
- Whole-Grain: Substitute up to half the flour with whole wheat flour for a wholesome, slightly heartier texture while maintaining tenderness with gentle mixing.
These replacements help maintain the bright lemon flavor and tender crumb for delicious results tailored to your needs.
Equipment Needed
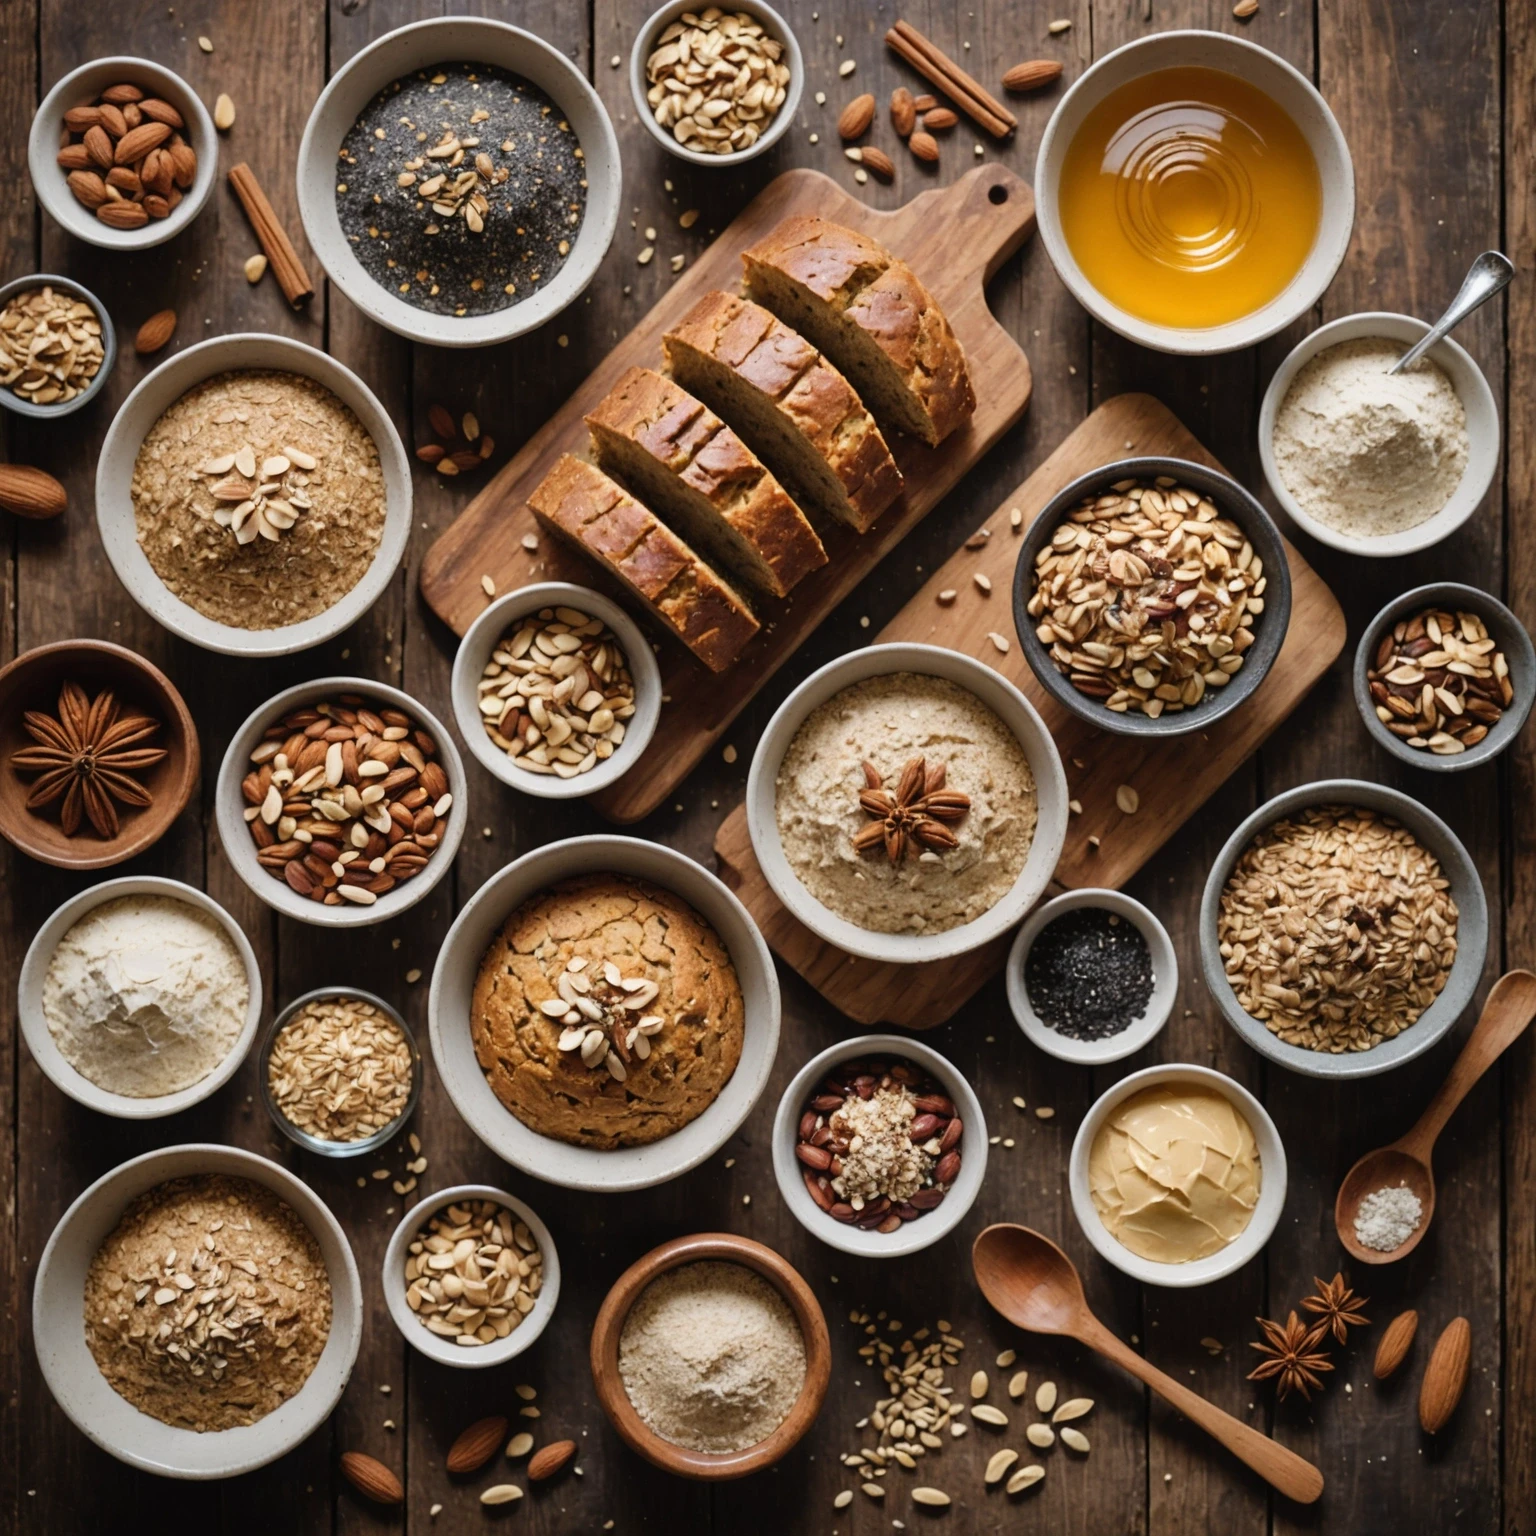
To make the One-Bowl Lemon Poppy Seed Scones with Honey Butter Glaze successfully, ensure you have the following essential equipment prepared:
- Large Mixing Bowl: For combining all ingredients efficiently in one place.
- Measuring Cups and Spoons: Accurate measurements of flour, sugar, baking powder, salt, and liquids are key to perfect scones.
- Pastry Cutter or Forks (optional): To cut cold butter into the flour mixture quickly. Fingertips work well too.
- Wooden Spoon or Rubber Spatula: For gentle mixing of wet and dry ingredients without overworking the dough.
- Knife or Bench Scraper: To cut the shaped dough into equal wedges cleanly.
- Baking Sheet: Line it with parchment paper or a silicone mat to prevent sticking and simplify cleanup.
- Oven: Preheated to 400°F (200°C) for baking the scones evenly.
- Small Bowl or Cup: To whisk wet ingredients separately and prepare the honey butter glaze.
- Pastry Brush: For brushing milk on tops before baking and applying the glaze after baking.
- Cooling Rack (optional): Allows scones to cool evenly if removed from the baking sheet.
Having these tools ready will help ensure a smooth baking process and tender, flavorful scones every time.
Ingredient Prep Notes
Flour: Use all-purpose flour for the best texture and rise. For gluten-free baking, substitute with a gluten-free blend designed for quick breads, adding 1/2 teaspoon xanthan gum if not included.
Butter: Keep the unsalted butter cold and cut into small cubes to achieve flaky layers. For vegan/dairy-free alternatives, use vegan butter or solid coconut oil.
Milk: Whole milk enriches flavor and texture, but cold plant-based milks like almond, oat, or soy milk can be substituted. Keep it chilled to prevent premature butter melting.
Egg: Adds structure and moisture to the dough. For vegan substitution, use 1/4 cup unsweetened applesauce or a flax egg (1 tbsp ground flaxseed mixed with 3 tbsp water, allowed to gel for 5 minutes).
Lemon Zest: Use fresh lemon zest for bright citrus flavor. Avoid dried lemon peel as it can be bitter and less aromatic.
Poppy Seeds: Adds crunch and subtle nutty flavor. If allergic, substitute with chia seeds or chopped nuts if appropriate.
Honey Butter Glaze: For a vegan or dairy-free glaze, replace butter with melted coconut oil or vegan butter, and honey with maple syrup. Adjust lemon juice to balance sweetness and tang.
Measuring Tips: Lightly spoon and level your flour when measuring to prevent dense scones. Keep all cold ingredients chilled until combined for optimal texture.
Following these ingredient preparation tips helps maintain the scones' tender, flaky texture while allowing customization for dietary needs.
Oven Note
For best results, preheat your oven fully to 400°F (200°C) before baking to ensure proper rise and golden tops. Bake the scones on the middle rack for even heat distribution. If your oven has hot spots, rotate the baking sheet halfway through cooking.
Minimize opening the oven door during baking to maintain stable temperature and prevent dense scones.
Line baking sheets with parchment paper or silicone baking mats for easy cleanup and even baking surfaces.
Once baked, let the scones cool slightly on the baking sheet before brushing the honey butter glaze. This approach allows the glaze to melt beautifully and set with a glossy finish.
Adjust baking time slightly if you notice your oven runs hot or cool; aim for a light golden brown, and confirm doneness with a clean toothpick test.
Following these oven tips builds confidence and ensures successful, delicious scones.
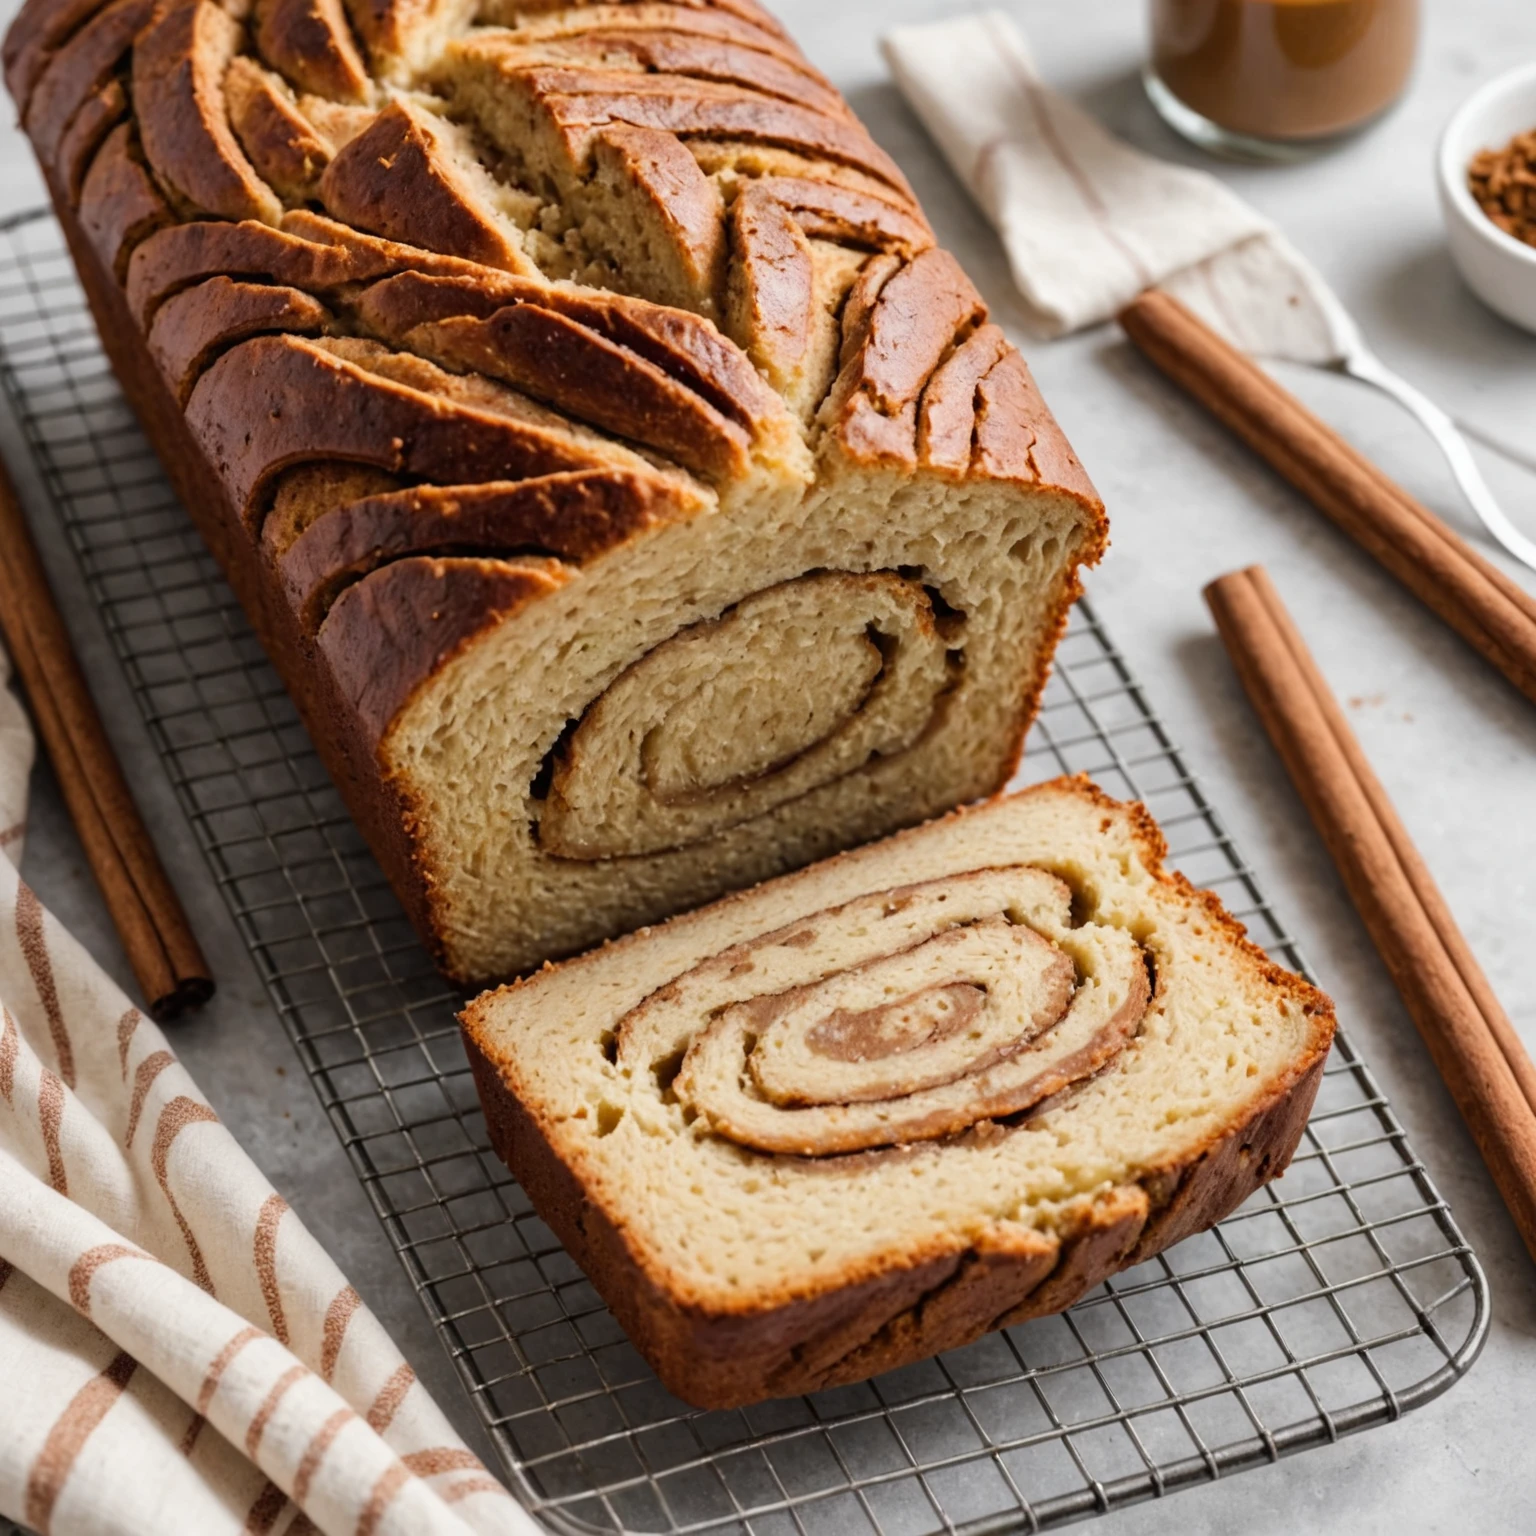
Simple Ways to Enhance Your Lemon Poppy Seed Scones
- Add Fresh Fruit: Incorporate 1/2 cup blueberries, raspberries, or chopped strawberries into the dough for a juicy, fruity variation.
- Try a Zesty Glaze: Swap honey in the glaze for maple syrup or drizzle a lemon glaze made from powdered sugar and lemon juice for extra citrus flavor.
- Add Nuts for Texture: Mix in 1/3 cup chopped almonds, pecans, or walnuts for added crunch (consider allergies).
- Spice It Up: Sprinkle in a pinch of ground ginger, cinnamon, or cardamom to the dry ingredients for warm undertones.
- Make It Vegan or Dairy-Free: Use coconut oil or vegan butter with plant-based milk and substitute the egg with a flax or chia egg.
- Elevate Presentation: Sprinkle coarse sugar or extra poppy seeds on top before baking for a pretty, textured finish.
- Chocolate Version: Fold in 1/3 cup mini chocolate chips for a kid-friendly and indulgent twist.
- Healthy Twist: Replace up to half the all-purpose flour with rolled oats or whole wheat flour for a heartier breakfast scone.
These upgrades keep the recipe beginner-friendly while adding fun, flavorful twists to your baking.
Related Articles
Read related air fryer guides and cooking tips.
More Recipes
Explore more recipes you may like.
Reviews
Rate this recipe and share a photo of your result.
No reviews yet.
Save this recipe
Log in to keep this recipe in your favorites.
Reset password Register