Flavor & Ingredient Tips
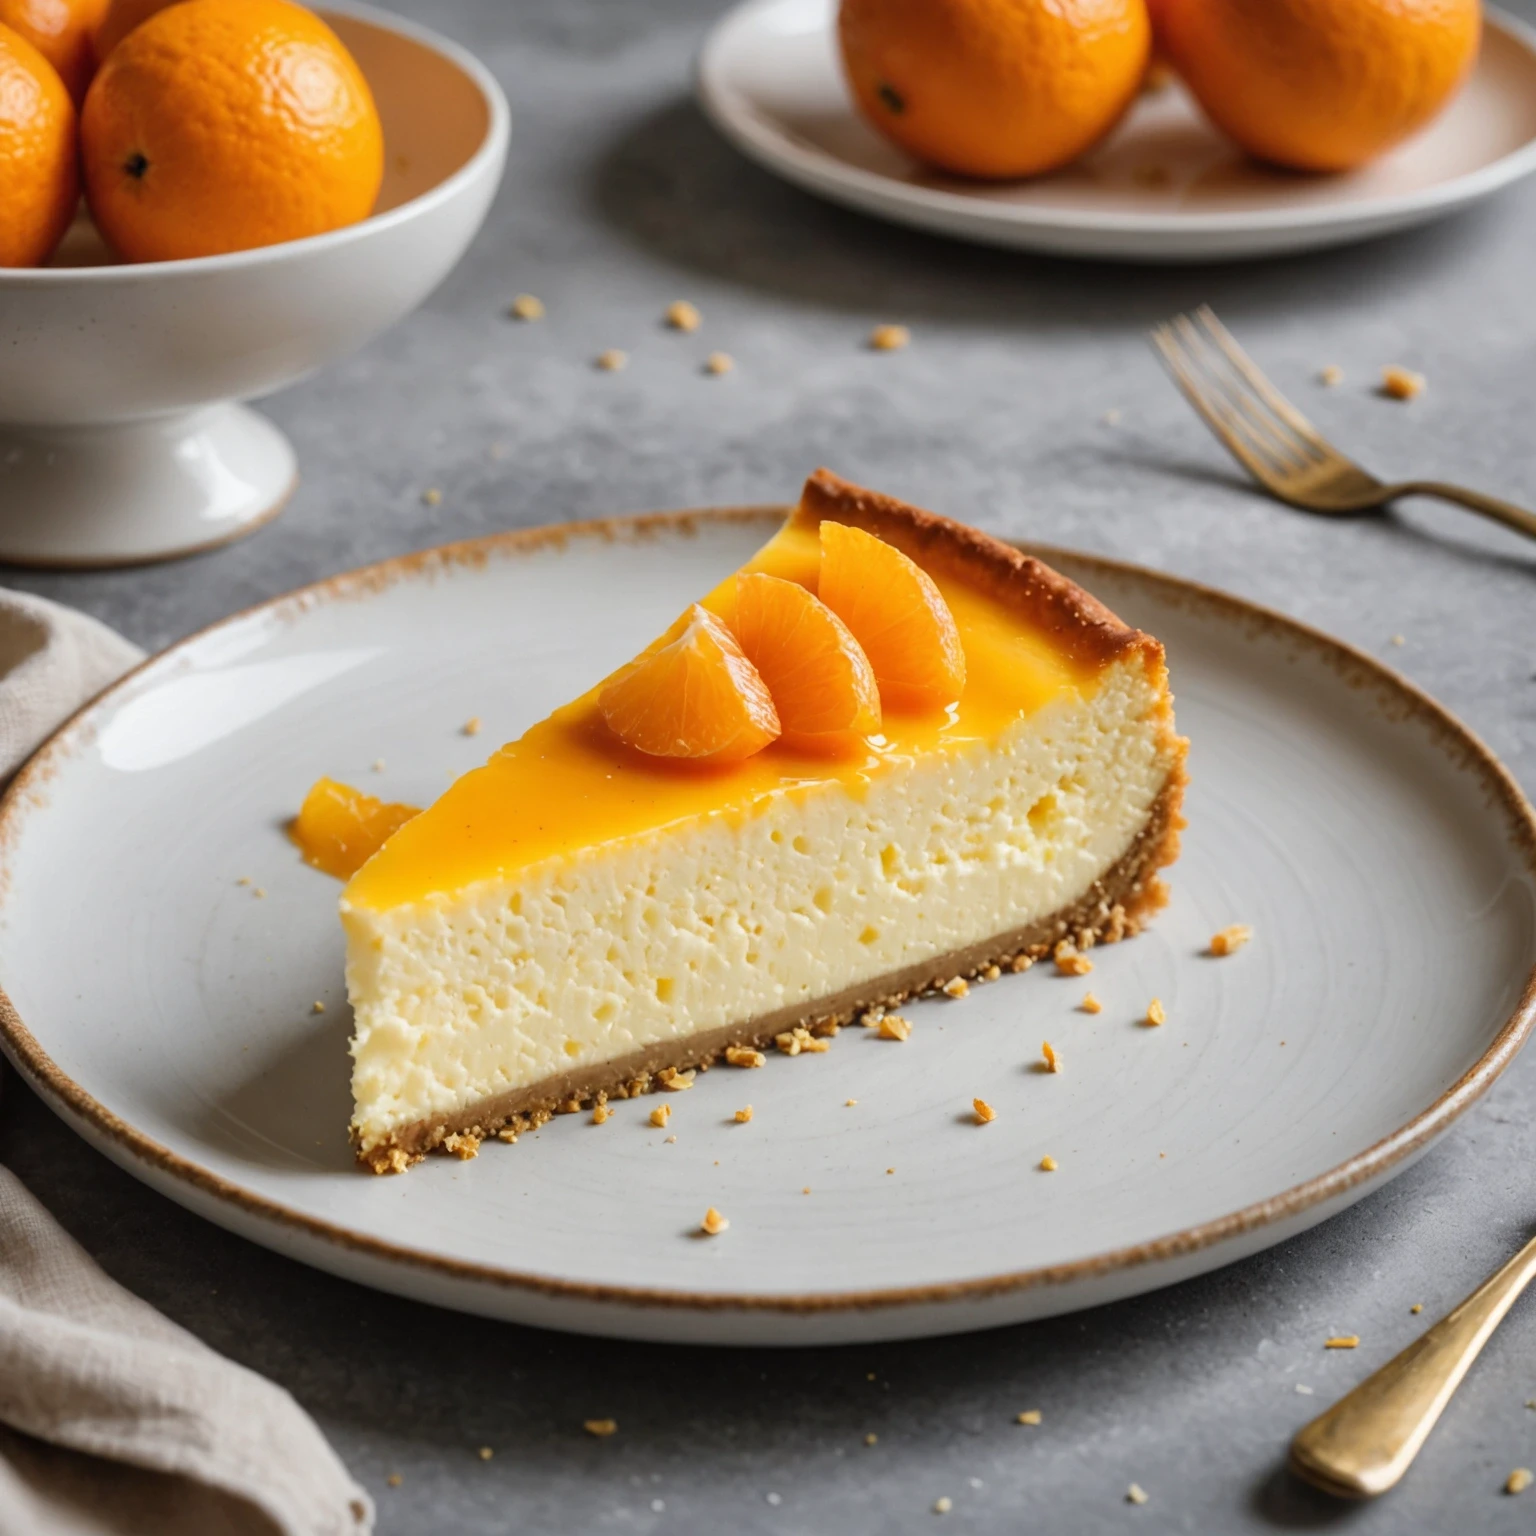
This beginner-friendly Italian ricotta cheesecake has a lightly sweet almond crust, creamy citrus filling, and fresh orange aroma. The recipe focuses on draining ricotta, gently mixing the filling, and cooling the cheesecake slowly for a smooth set.

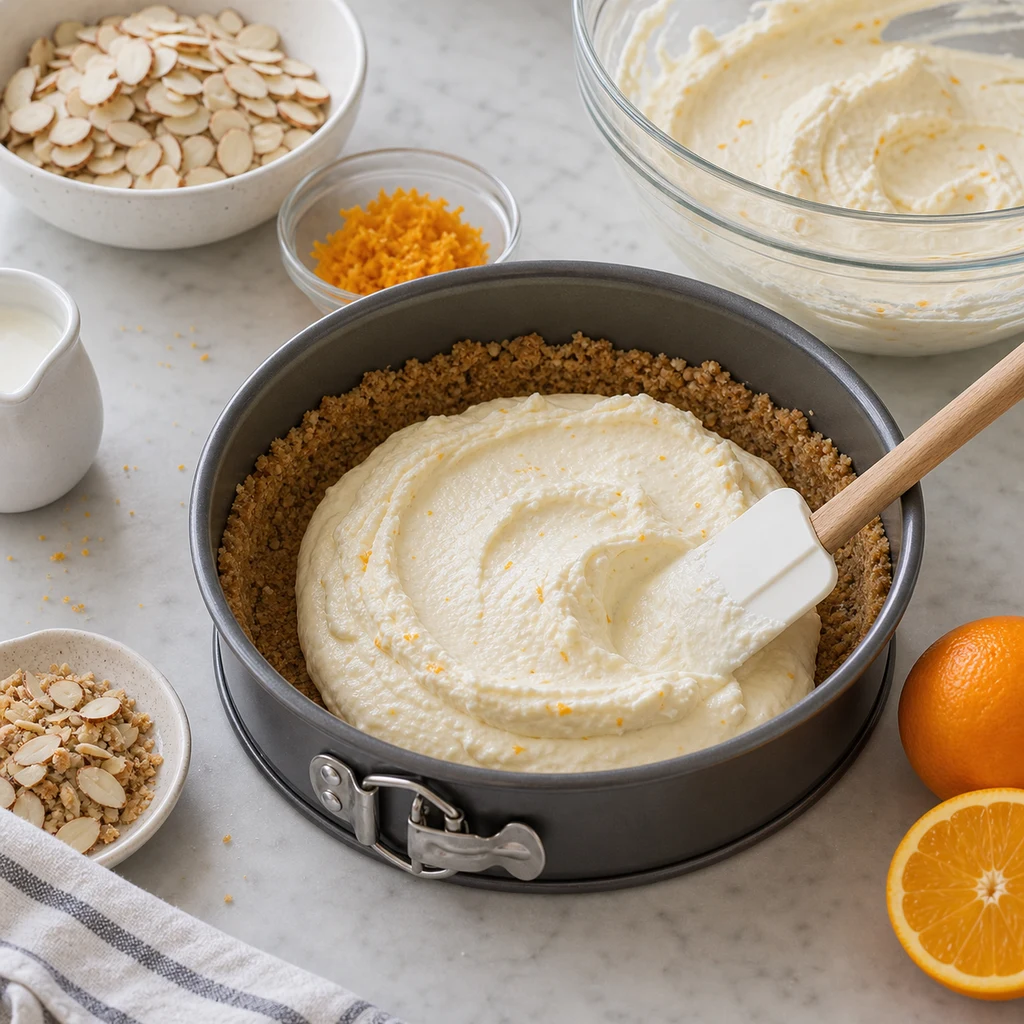
Use a 9-inch springform pan, parchment paper, a medium bowl for the crust, a large bowl for the filling, and a spatula for smoothing. A hand mixer makes the ricotta filling smoother, while a zester gives the brightest orange flavor.
Drain the ricotta before mixing so the cheesecake sets creamy instead of watery. Zest the orange before juicing it, and fold in the flour gently so the filling stays light.
Preheat to 350 degrees F (175 degrees C) and bake the almond crust first until lightly golden. After the cheesecake bake, turn off the oven and cool it inside with the door slightly open for 1 hour to reduce cracking.
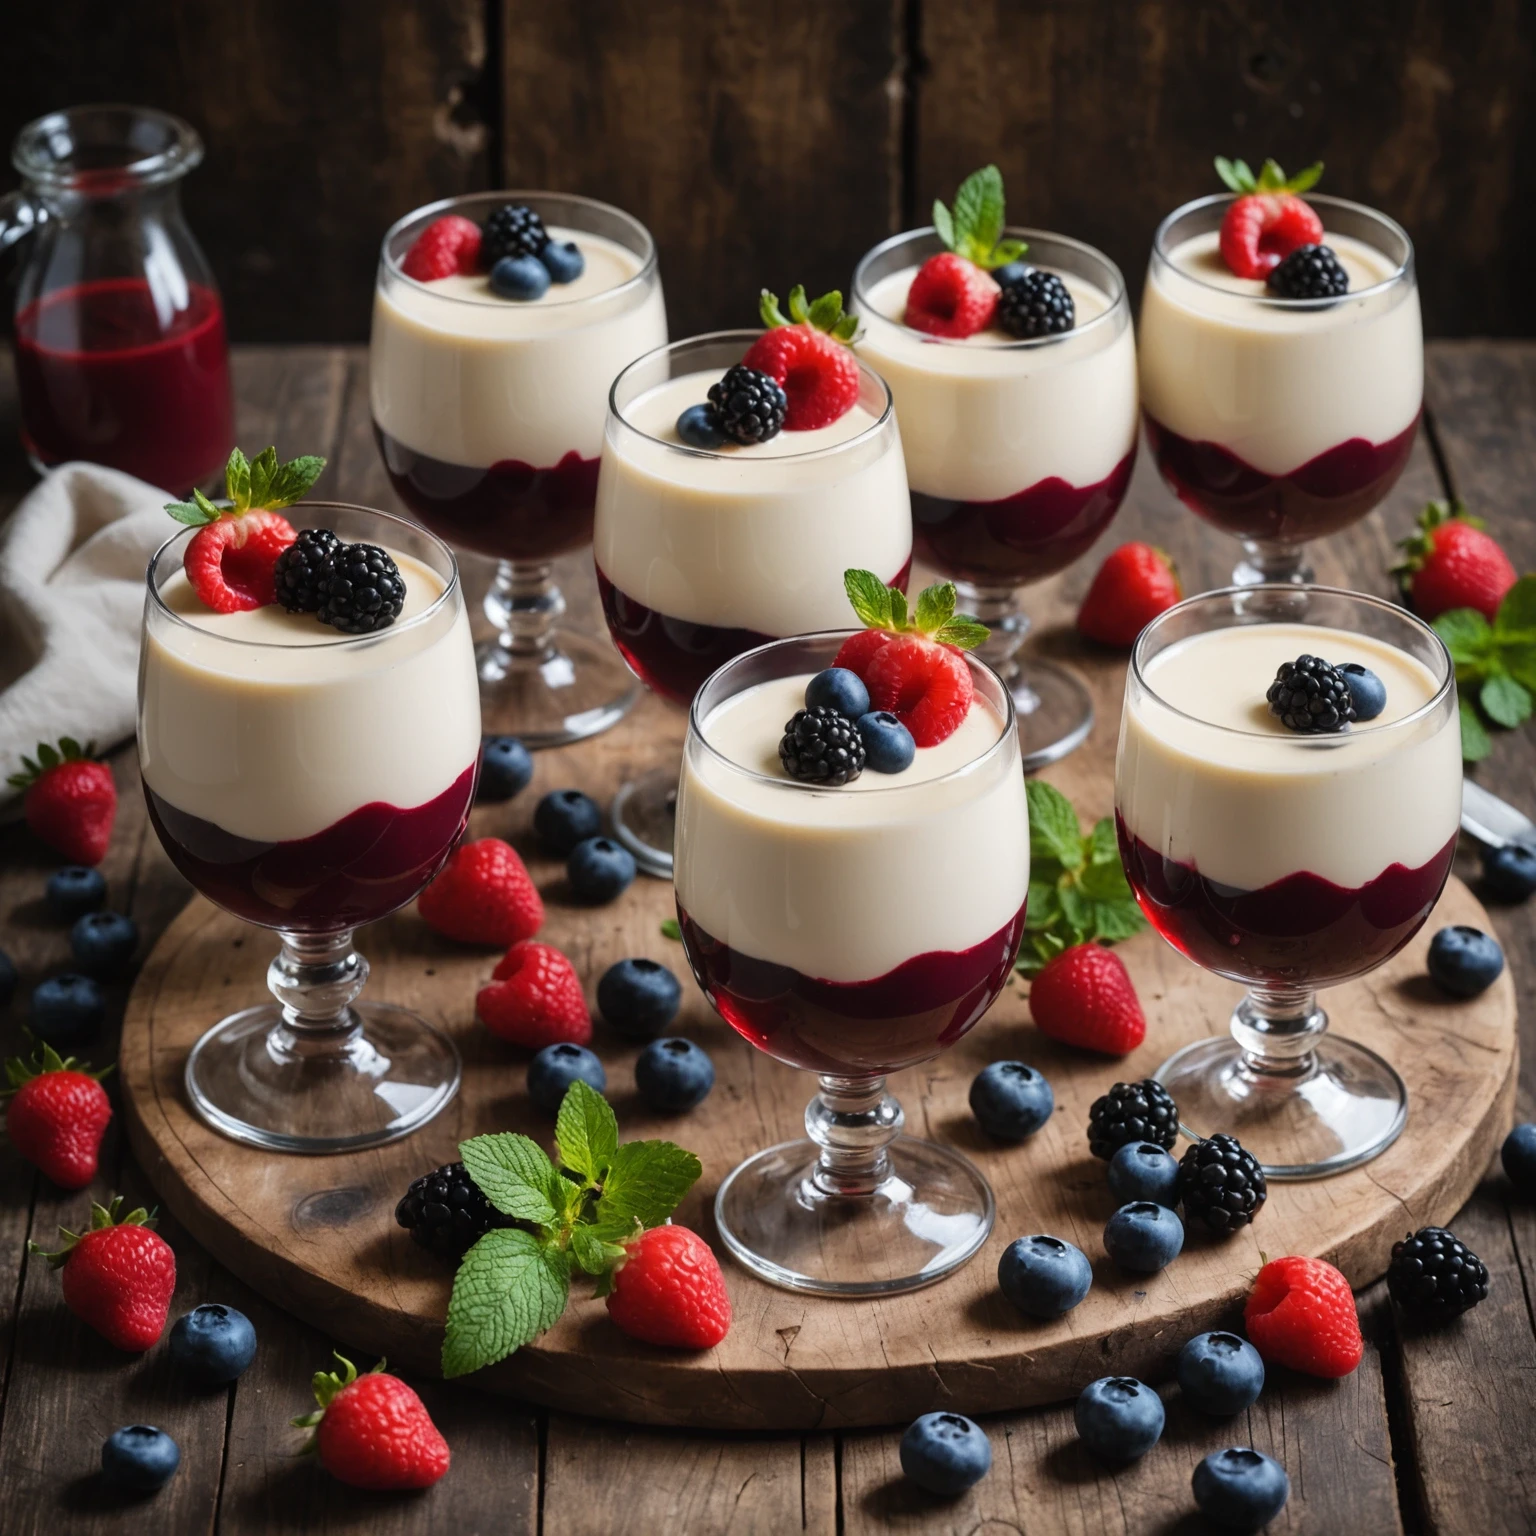
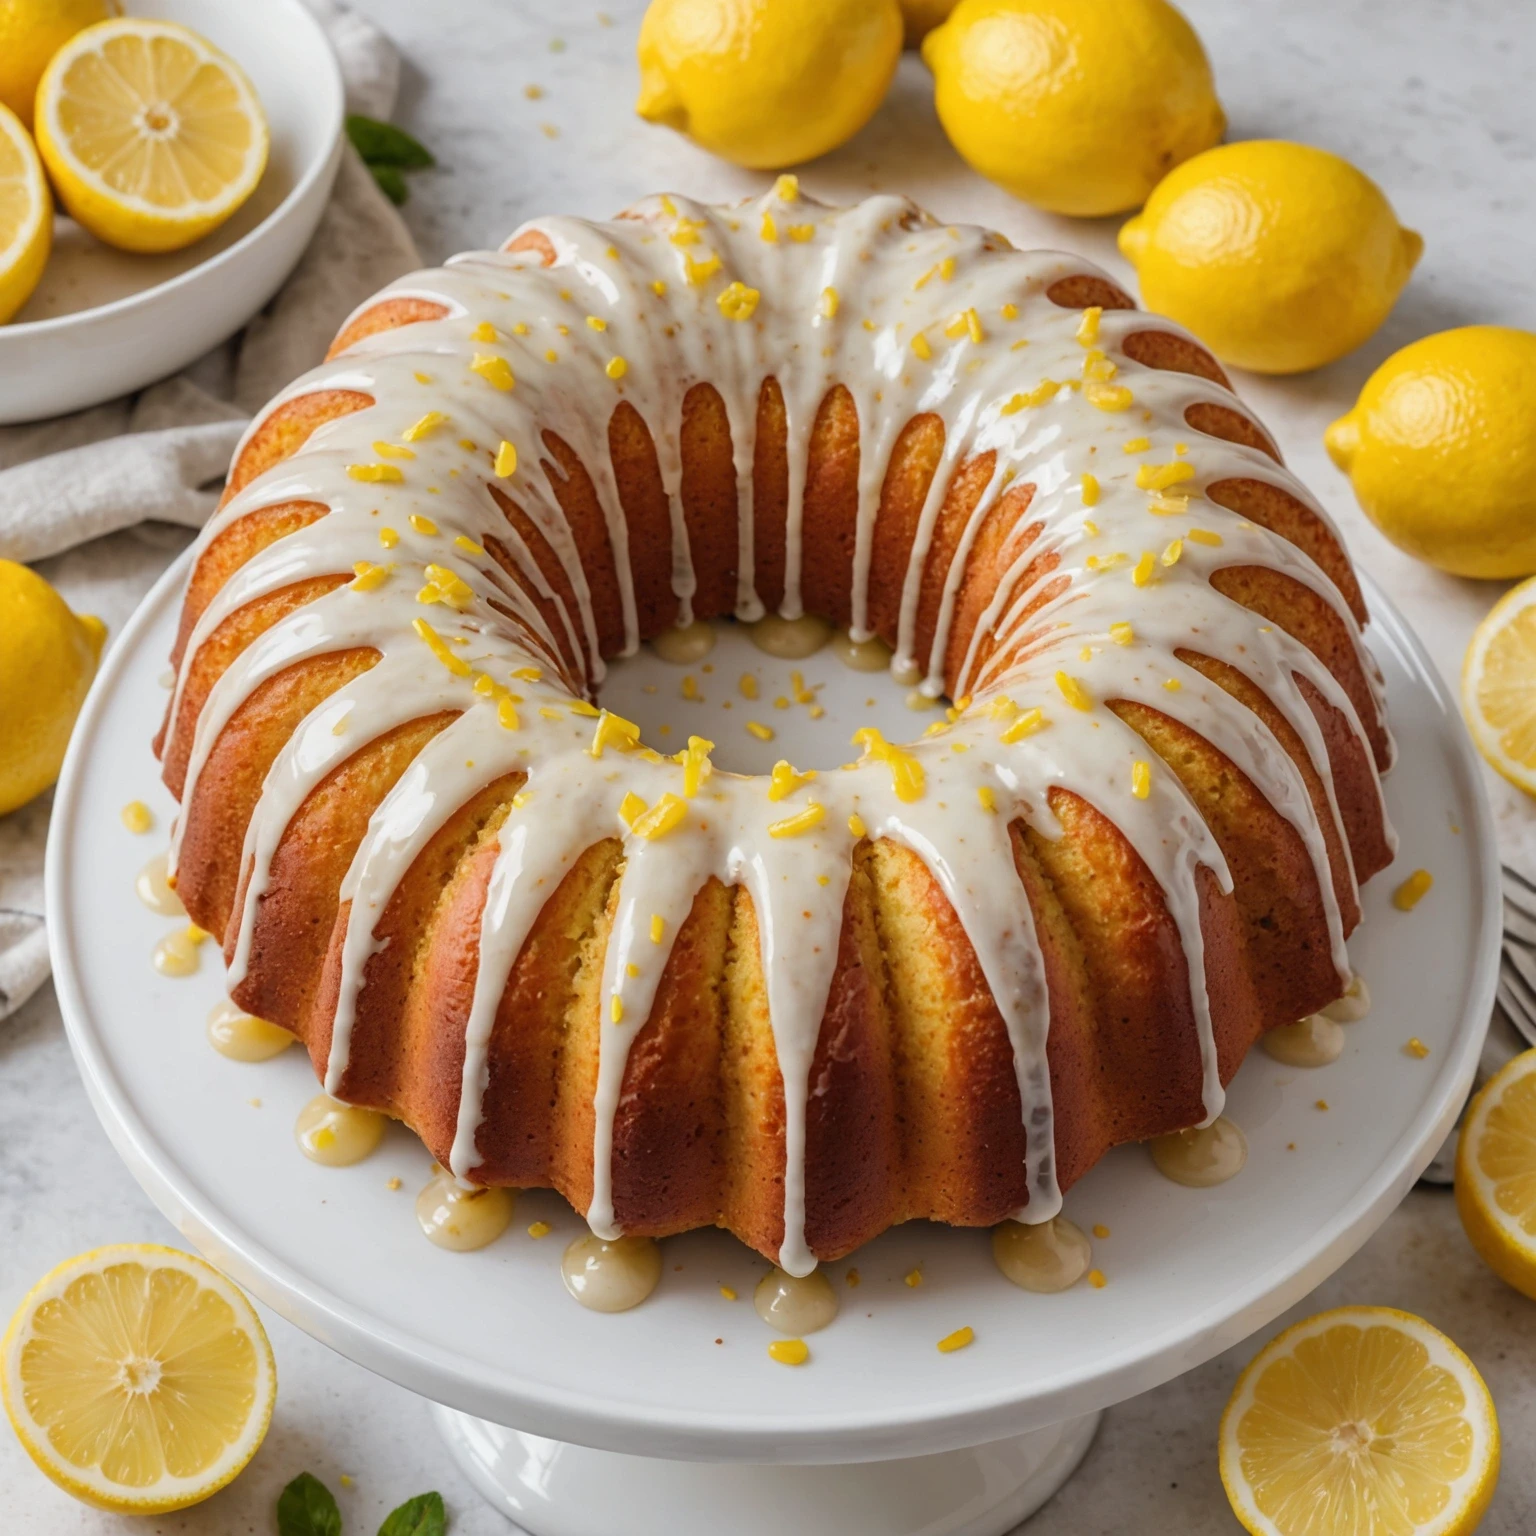
Top chilled slices with fresh berries, toasted sliced almonds, or a dusting of powdered sugar. For extra citrus shine, brush the cooled cheesecake with a thin orange juice glaze before serving.
For a nut-free crust, replace almond flour with finely crushed vanilla cookies or graham crackers and keep the melted butter amount the same. If ricotta is very wet, drained cottage cheese blended smooth can work, but drain it first so the filling does not turn loose.
A gluten-free flour blend or cornstarch can replace the small amount of all-purpose flour in the filling. Lemon zest and lemon juice can stand in for orange if you want a brighter, tangier cheesecake.
Store cooled cheesecake covered in the refrigerator for up to 4 days. Keep it chilled until serving so the ricotta filling stays firm and cleanly sliceable.
Freeze individual slices for up to 2 months, wrapped tightly and placed in a freezer-safe container. Thaw overnight in the refrigerator and serve chilled; do not reheat cheesecake.
Read related air fryer guides and cooking tips.
Flavor & Ingredient Tips
Flavor & Ingredient Tips
Explore more recipes you may like.
Rate this recipe and share a photo of your result.
No reviews yet.
Log in to keep this recipe in your favorites.
Reset password Register