Beginnerbakes

Cakes

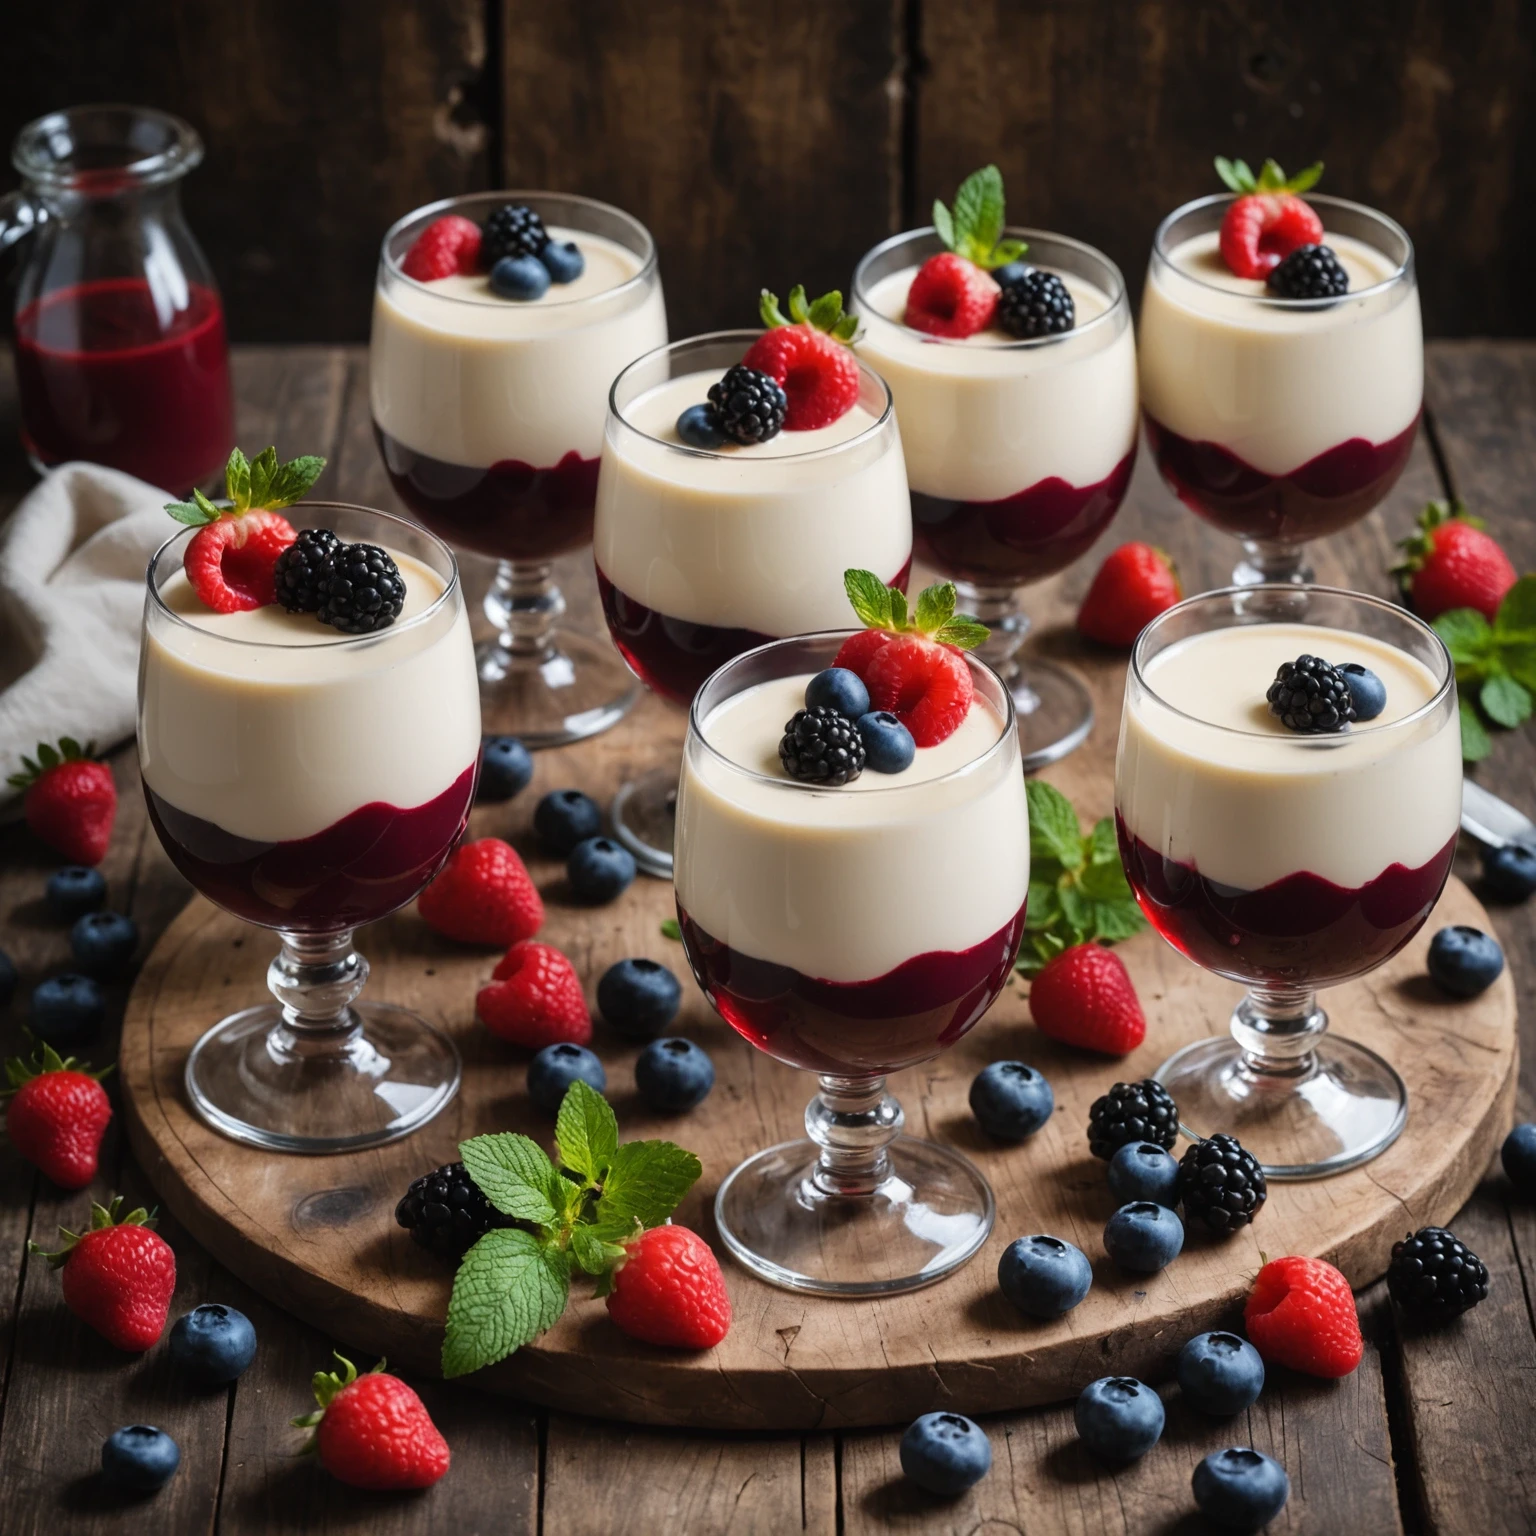
Classic Italian Panna Cotta Recipe with Mixed Berry Coulis

By Beginnerbakes Test KitchenReviewed by Beginnerbakes Editorial TeamPublished Apr 24, 2026 · Updated Jun 27, 2026
Italian 25 mins beginner-friendlyeasystep-by-stepclassiccomfort-foodfruitpartyno-bakeminimal-ingredientssummer-bakingfrosting

This beginner-friendly Italian panna cotta is a silky no-bake dessert set with gelatin and topped with a bright mixed berry coulis. The steps focus on blooming gelatin, warming cream without boiling, and chilling long enough for a smooth spoonable set.

Classic Italian Panna Cotta Recipe with Mixed Berry Coulis
Prep 15 min
Cook 10 min
Total 25 min
Servings 6
Difficulty easy
Cuisine Italian

Recipe Details

Prep15 min
Cook10 min
Total25 min
Servings6
Difficultyeasy
CuisineItalian
Add To Favorites

Ingredients

Servings 6
  • 2 ½ teaspoons powdered gelatin (about 1 packet)
  • 3 tablespoons cold water
  • 2 cups heavy cream
  • 1 cup whole milk
  • ½ cup granulated sugar
  • 1 teaspoon pure vanilla extract
  • 1 ½ cups mixed berries (fresh or frozen - blueberries, raspberries, strawberries)
  • 2 tablespoons granulated sugar (for coulis)
  • 1 tablespoon lemon juice (freshly squeezed)
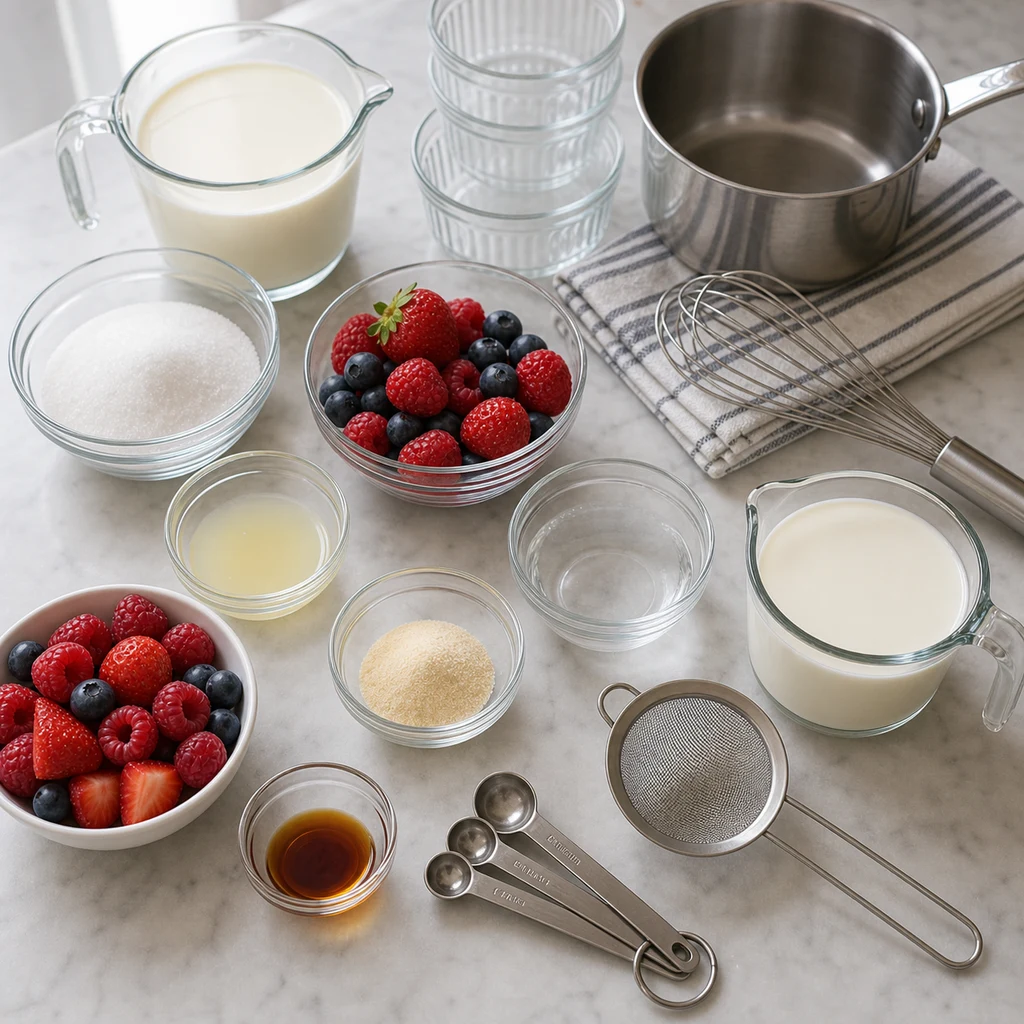
ingredients image for BeginnerBakes Classic Italian Panna Cotta Recipe with Mixed Berry Coulis

Instructions

  1. Step 1: Sprinkle the powdered gelatin evenly over 3 tablespoons of cold water in a small bowl. Let it bloom for 5-10 minutes, until the gelatin absorbs the water and becomes spongy.
  2. Step 2: In a medium saucepan, combine 2 cups heavy cream, 1 cup whole milk, and ½ cup granulated sugar. Heat on medium, stirring occasionally, until the sugar dissolves and the mixture is hot but not boiling (about 5 minutes).
  3. Step 3: Remove the saucepan from heat. Add the bloomed gelatin to the warm cream mixture and stir gently until completely dissolved, about 2 minutes. Stir in 1 teaspoon vanilla extract.
  4. Step 4: Pour the mixture evenly into six 4-6 ounce serving glasses or ramekins. Let them cool to room temperature for about 15 minutes.
  5. Step 5: Cover each glass or ramekin with plastic wrap and refrigerate for at least 4 hours, or until the panna cotta is fully set and firm to the touch.
  6. Step 6: While the panna cotta chills, prepare the mixed berry coulis. Combine 1 ½ cups mixed berries, 2 tablespoons sugar, and 1 tablespoon fresh lemon juice in a small saucepan.
  7. Step 7: Cook the berry mixture over medium heat for 5-7 minutes, stirring occasionally, until the berries break down and the sauce thickens slightly.
  8. Step 8: Remove the coulis from heat and let it cool. For a smoother sauce, blend it using an immersion blender or regular blender, then strain through a fine sieve to remove seeds if desired.
  9. Step 9: Once the panna cotta is set, spoon the chilled mixed berry coulis generously over each serving. Optionally, garnish with fresh whole berries or mint leaves for decoration.
  10. Step 10: Serve chilled for a refreshing, classic Italian dessert perfect for any occasion.
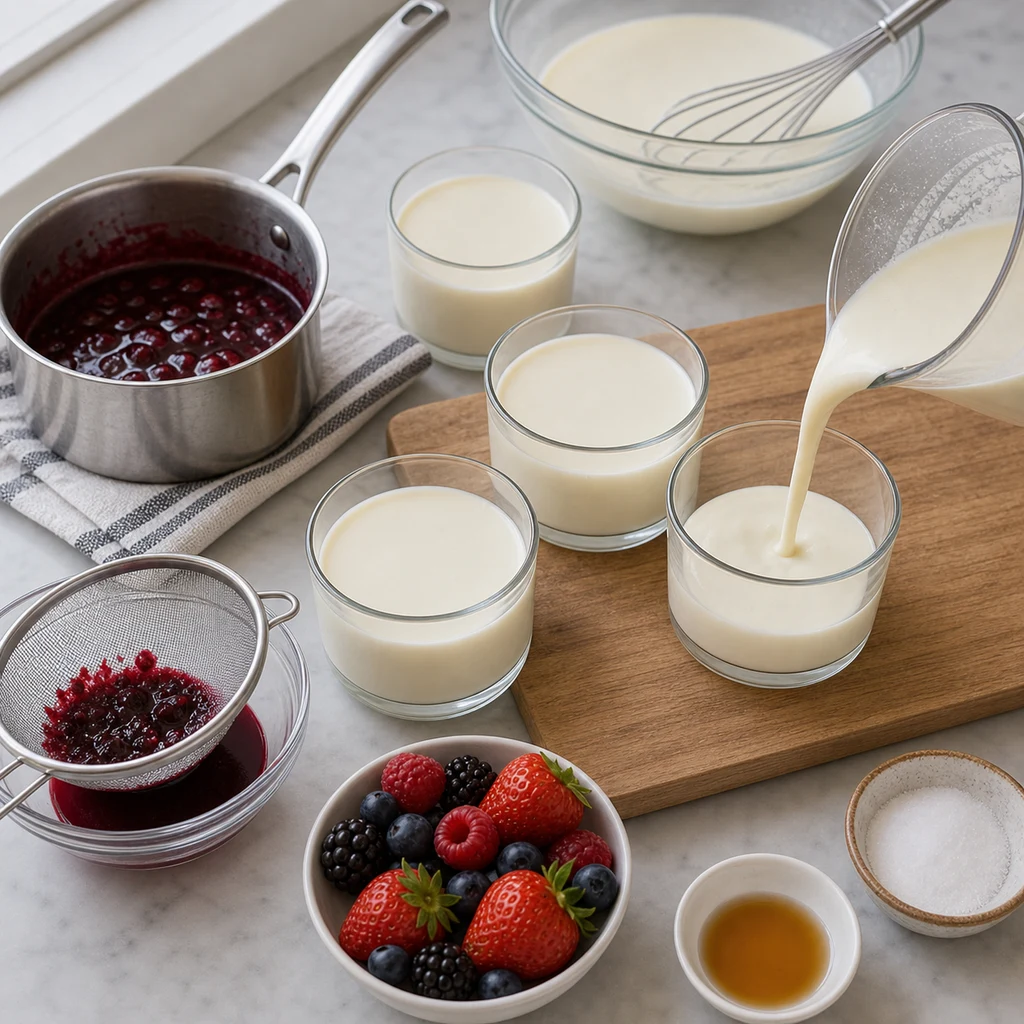
pouring process image for BeginnerBakes Classic Italian Panna Cotta Recipe with Mixed Berry Coulis

Tips

Equipment Needed

Use a small bowl for blooming gelatin, a medium saucepan for the cream, a second small saucepan for the coulis, and six 4-6 ounce glasses or ramekins. A whisk, fine mesh strainer, and liquid measuring cup with a spout make the mixture smoother and easier to pour neatly.

Ingredient Prep Notes

Sprinkle gelatin evenly over cold water and let it sit until spongy before adding it to the warm cream. Heat the cream mixture only until hot and the sugar dissolves; boiling can weaken the delicate texture and make the dessert taste cooked.

Oven Note

This is a no-bake dessert, so you do not need to preheat the oven. The key temperature control happens on the stovetop: keep the cream below a boil and chill the filled glasses for at least 4 hours until fully set.

Easy Upgrade Ideas

Layer a few fresh berries in the glasses before pouring the cream for a pretty suspended-fruit look. For a dinner-party finish, strain the coulis until smooth and garnish each serving with mint, lemon zest, or a small spoonful of extra berries.

Frequently Asked Questions

Why did my panna cotta not set1/2
The gelatin may not have bloomed fully, the cream may have been too hot, or the dessert may need more chilling time. Let it chill at least 4 hours, and overnight is even better for a steady set.
Can I make panna cotta ahead1/2
Yes. Panna cotta is ideal for making ahead because it needs time to chill. Prepare it up to 2 days in advance and add the coulis shortly before serving.
Can I unmold the panna cotta1/2
Yes, if you set it in ramekins. Dip the bottom of each ramekin briefly in warm water, loosen the edge gently, and invert onto a plate.
Should the berry coulis be strained1/2
Straining is optional. Leave it rustic if you like texture, or strain it through a fine mesh sieve for a smooth glossy sauce.

Ingredient Replacements

For a dairy-free version, use full-fat coconut milk in place of the cream and milk, knowing the flavor will be more tropical. Agar-agar can replace gelatin for a vegetarian set, but it must be simmered to activate and will set firmer than classic panna cotta.

Frozen berries work well for the coulis and do not need to be thawed first; simply cook them until juicy and soft. Maple syrup or honey can replace the sugar, but add it gradually so the cream and berry sauce stay balanced.

Storage and Reheating

Store panna cotta covered in the refrigerator for up to 3 days. Keep the berry coulis in a separate covered container when possible so the tops stay clean and smooth until serving.

Do not freeze panna cotta, because gelatin-set dairy can turn watery after thawing. This dessert is served chilled and should not be reheated.

Related Articles

Read related air fryer guides and cooking tips.

More Recipes

Explore more recipes you may like.

Reviews

Rate this recipe and share a photo of your result.

No reviews yet.

Newsletter

Stay In The Loop

Get fresh recipes, articles, and updates from Beginnerbakes.