Flavor & Ingredient Tips
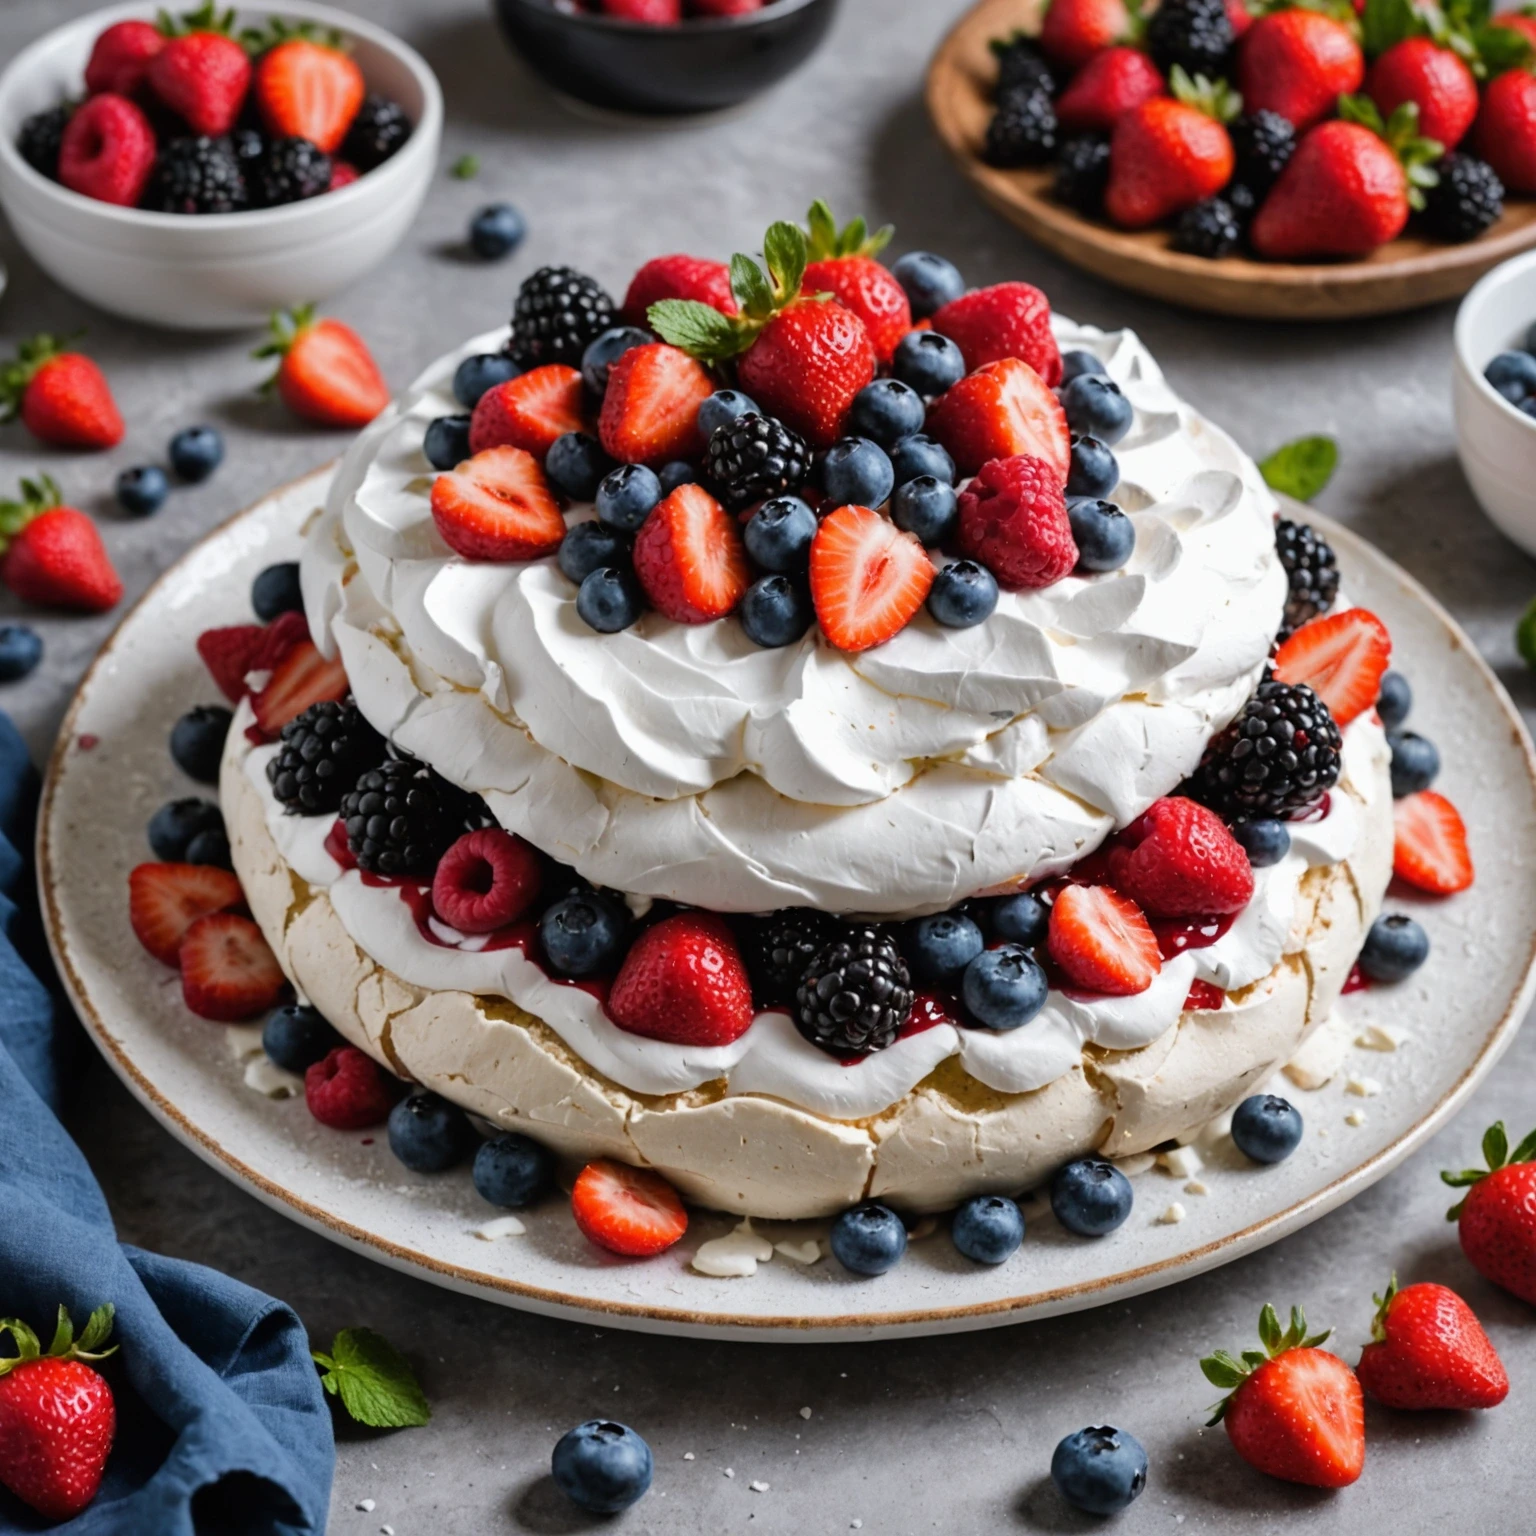
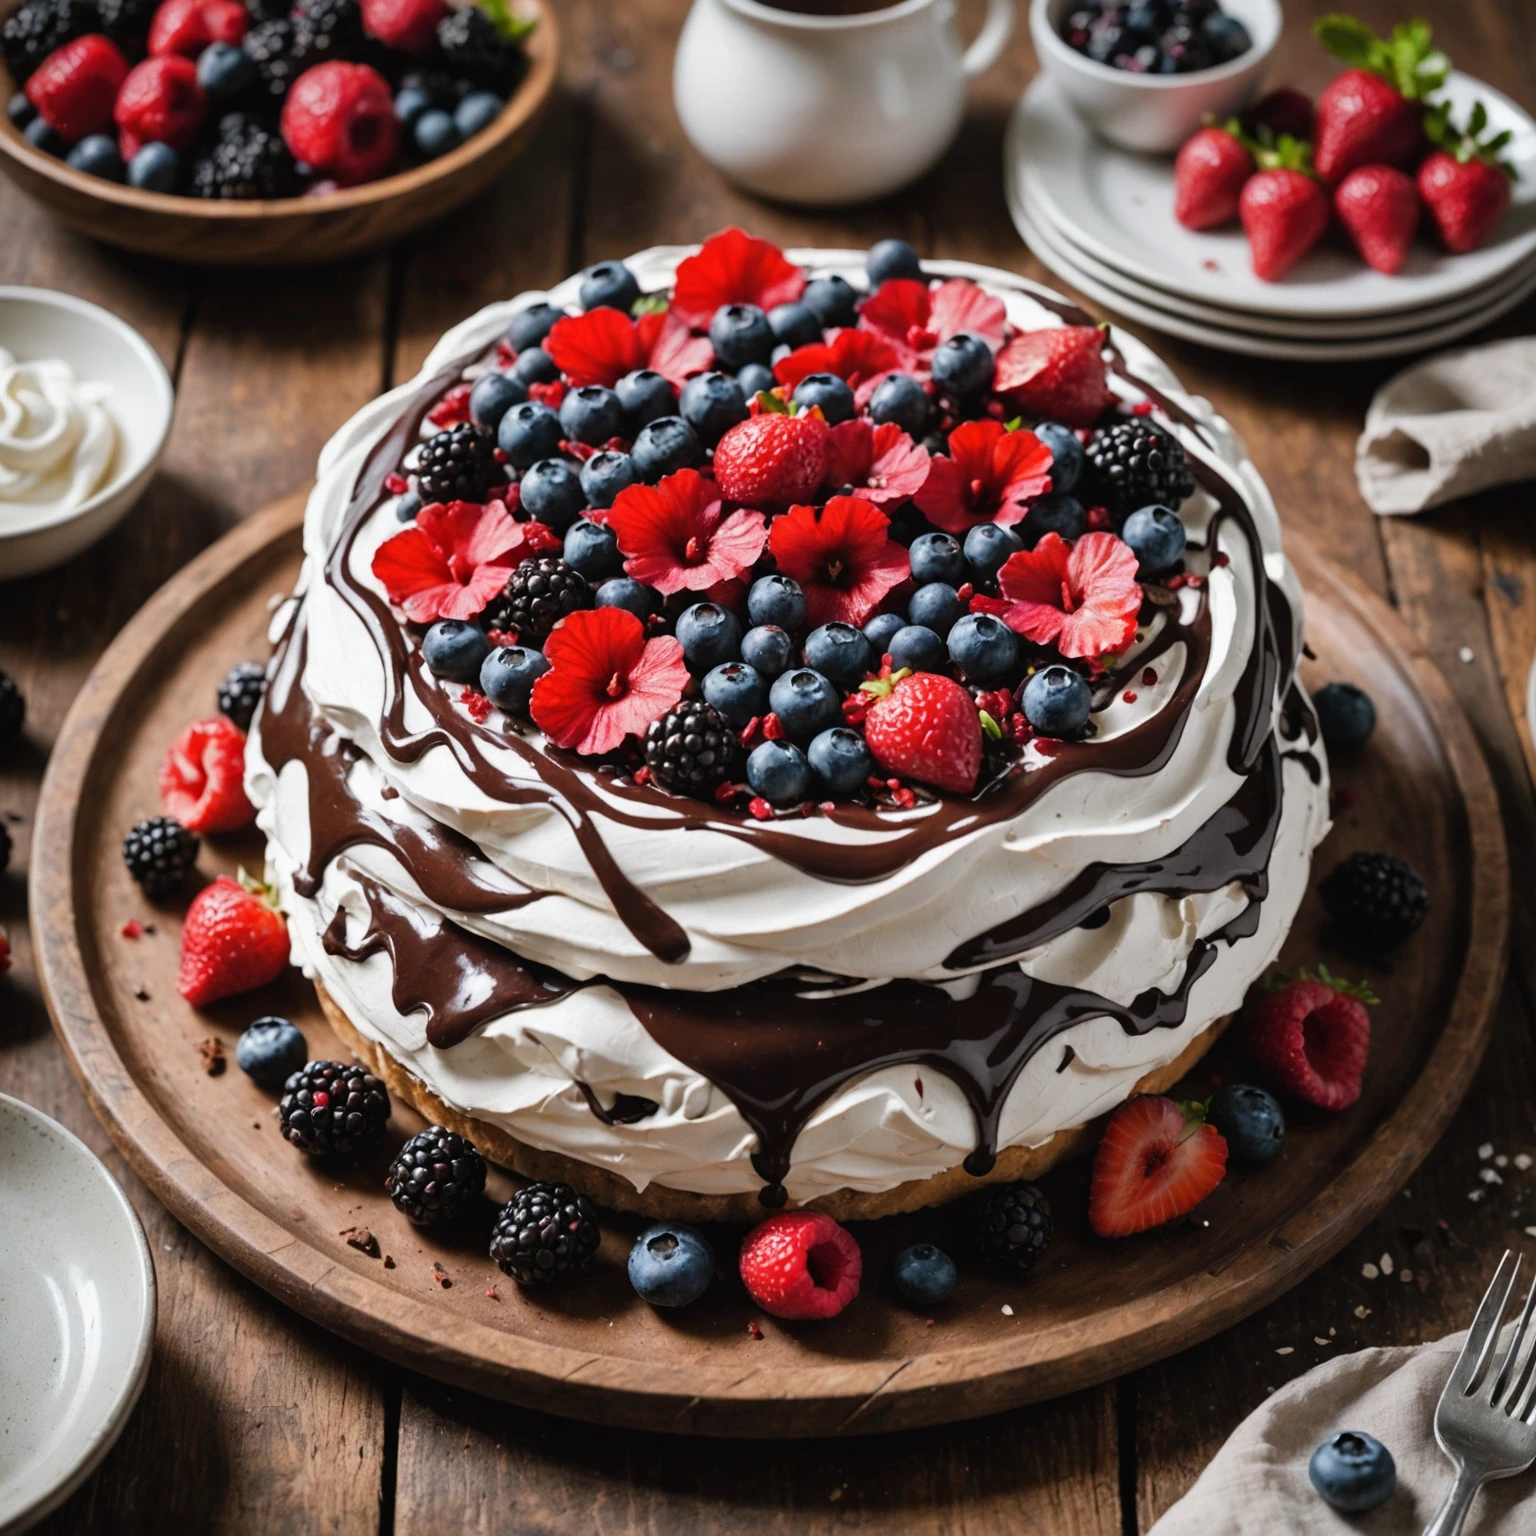
A beginner-friendly pavlova with a crisp meringue shell, soft center, coconut whipped cream, and fresh summer berries.

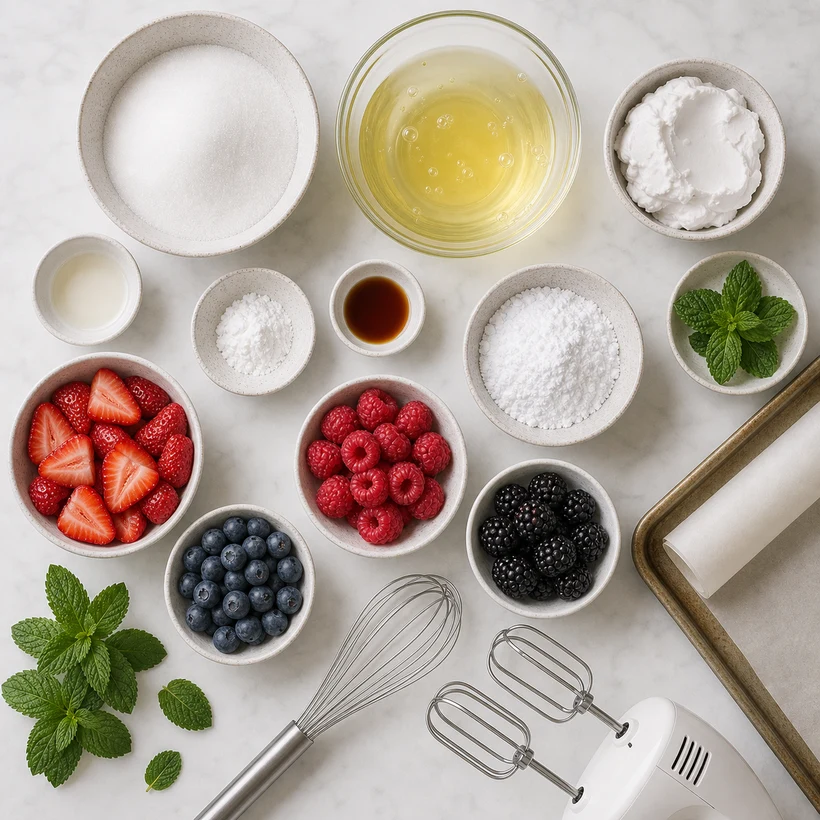
Use the pan or baking dish listed in the recipe, plus mixing bowls, measuring tools, a spatula, and a cooling rack if the recipe bakes in the oven. Line pans with parchment or liners when the batter is delicate so beginners can release the bake cleanly.
Measure the dry and wet ingredients before mixing so the batter or dough comes together smoothly. Keep butter, eggs, dairy, fruit, or chocolate at the temperature described in the recipe because small prep details affect rise and texture.
Preheat fully before baking and use the center rack unless the recipe says otherwise. Start checking near the low end of the baking time and rely on the listed doneness cues instead of color alone.
Keep upgrades simple: add a light glaze, a sprinkle of spice, citrus zest, chopped nuts, chocolate, or a beginner-friendly topping that matches the base flavor. Add decorative finishes only after the bake cools when frosting, glaze, or drizzle needs to set neatly.
Cool leftovers before storing. Refrigerate in an airtight container for up to 4 days, or freeze when the ingredients are freezer-friendly.
Read related air fryer guides and cooking tips.
Flavor & Ingredient Tips
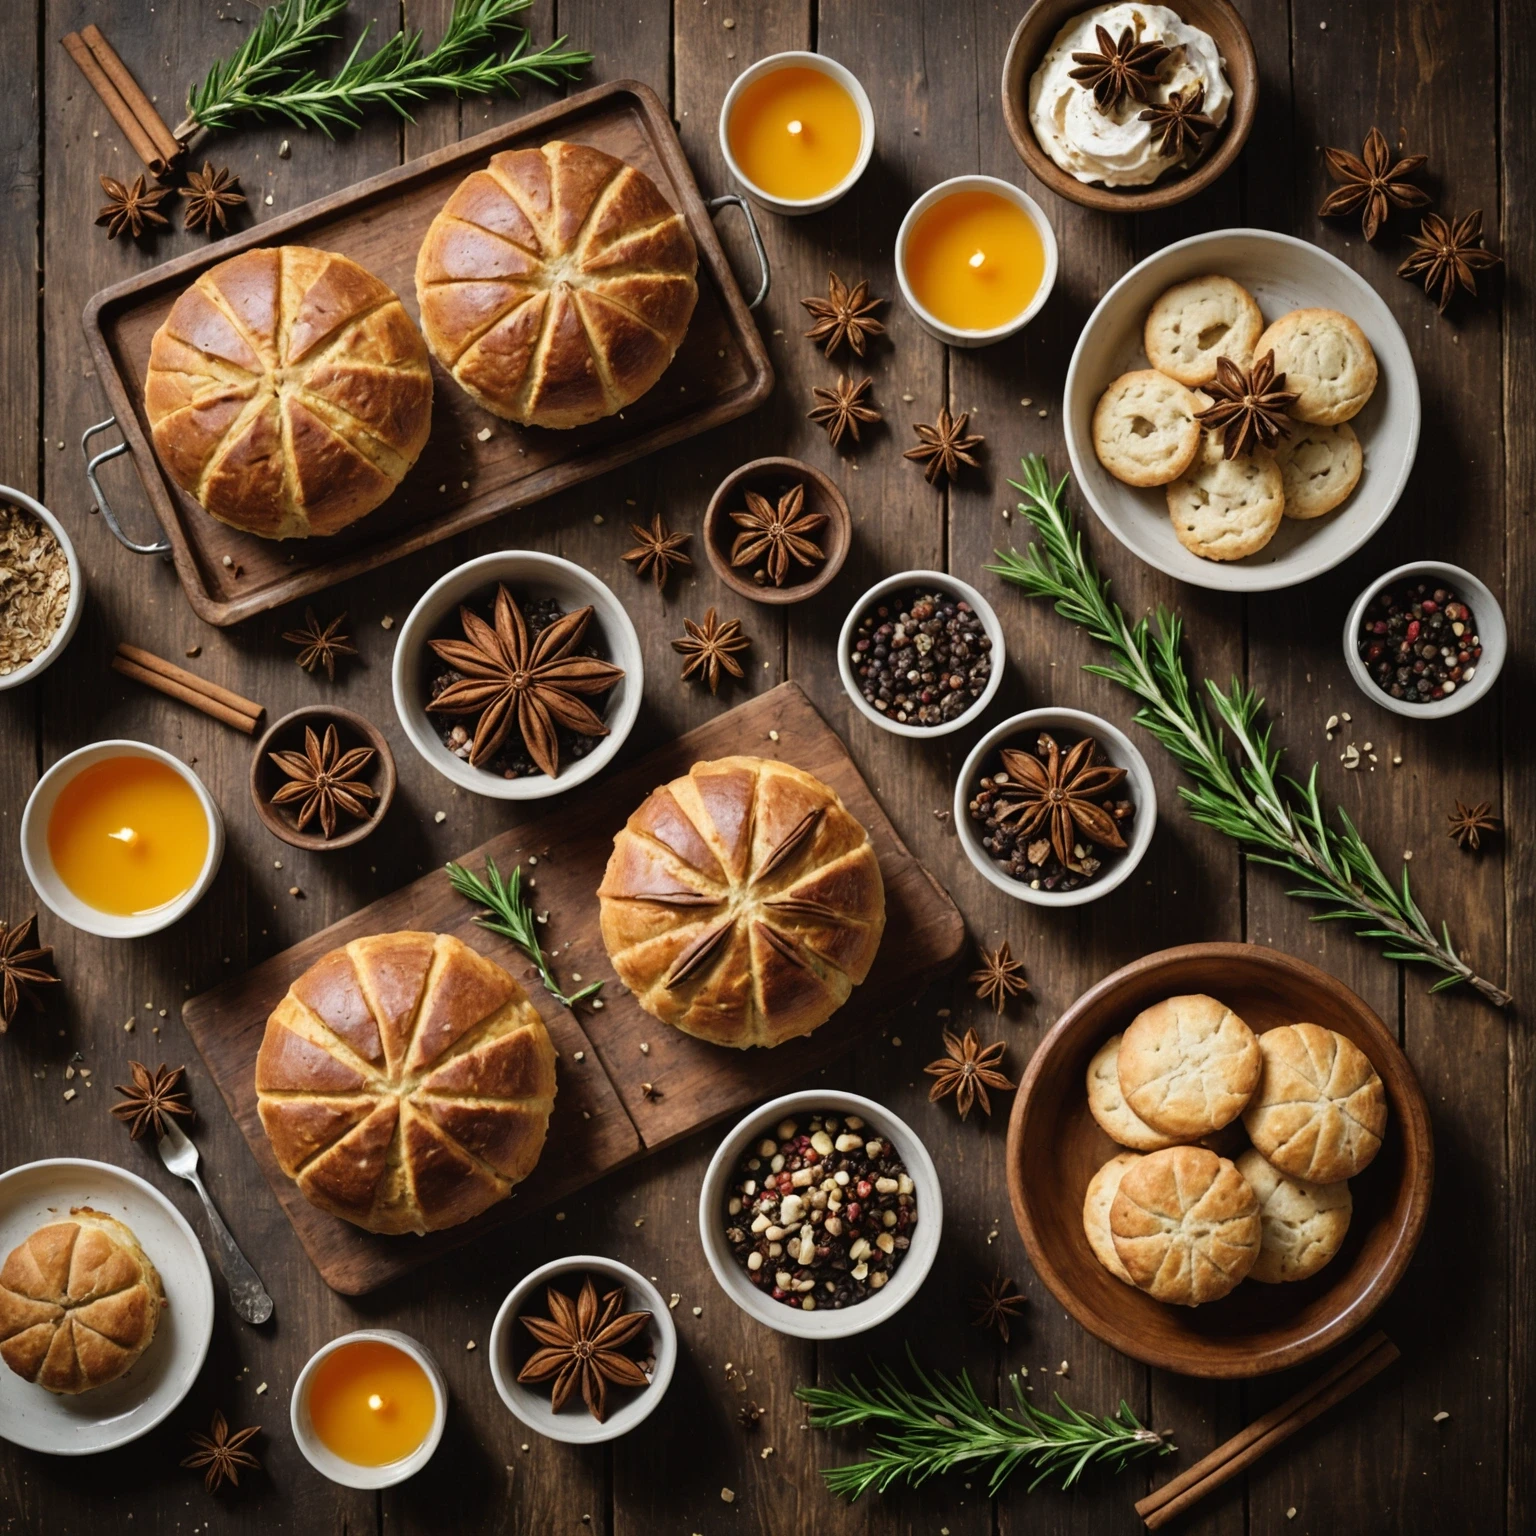
Flavor & Ingredient Tips
Explore more recipes you may like.
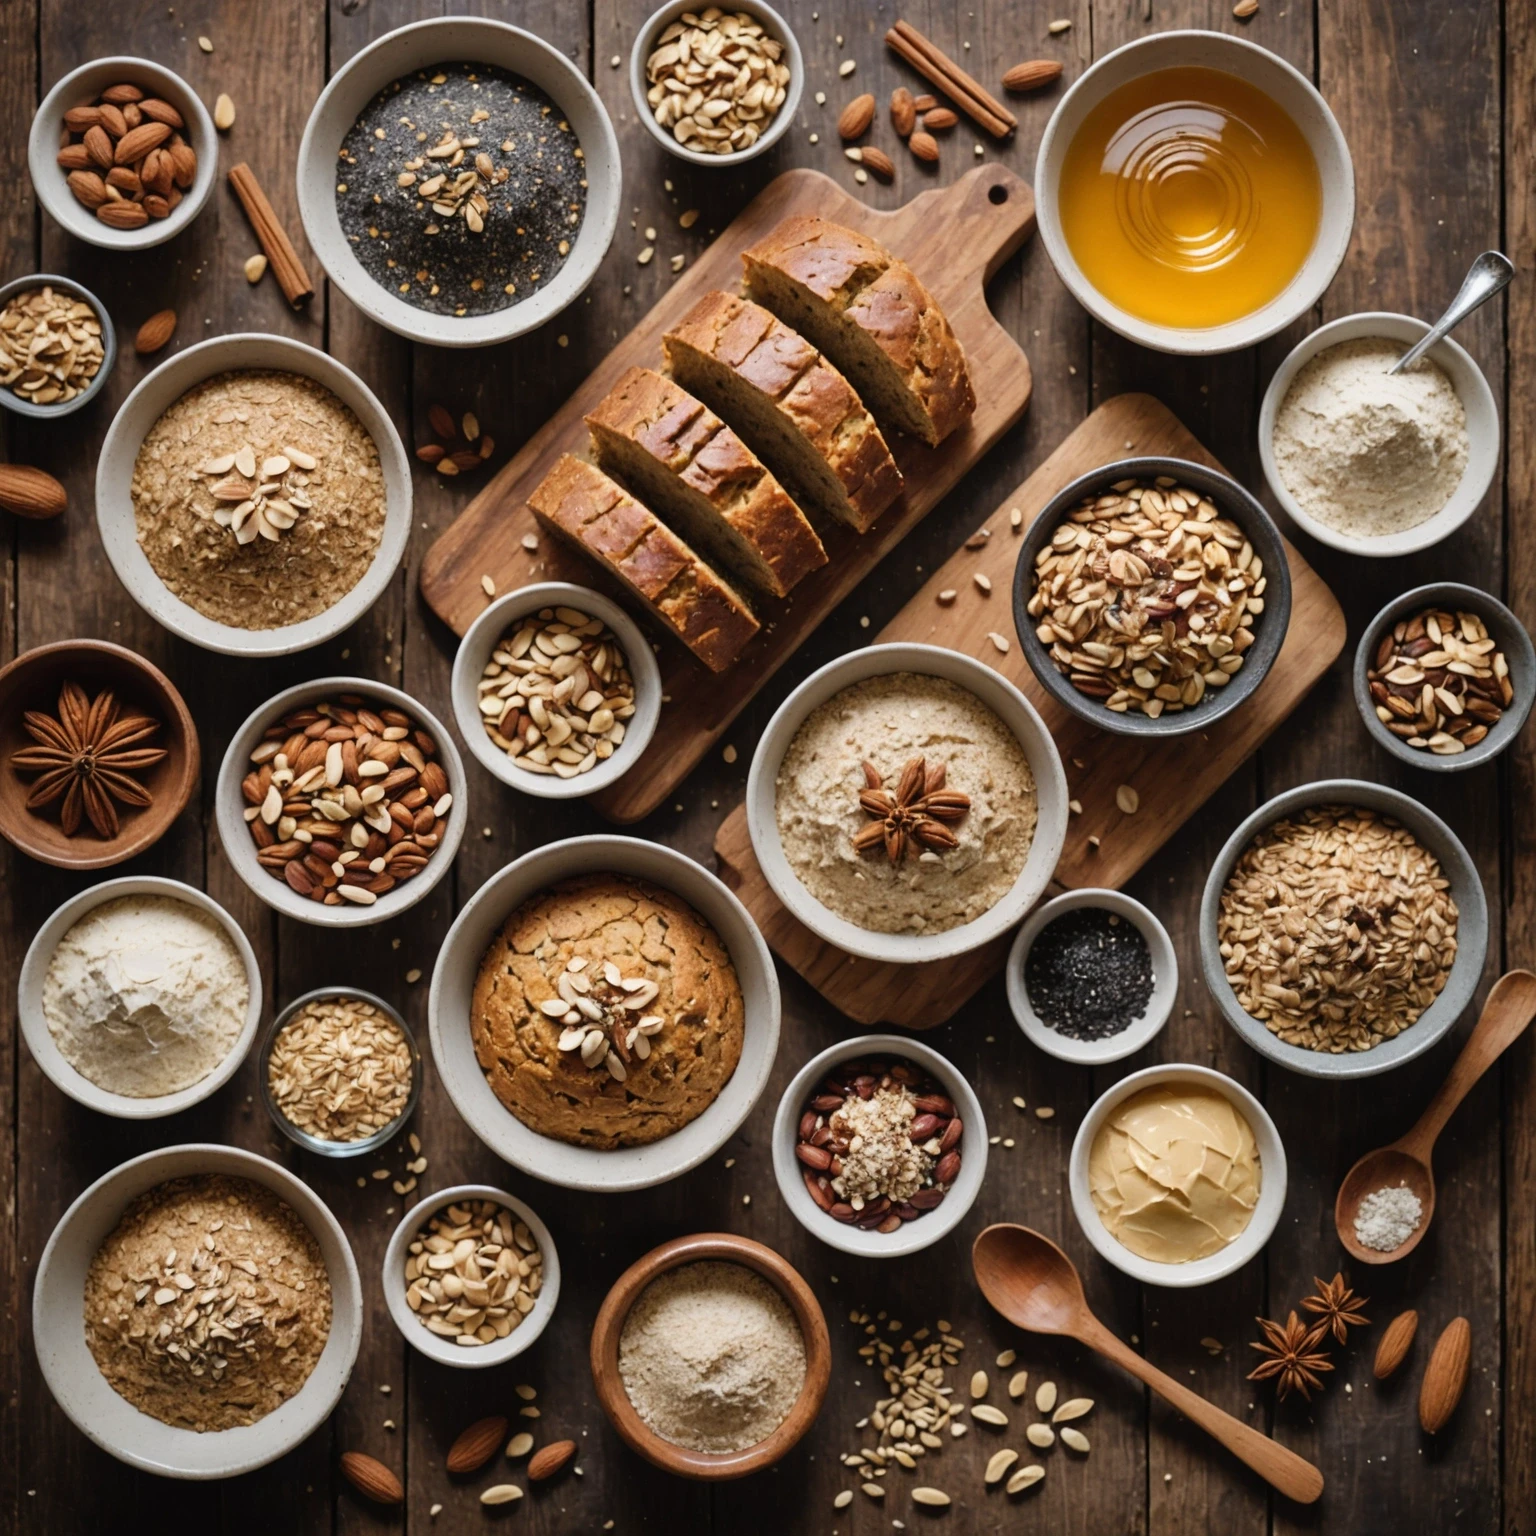
Healthy Baking
Healthy Baking
Healthy Baking
Healthy Baking
Rate this recipe and share a photo of your result.
No reviews yet.
Log in to keep this recipe in your favorites.
Reset password Register