Flavor & Ingredient Tips
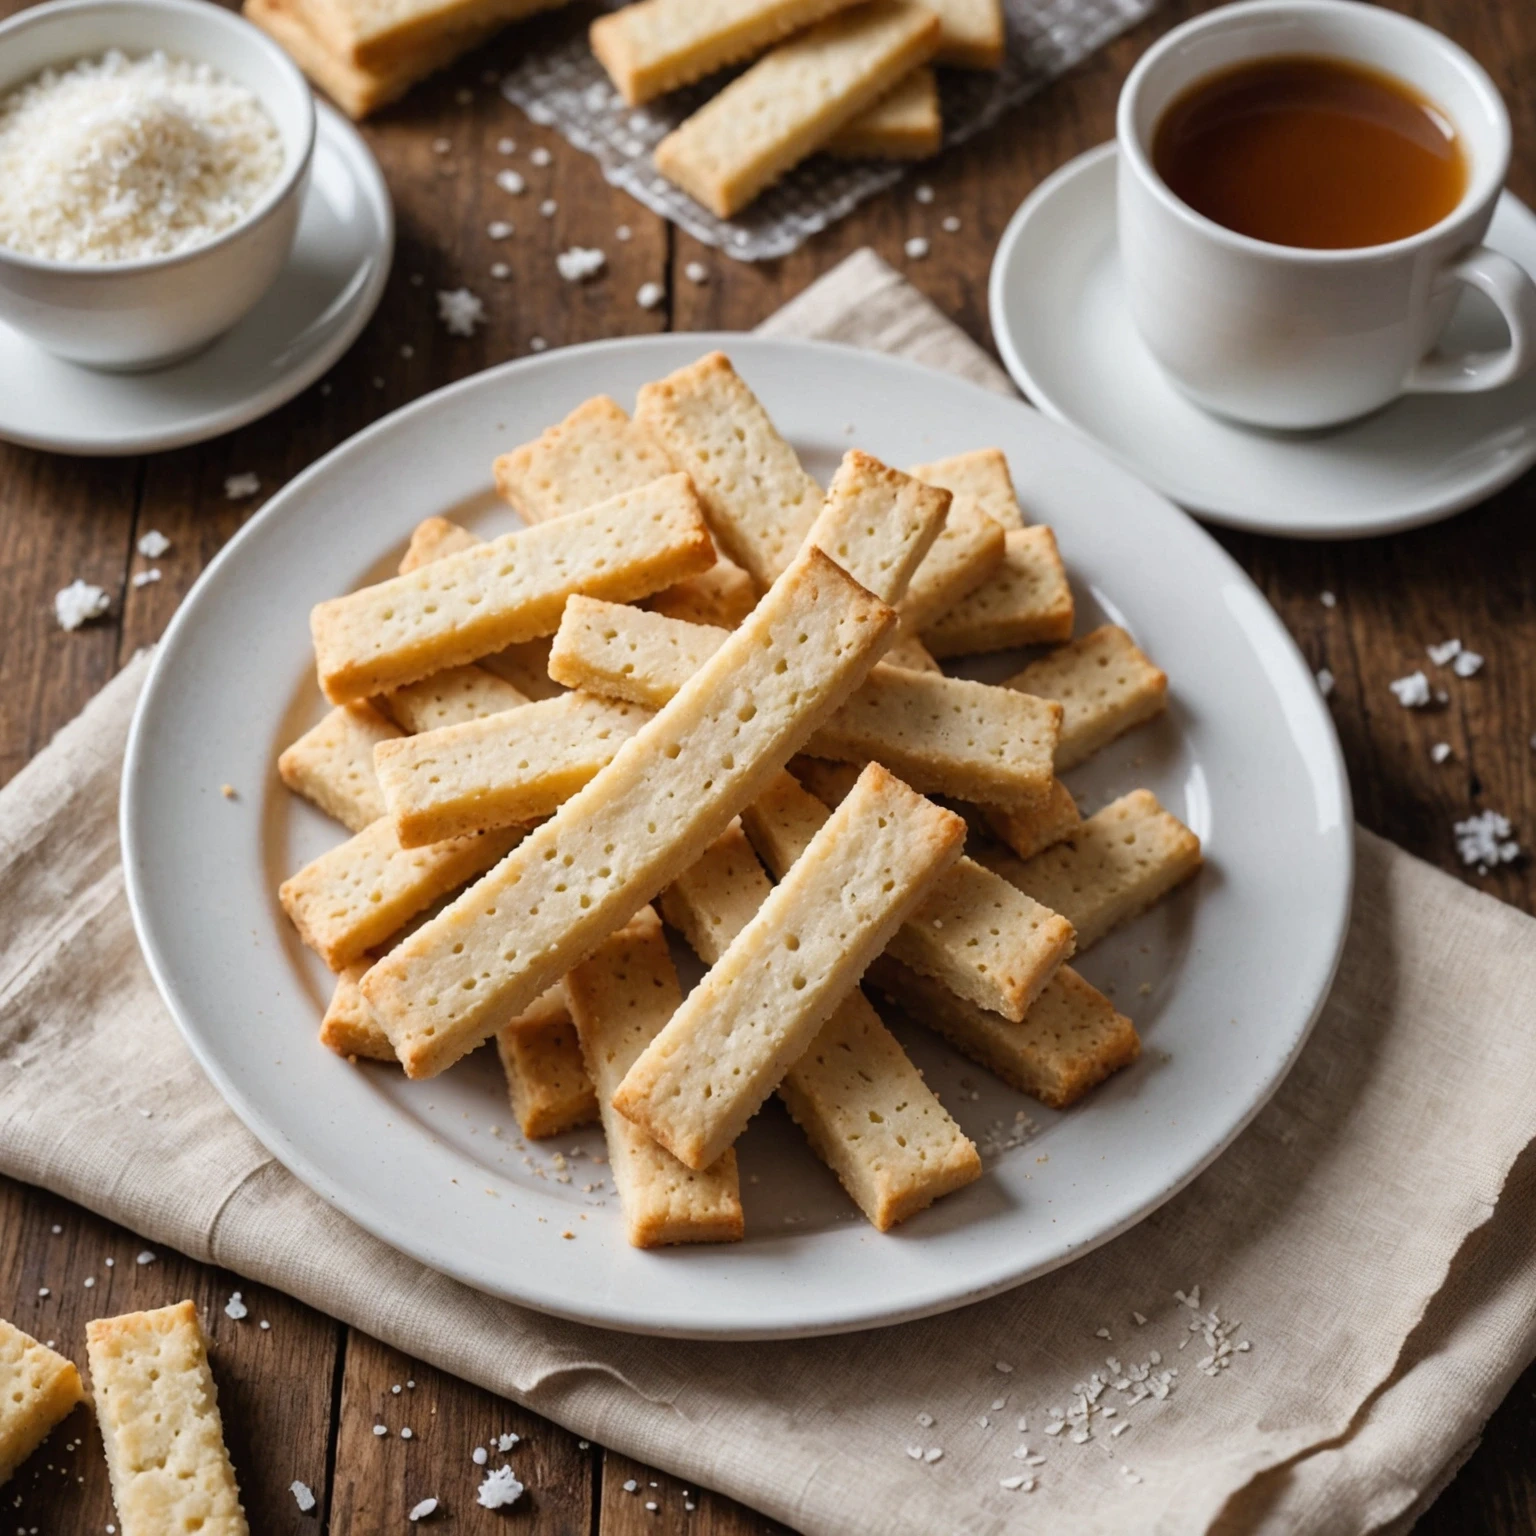
Make traditional Scottish shortbread fingers with a buttery, crumbly texture enhanced by a fine sea salt topping. This beginner-friendly recipe uses simple ingredients and straightforward instructions, perfect for winter holiday baking, parties, or satisfying snack cravings with a classic British cookie.
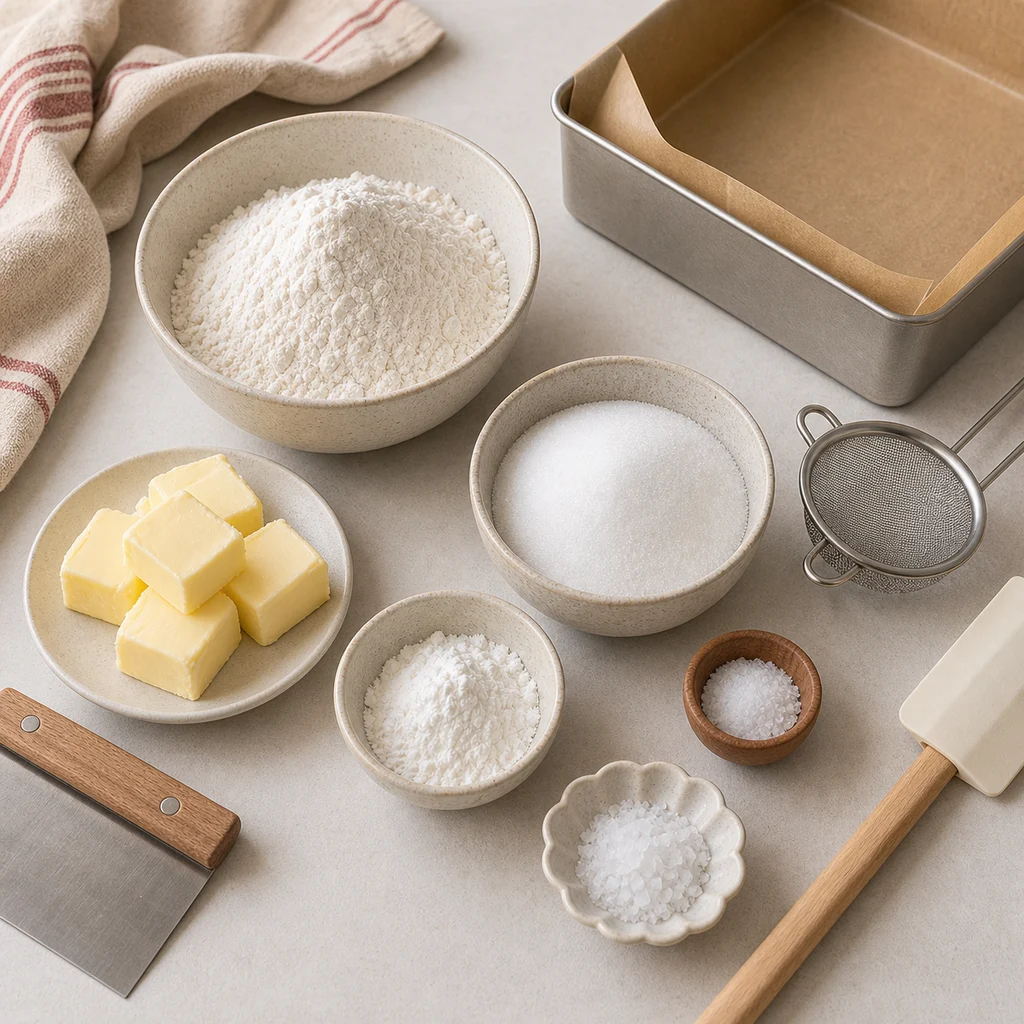
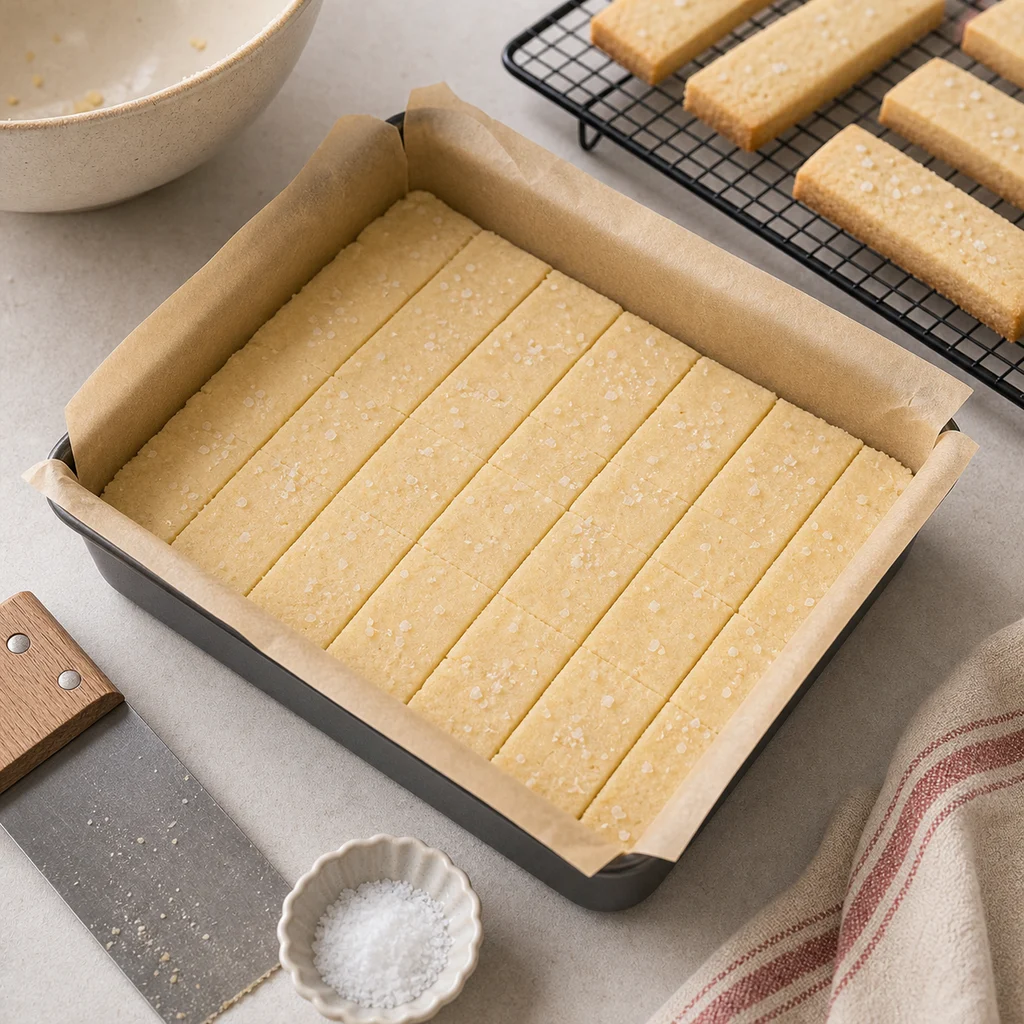
Use a 9x9 inch square baking tin, parchment paper, two mixing bowls, a sieve, a spatula, and a knife or bench scraper for scoring. A wire rack helps the shortbread cool evenly so the fingers set before cutting.
Soften the butter until it dents easily but is not melted, because melted butter can make shortbread oily. Sift the flours and salt before mixing so the dough stays fine, even, and tender.
Preheat fully to 320 degrees F and bake on the middle rack for gentle, even color. The shortbread should be firm and pale golden, not browned, because overbaking makes it dry instead of crumbly.
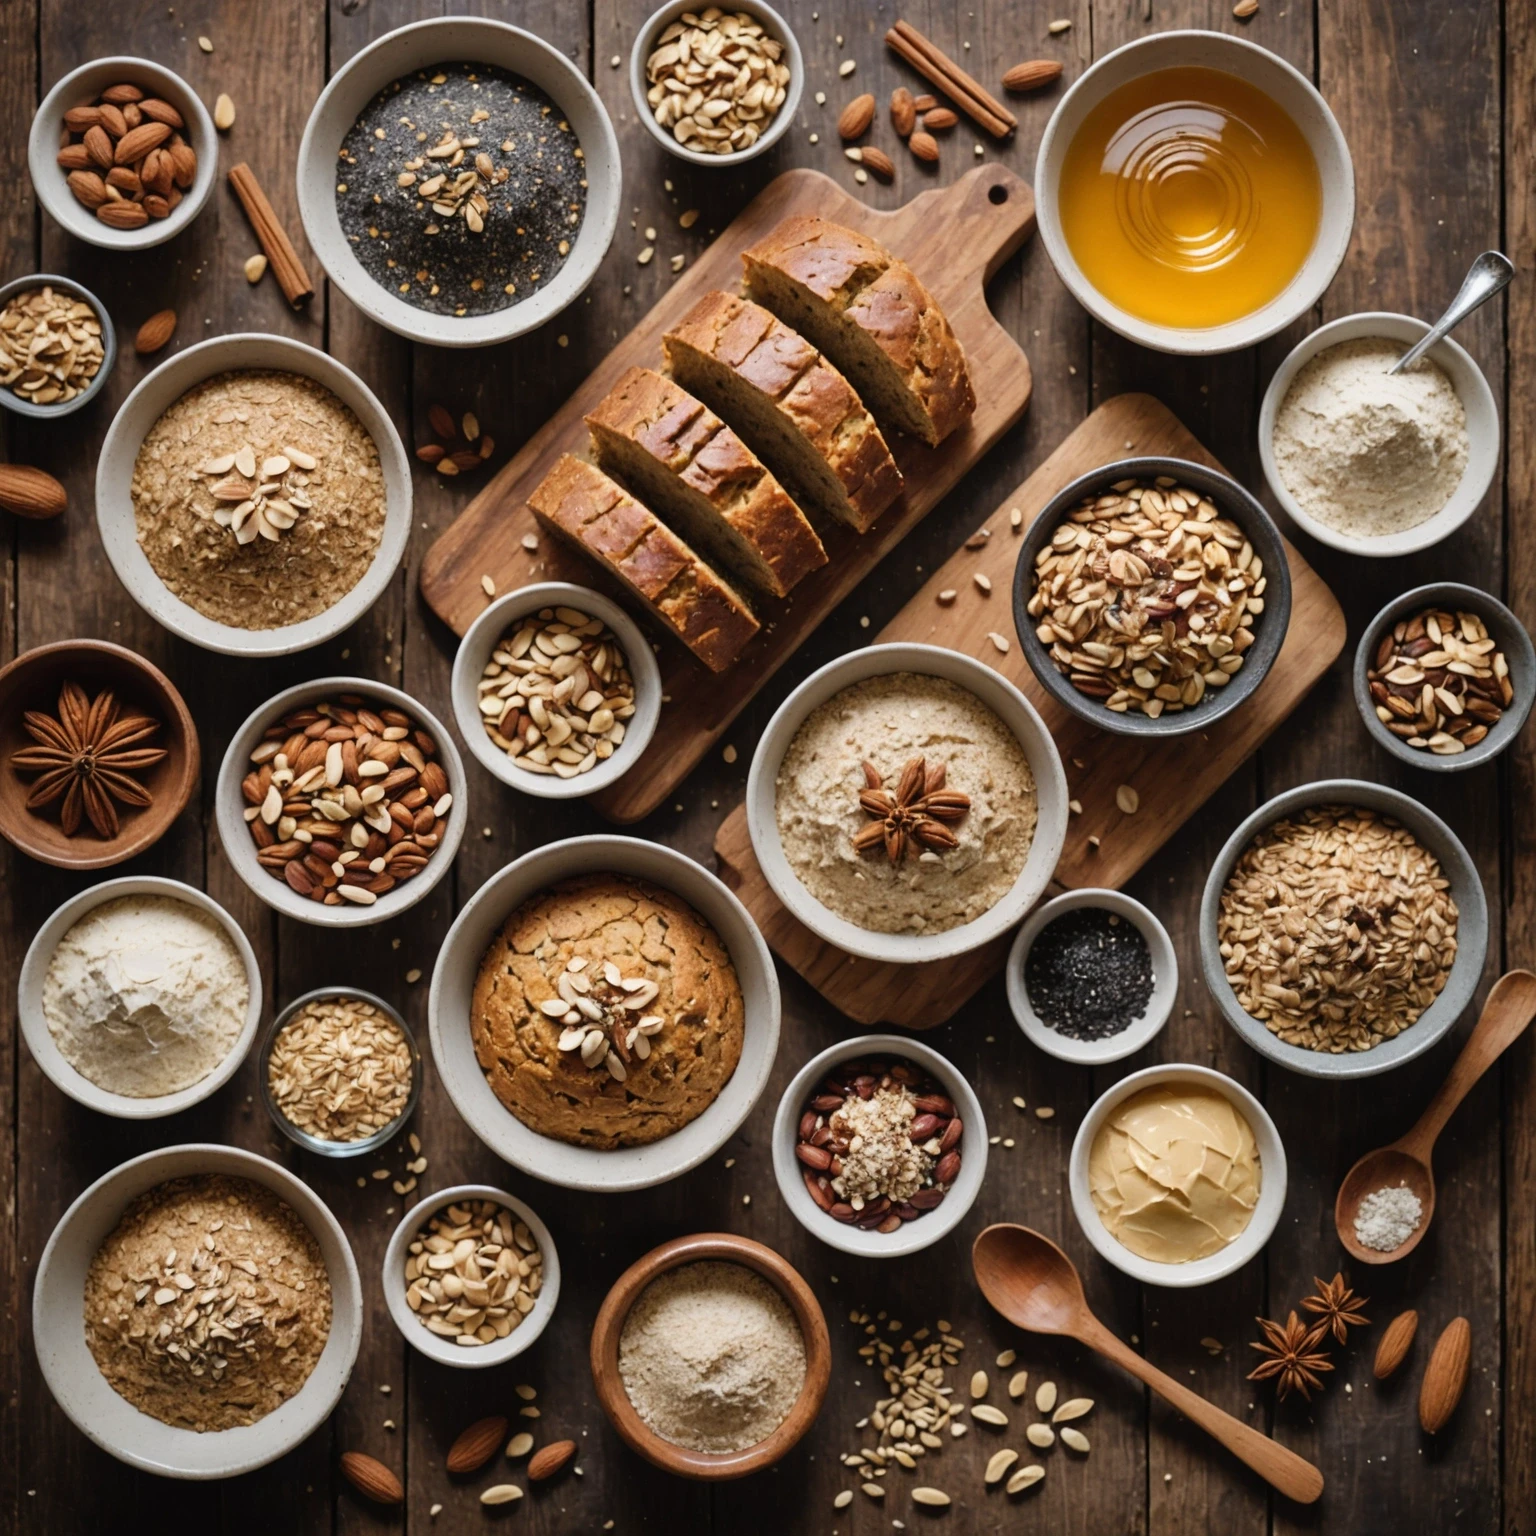
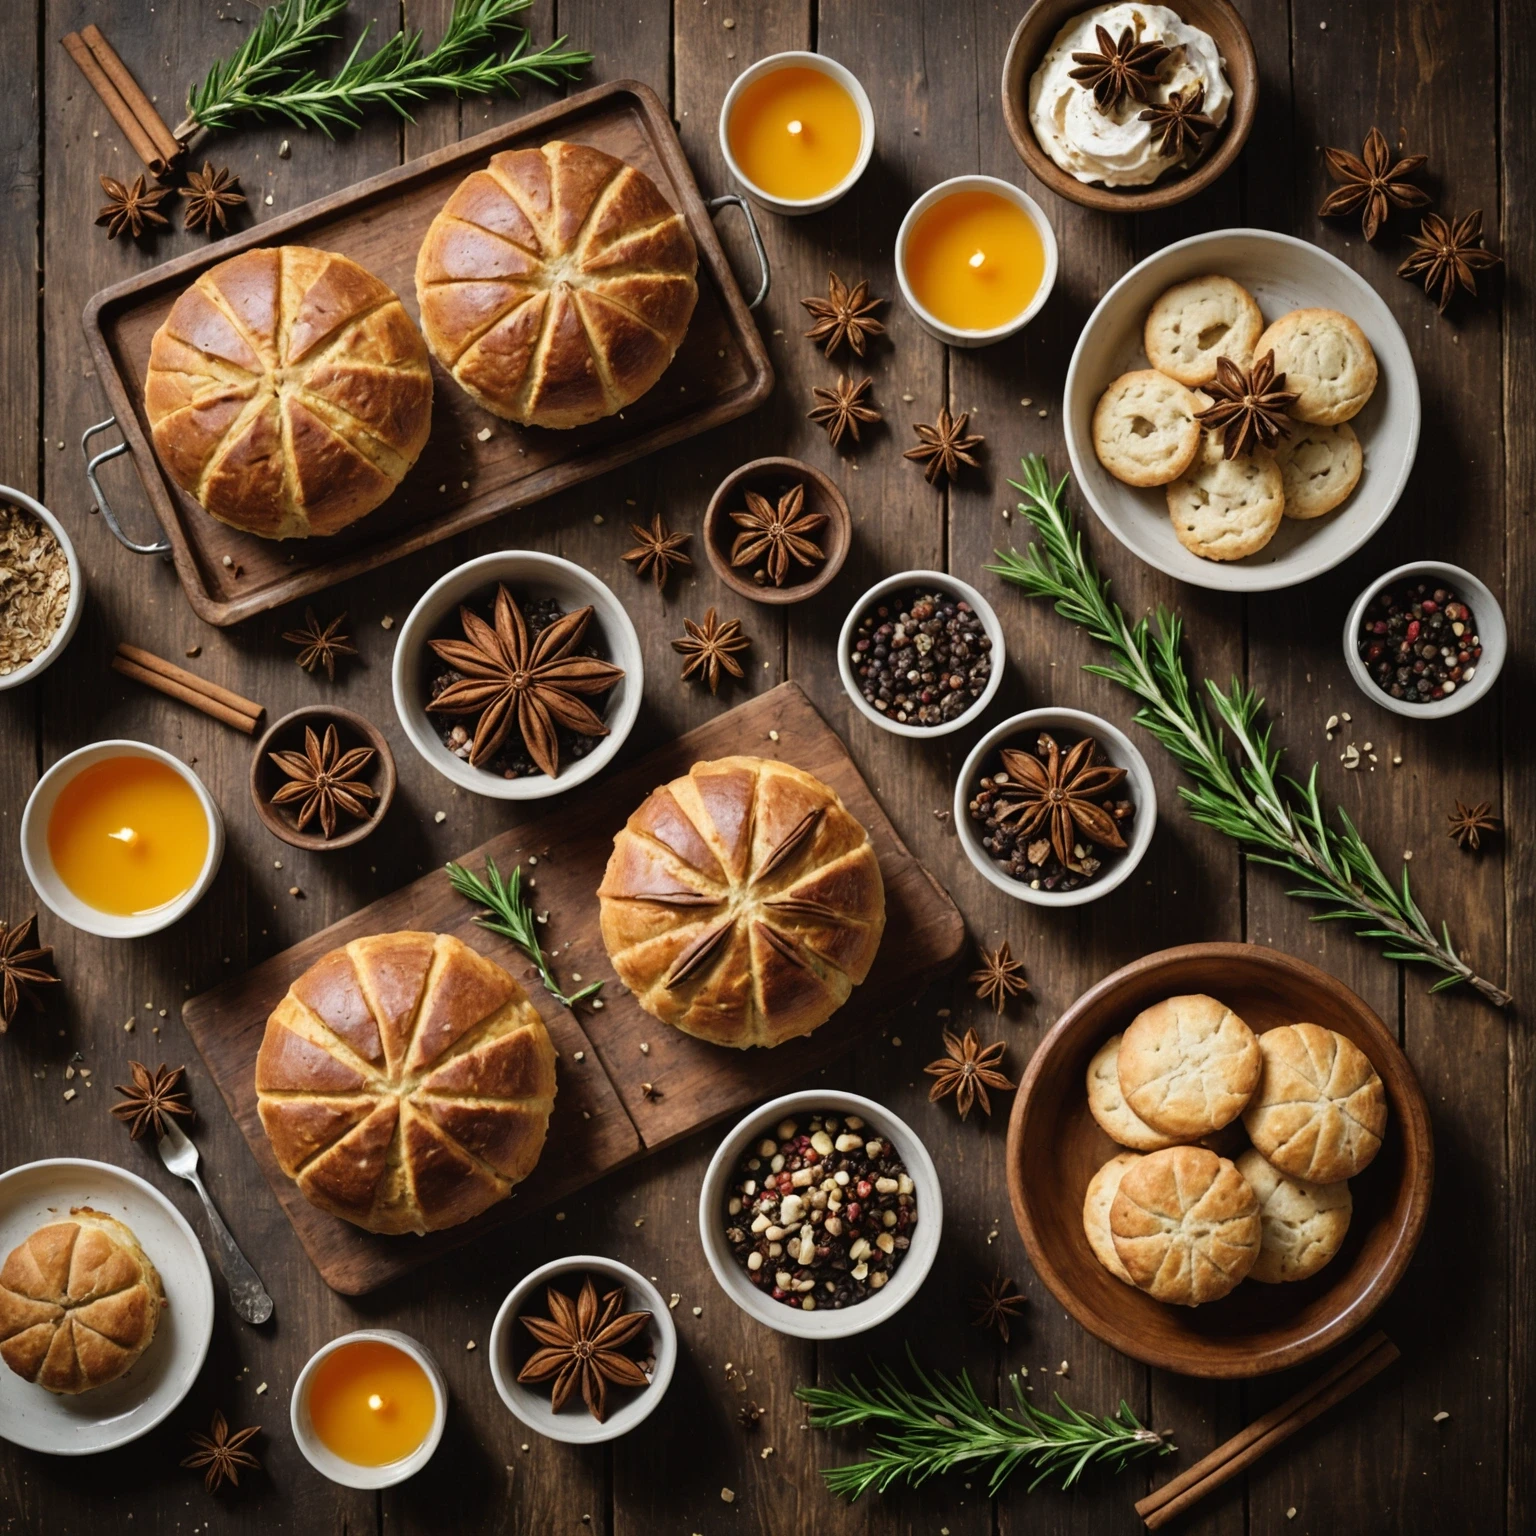
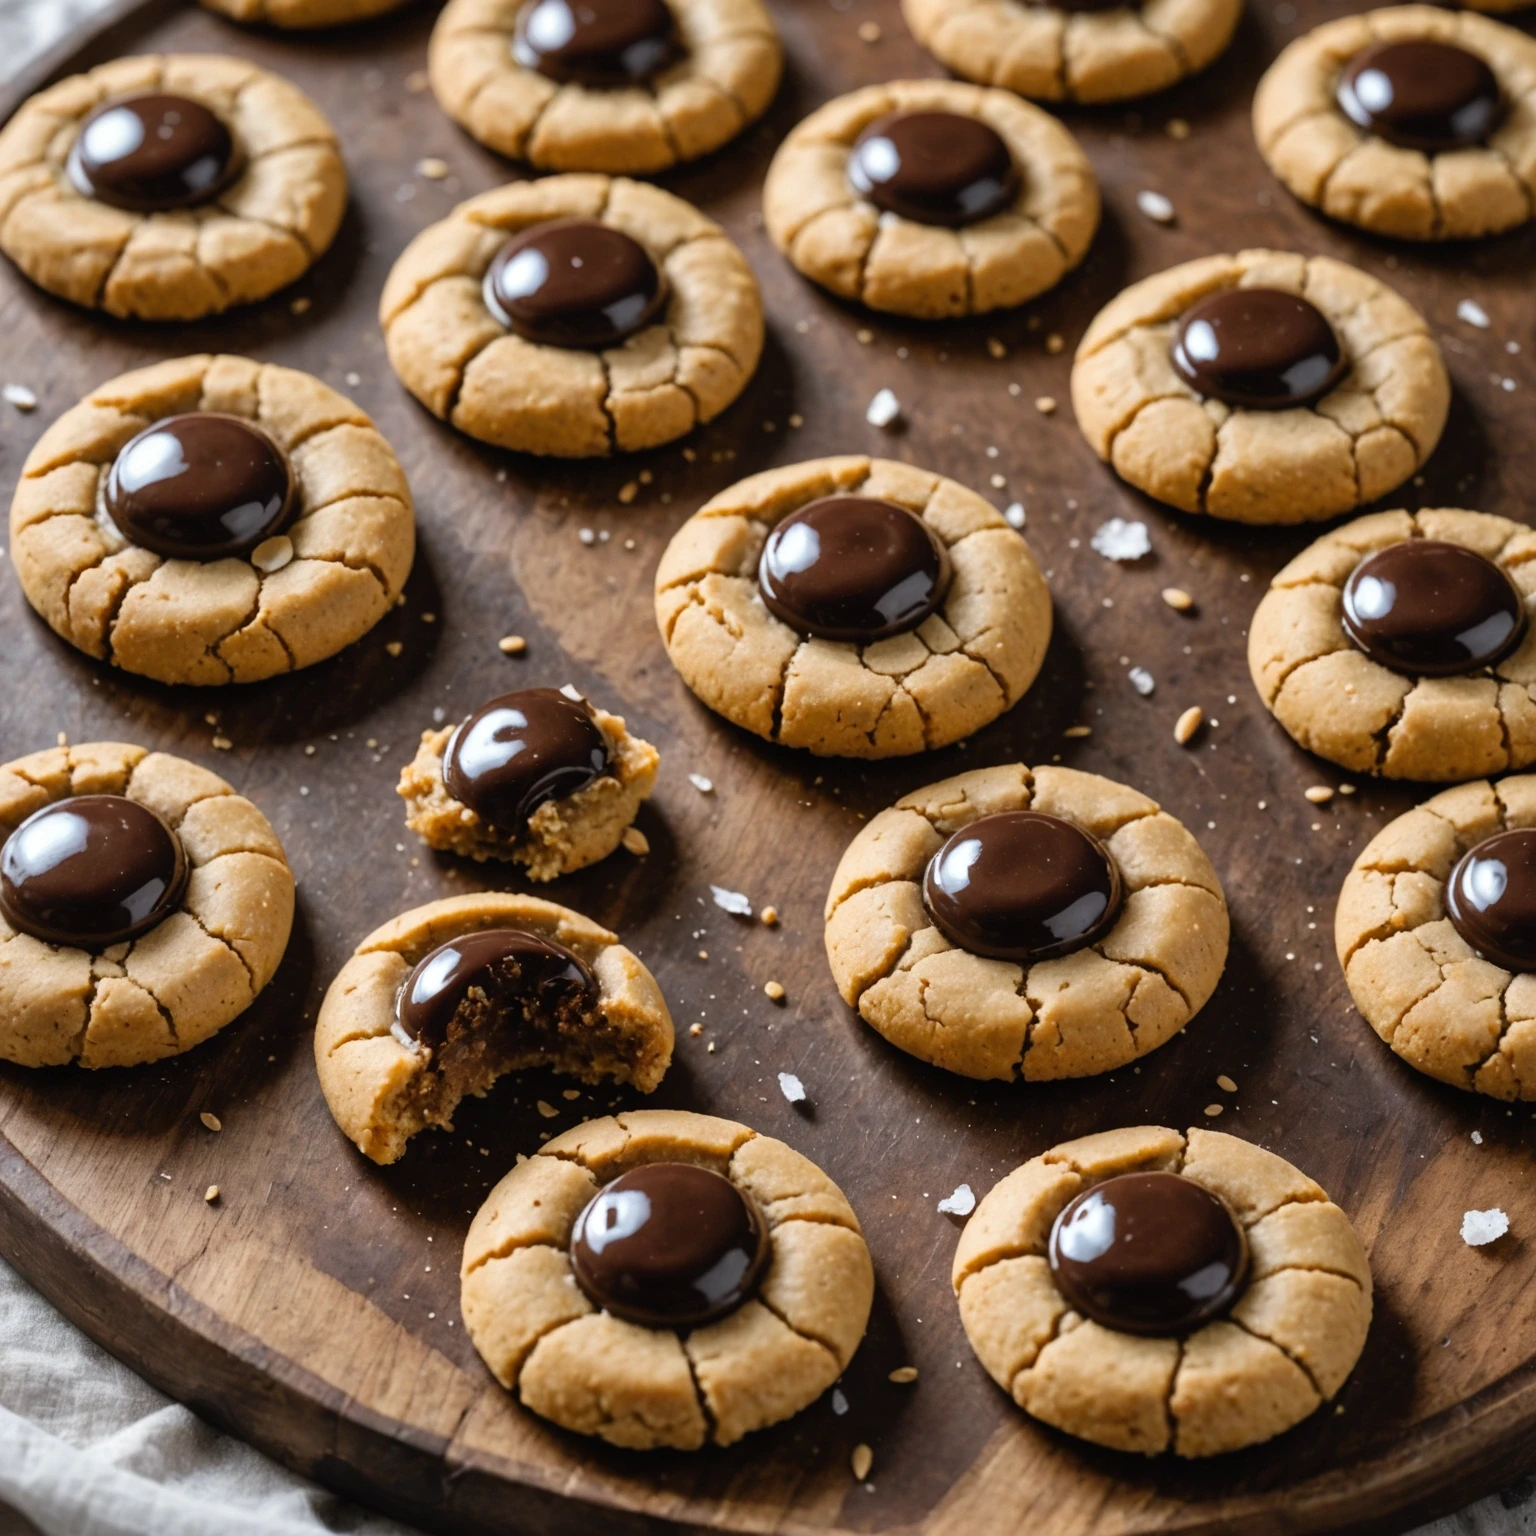
Add a little lemon or orange zest to the dough for a bright holiday flavor. For a simple gift finish, dip one end of each cooled finger in melted chocolate or add a tiny pinch of cinnamon to the flour.
Use cornstarch instead of rice flour if that is easier to find; both help create the tender, sandy shortbread texture. A gluten-free all-purpose blend can replace the plain flour if it includes a binder such as xanthan gum.
Superfine sugar can replace granulated sugar for a smoother crumb, while coconut sugar will make the shortbread darker and more caramel-like. Use a firm plant-based baking butter for a dairy-free version, but avoid soft tub spreads because they can make the dough greasy.
Fine table salt can replace fine sea salt in the dough. For the topping, use a very light pinch of fine sea salt so the salty finish stays balanced.
Store fully cooled shortbread fingers in an airtight container at room temperature for up to 1 week. Keep them away from humidity so they stay crisp and crumbly.
Freeze shortbread for up to 2 months with parchment between layers. Thaw at room temperature; reheating is usually unnecessary, but you can refresh them in a 275 degrees F oven for 2 to 3 minutes if needed.
Read related air fryer guides and cooking tips.
Flavor & Ingredient Tips
Flavor & Ingredient Tips
Explore more recipes you may like.
Cookies

Cookies
Cookies

Cookies
Rate this recipe and share a photo of your result.
No reviews yet.
Log in to keep this recipe in your favorites.
Reset password Register